Project planning guide
Before you build
Use the reference image and planning notes as a starting point. Confirm dimensions, loads, materials, local codes, and site conditions before purchasing or cutting.
- Garden Projects
- 8 reference images
- Print-friendly guide
Edging can simplify mowing and keep mulch or gravel where it belongs, but a border that heaves, splinters, or stands proud of a path becomes a maintenance problem. These concepts compare materials and installation patterns for different beds and climates.
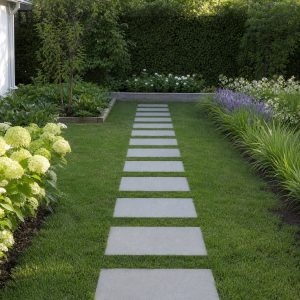
Flush Brick Mowing Edge
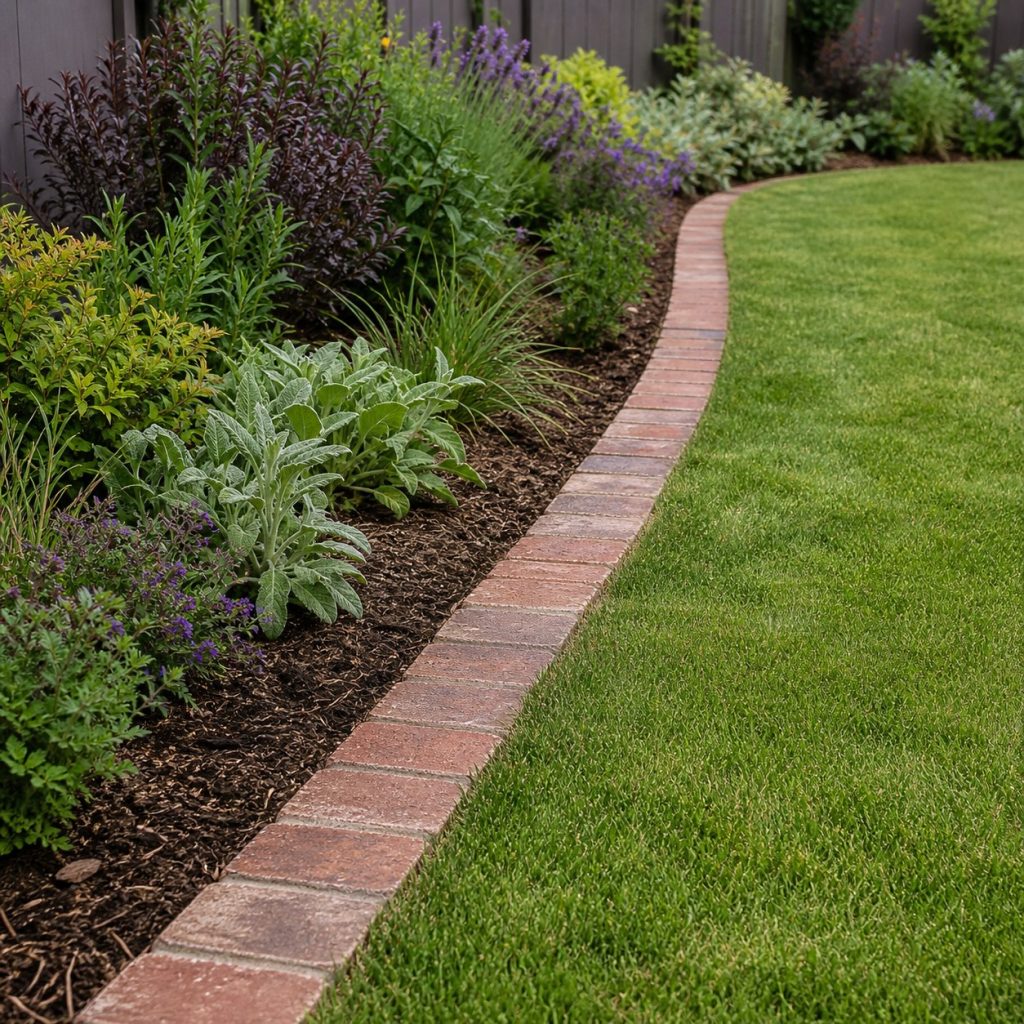
Bricks set flush with the lawn can support mower wheels and reduce trimming. Use exterior-rated units on a prepared base, maintain consistent elevation, and avoid abrupt edges where the strip crosses a walking route.
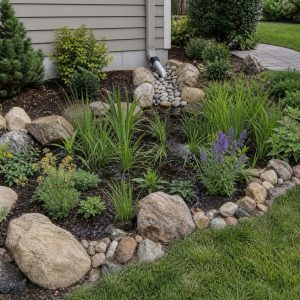
Low Natural Stone Border
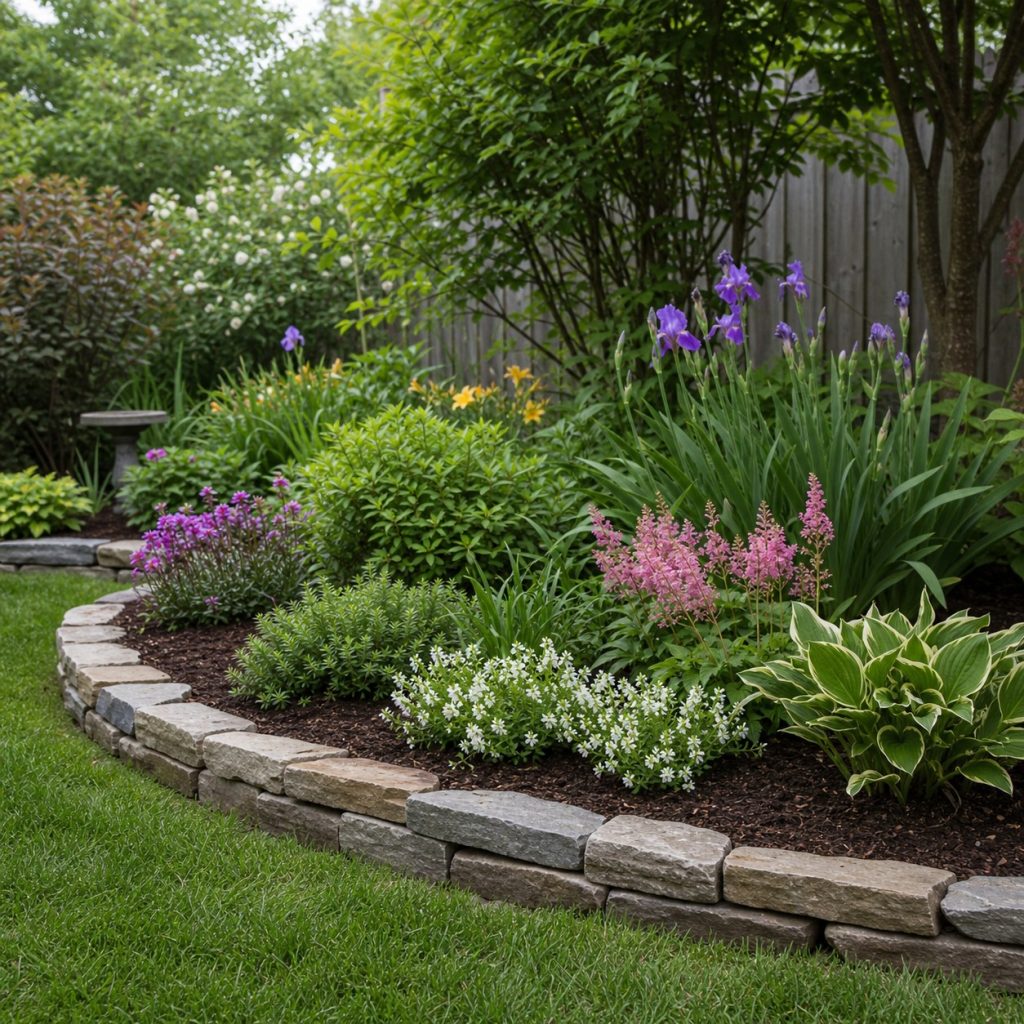
Natural stone suits informal beds but irregular pieces need careful seating. Select broad stable faces, bury enough depth to resist movement, and keep loose or sharp stones out of paths and play areas.
Cedar Board Bed Edge
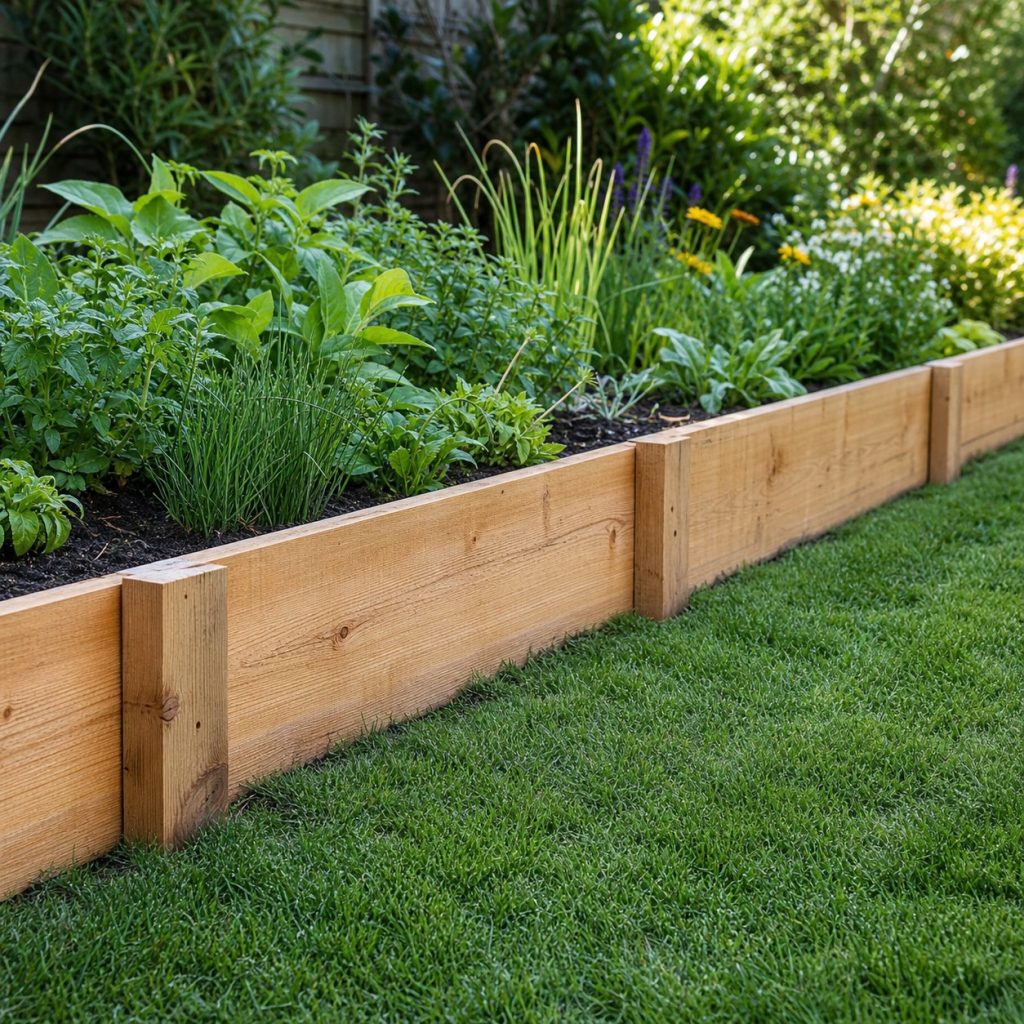
A cedar or naturally durable board makes a crisp economical divider. Keep stakes on the bed side, use corrosion-compatible fasteners, avoid treated-wood uses that conflict with the project, and expect eventual replacement at soil contact.
Weathering-Steel Curve
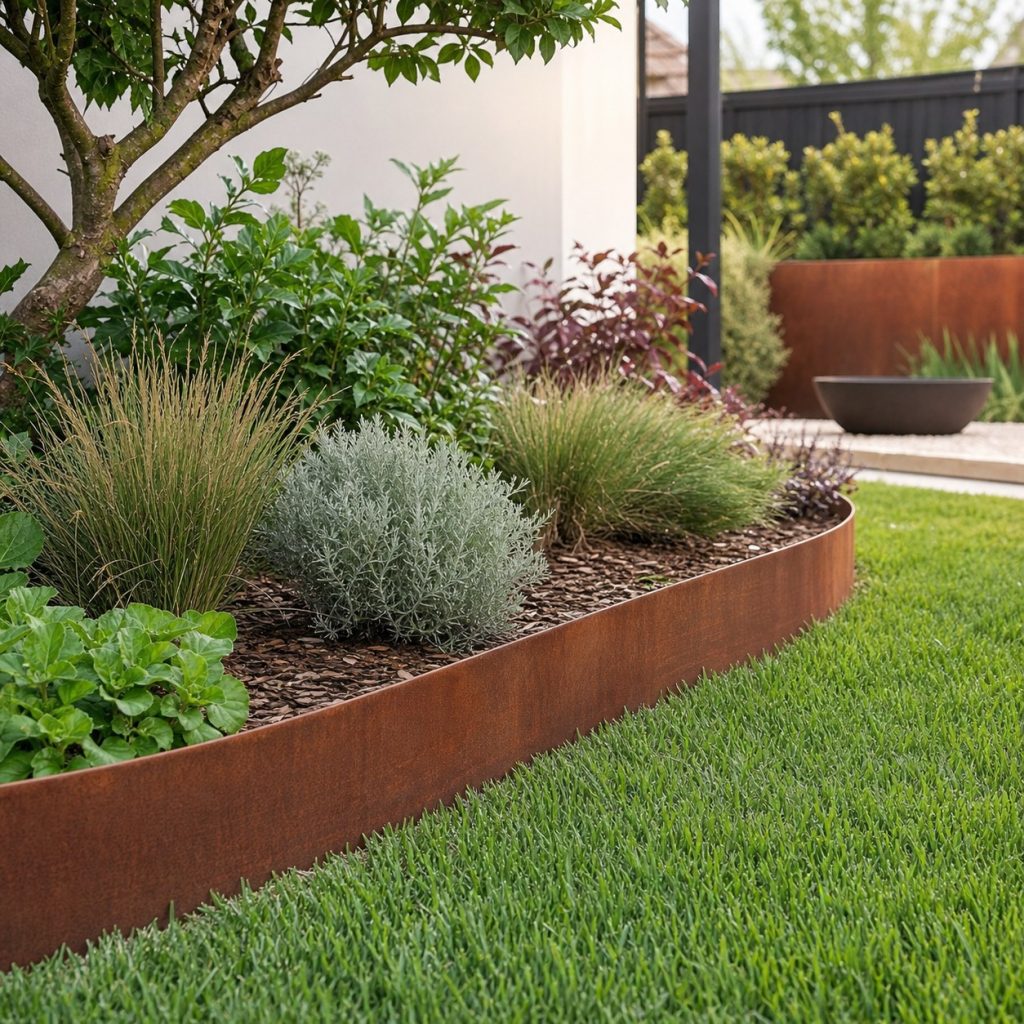
Metal edging can form tight curves with minimal visual weight. Cap or hem exposed edges, secure every connector, follow the manufacturer’s installation system, and keep any raised metal away from feet, hoses, and mower blades.
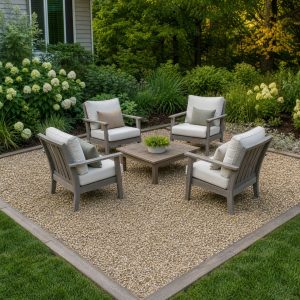
Reclaimed-Look Paver Edge
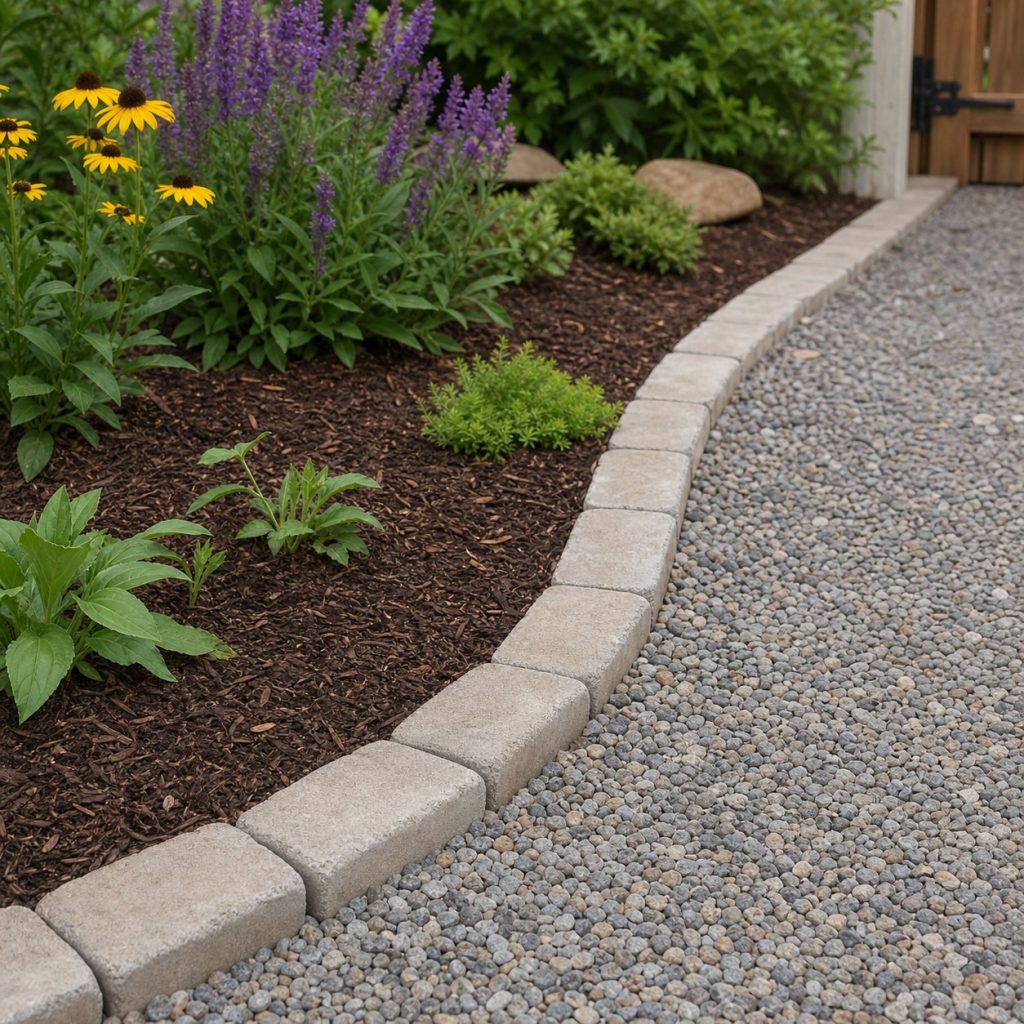
Pavers can bridge the scale between a bed and a hardscape route. Use sound exterior units rather than unknown contaminated salvage, prepare a stable base, and include restraint where gravel pressure could spread the line.
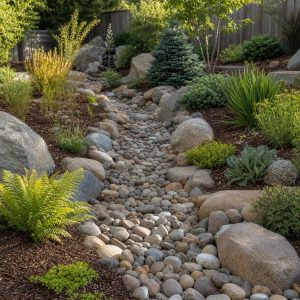
Gravel Drip Edge Border
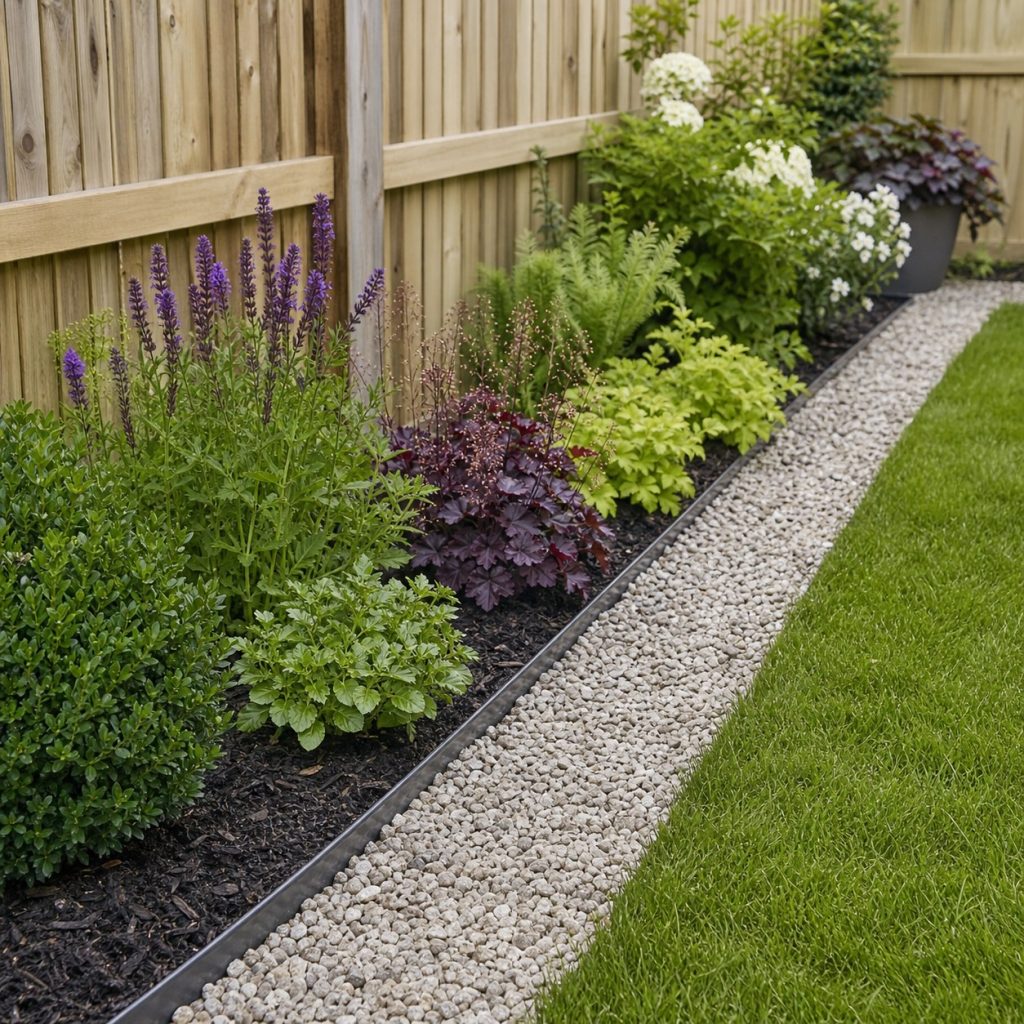
A gravel strip can catch drips and provide inspection space along a fence or wall. Maintain drainage away from structures, contain the aggregate, and avoid burying siding, posts, root flares, or weep openings.
Living Groundcover Edge
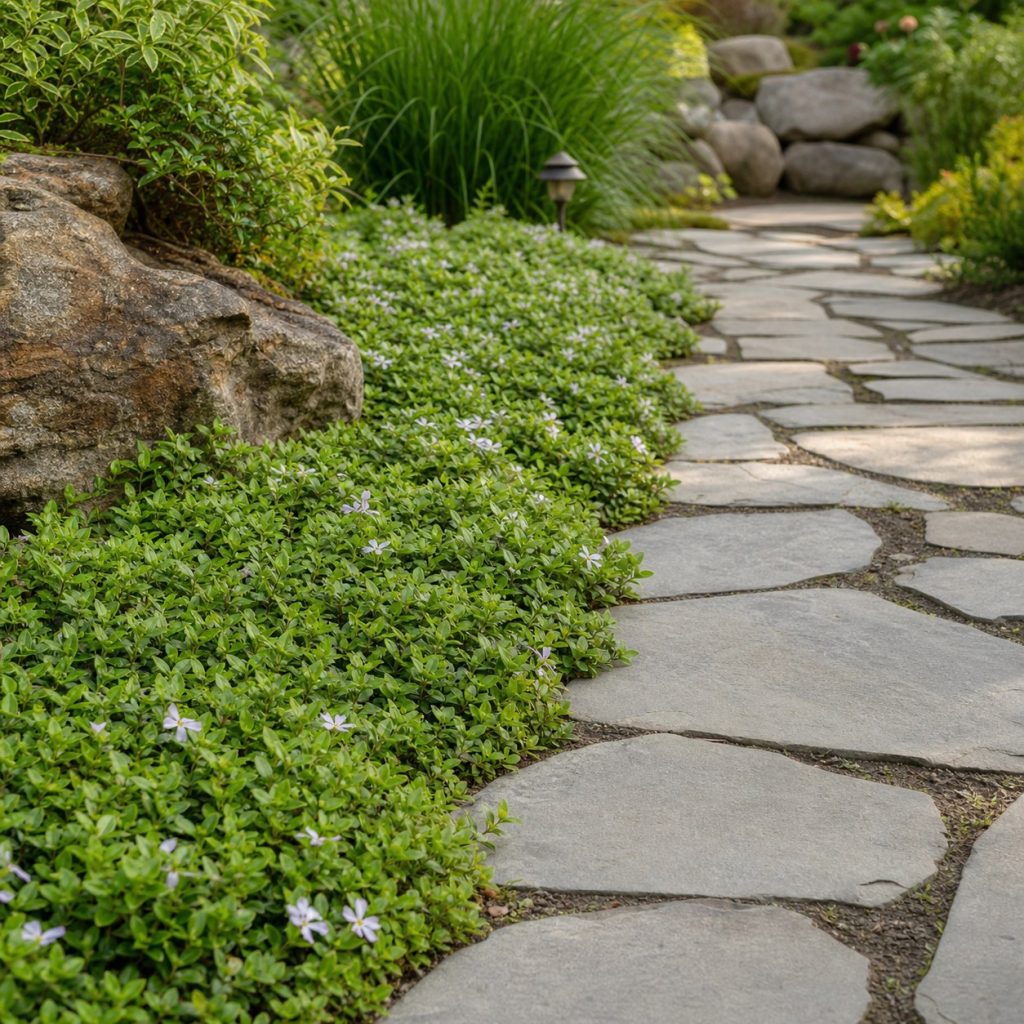
A living edge offers a softer transition where physical containment is not essential. Choose noninvasive plants suited to the region and keep growth trimmed away from walking surfaces, drains, utilities, and tree trunks.
Edging Alignment and Maintenance
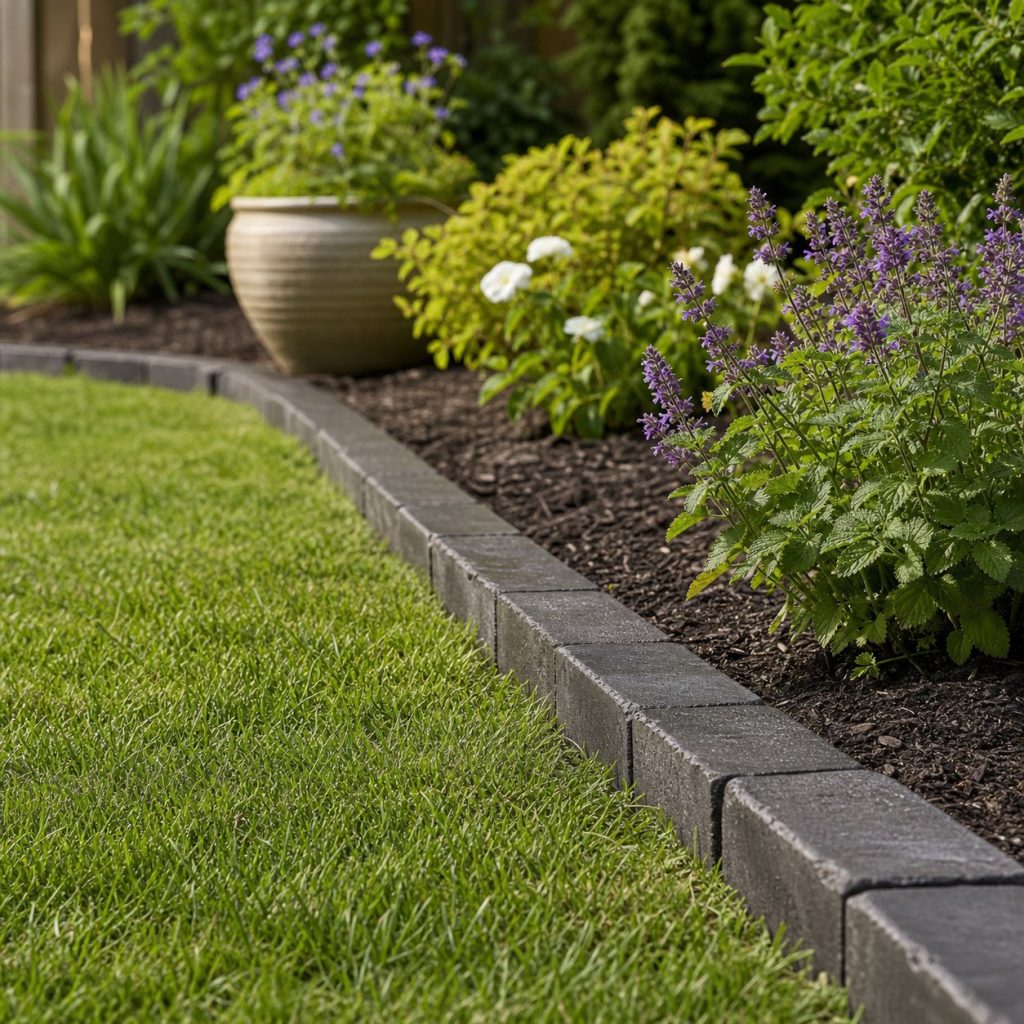
Use a hose or marking paint to test curves before excavation, then check the finished height from both sides. Relevel frost-heaved pieces, replace decayed stakes, remove sharp projections, and restore migrated mulch or gravel promptly.
Planning checklist
- Identify whether the edge retains soil, mulch, gravel, or turf.
- Check utilities and roots before staking or trenching.
- Prepare a stable base appropriate to the material.
- Keep path crossings low, visible, and free of sharp edges.
- Use corrosion- and decay-compatible materials.
- Plan seasonal inspection for heave, movement, and overgrowth.
These concepts and generated images are general planning inspiration, not measured drawings, drainage calculations, equipment-clearance instructions, accessibility designs, engineered plans, or tested load-rated structures. Verify dimensions, soil and drainage, roots and utilities, lumber and hardware, structural and wind loads, equipment manuals, service access, electrical and plumbing work, water and chemical safety, accessibility, permits, and local requirements for the actual project. Use qualified arborists, engineers, HVAC and pool technicians, electricians, plumbers, drainage professionals, and other licensed trades where those hazards or systems apply.
Frequently asked questions
What garden edging lasts the longest?
Service life depends on climate, soil, installation, corrosion, frost, and maintenance. Stone, masonry, and suitable metal can last well when installed on an appropriate base.
Should edging be flush with the lawn?
A flush mowing strip can reduce trimming and trip risk. Some retaining edges must stand higher, but keep them away from walking routes and mower blades.
Can edging damage tree roots?
Deep trenching and stakes can injure roots. Avoid the root flare and major roots, minimize excavation, and consult an arborist near valuable trees.