Project planning guide
Before you build
Use the reference image and planning notes as a starting point. Confirm dimensions, loads, materials, local codes, and site conditions before purchasing or cutting.
- Garden Projects
- 8 reference images
- Print-friendly guide
A small wooden garden bridge can cross a dry creek, shallow drainage swale, or planted depression, but it still needs sound bearings, weather-resistant framing, a stable walking surface, and safe approaches. These concepts are for low residential landscape crossings, not vehicle bridges, deep water, or unverified structural spans.
Low Arched Bridge With Rails
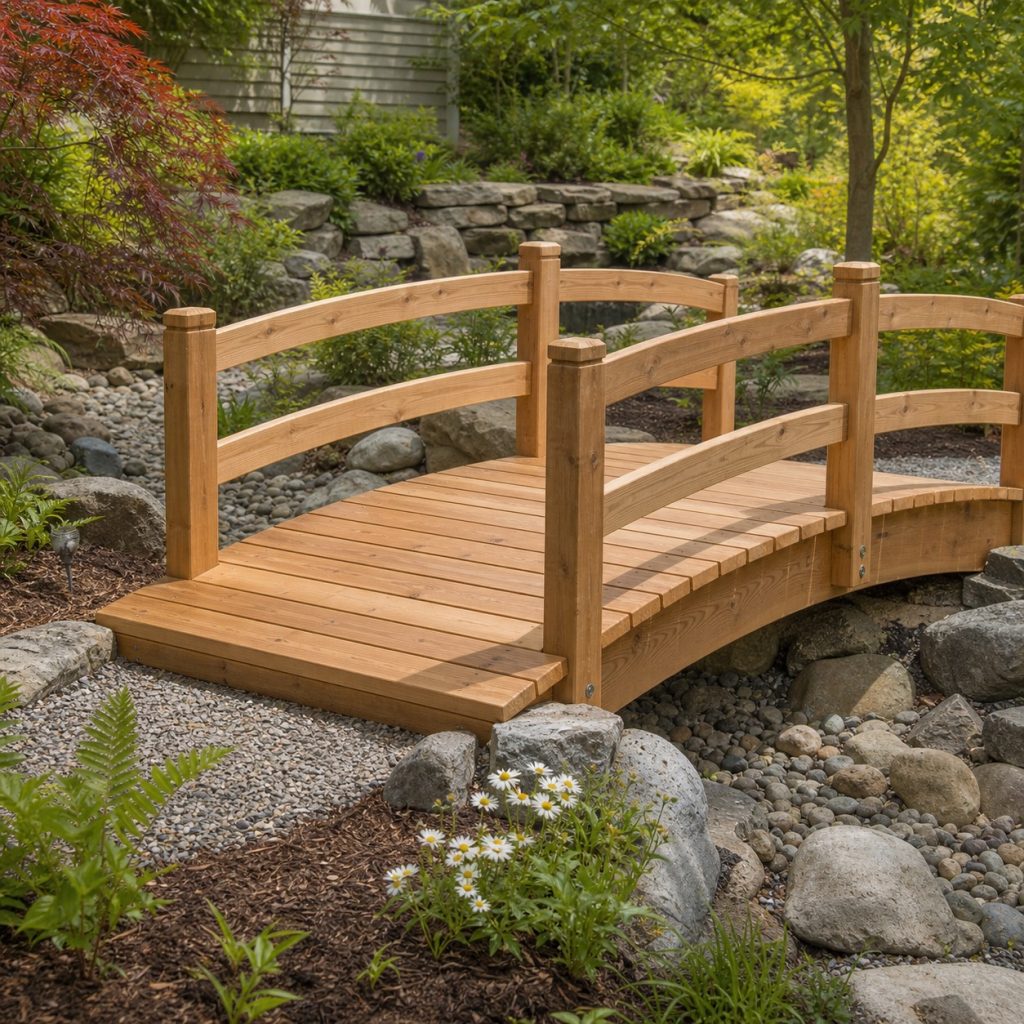
A gentle arch creates a clear focal point without requiring a steep climb. Curved structural members need a verified method such as properly designed laminated pieces or accurately cut rated stock; decorative rails cannot compensate for weak stringers. Keep both approaches level and visible.
Flat Bridge Over a Shallow Swale
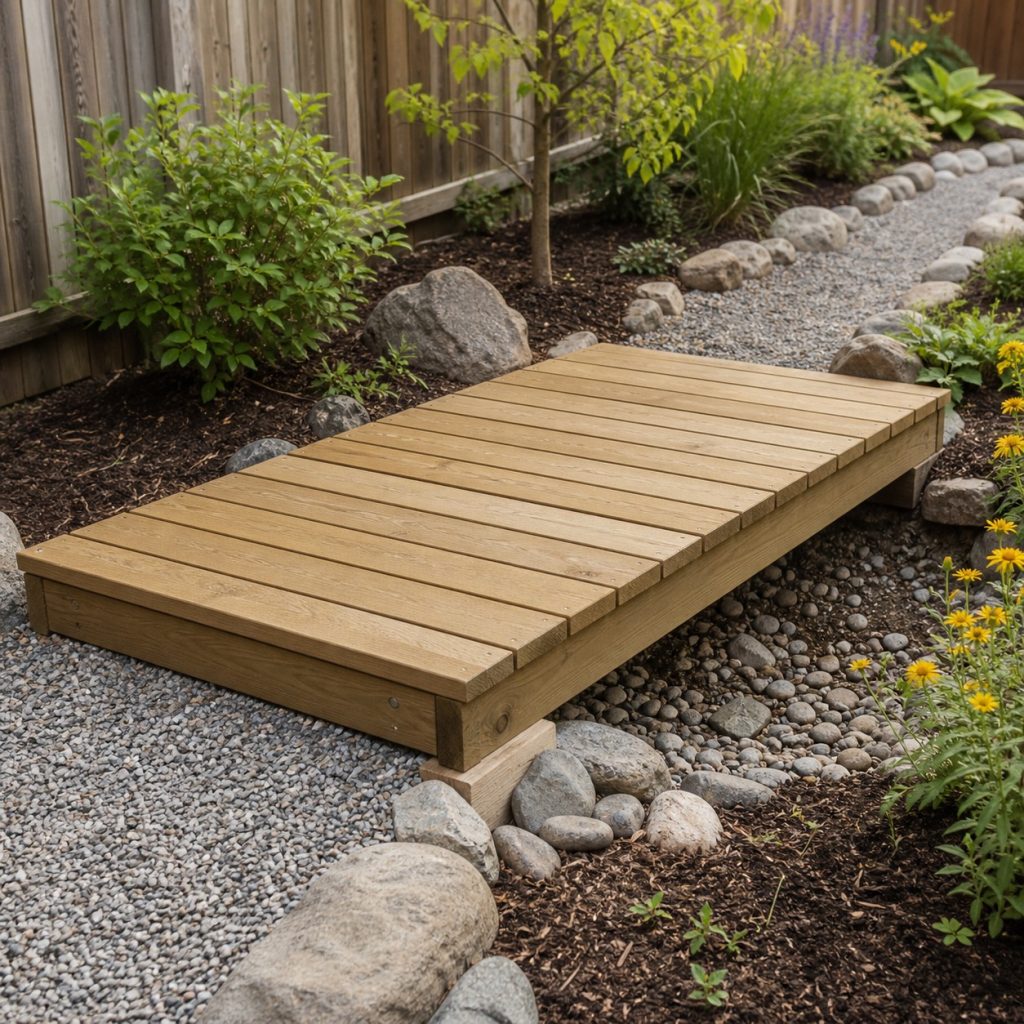
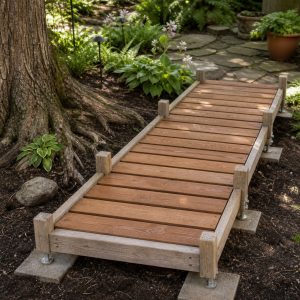
A nearly level bridge is easier to walk and simpler to frame. Set straight beams on solid drained bearings beyond the soft channel edges, add blocking to keep them upright, and provide a firm transition from path to deck. Preserve the swale rather than restricting its intended flow.
Build Matching Curved Stringers
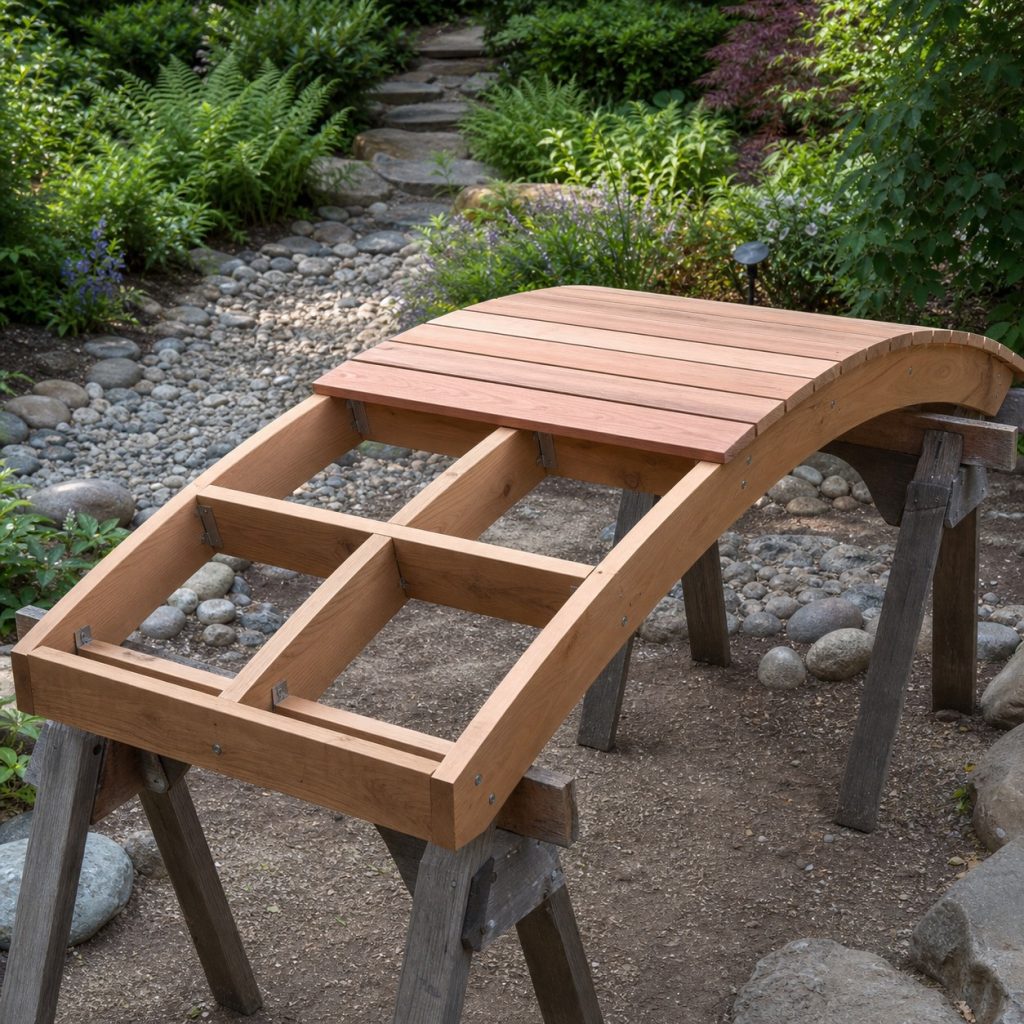
Lay out one full-size curve and use it to create matching members. Do not cut deep arcs from undersized lumber without checking the remaining section. Assemble the frame square with cross blocking before adding decking, and obtain qualified structural guidance for anything beyond a short decorative crossing.
Prepare Firm End Bearings
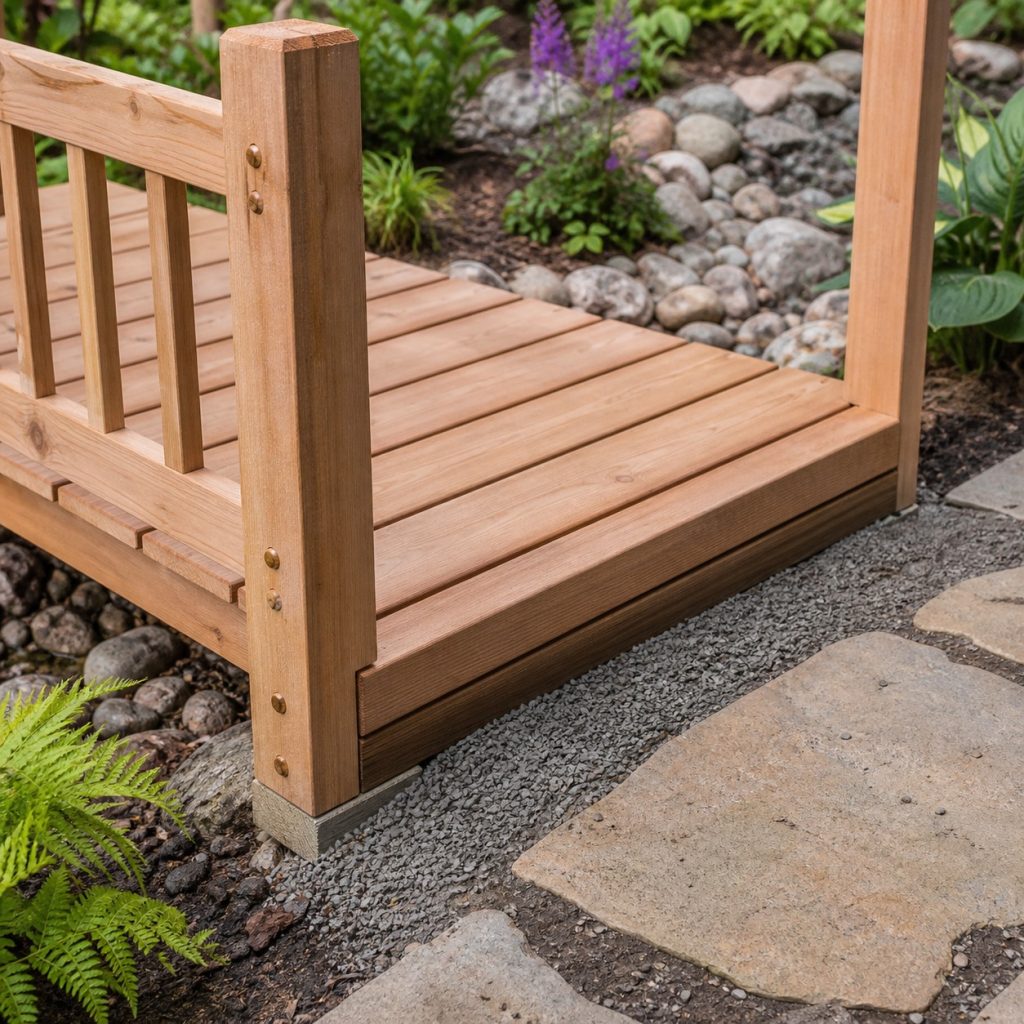
Each end needs uniform support that will not settle into wet soil. Excavate unsuitable material, compact an appropriate aggregate base, separate wood from trapped moisture, and direct water away from the approach. Confirm that frost, erosion, and runoff will not undermine the landings.
Japanese-Inspired Rail Details
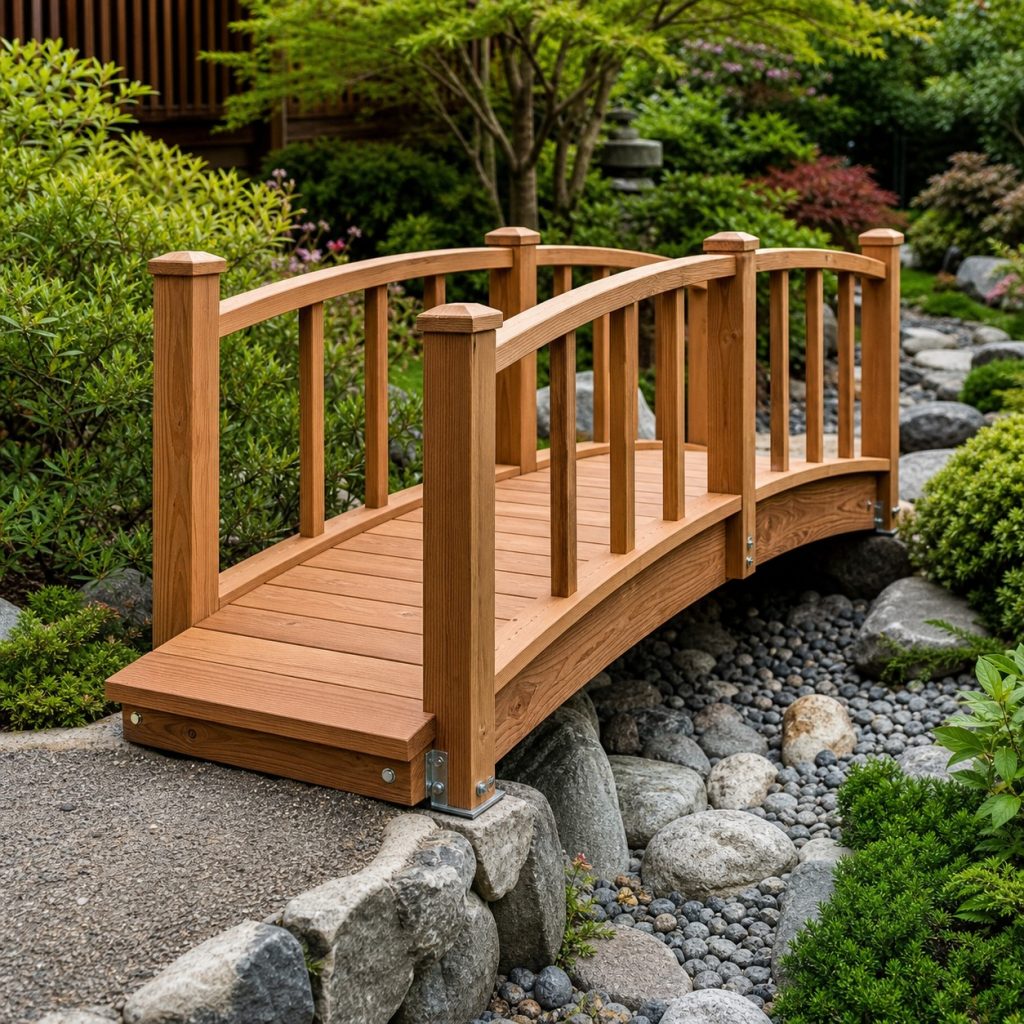
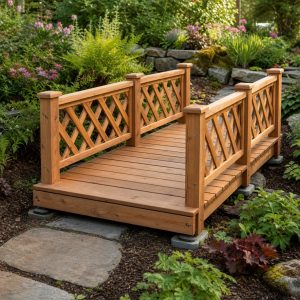
Arched rails can provide character while vertical balusters and solid posts keep the edges legible. Follow applicable guard requirements where a fall hazard exists; a decorative low rail is not automatically a compliant guard. Keep openings, heights, and connections appropriate to the site.
Wide Nearly Level Crossing
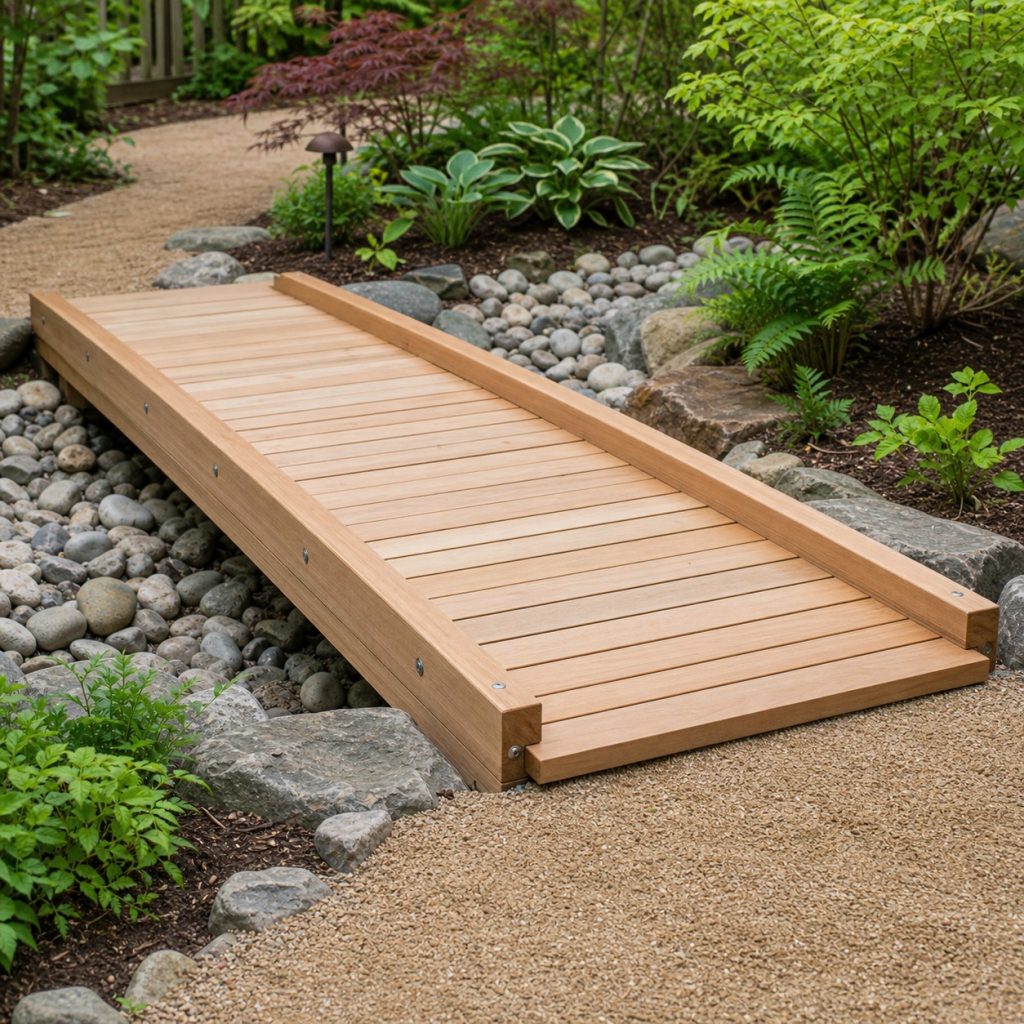
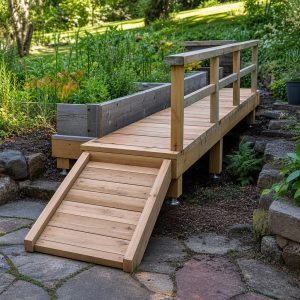
A generous clear width and low slope improve comfort for carts and many users. Raised edge curbs can help define the deck, but they also affect wheels and drainage. Accessibility depends on slope, surface, transitions, rails, and local standards, not width alone.
Simple Woodland Bridge
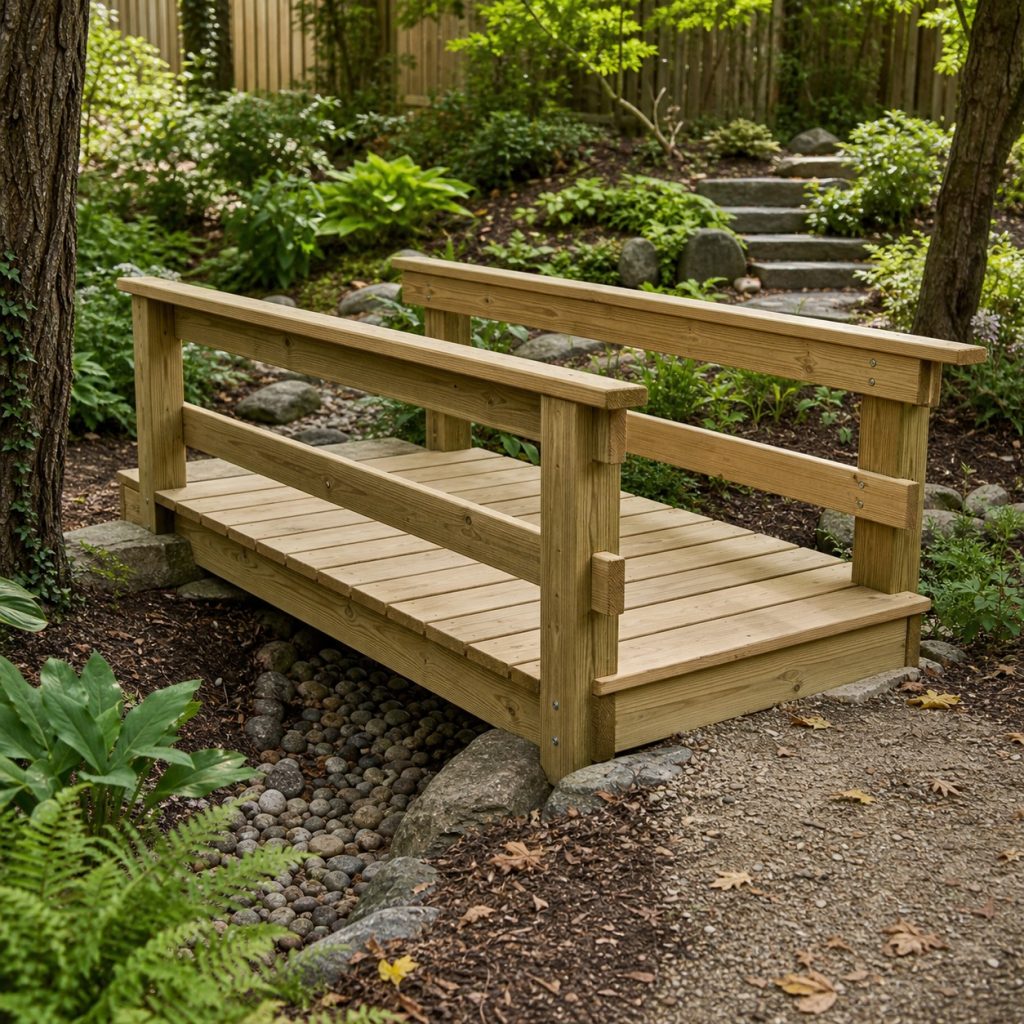
Rough-sawn lumber can suit a woodland setting when it is structurally graded or otherwise verified for the job. Remove splinters, protect cut ends, and avoid unpeeled logs or unknown reclaimed timbers. Leaf litter must be swept away so the deck can dry and remain visible.
Deck Gaps and Wet-Weather Finish
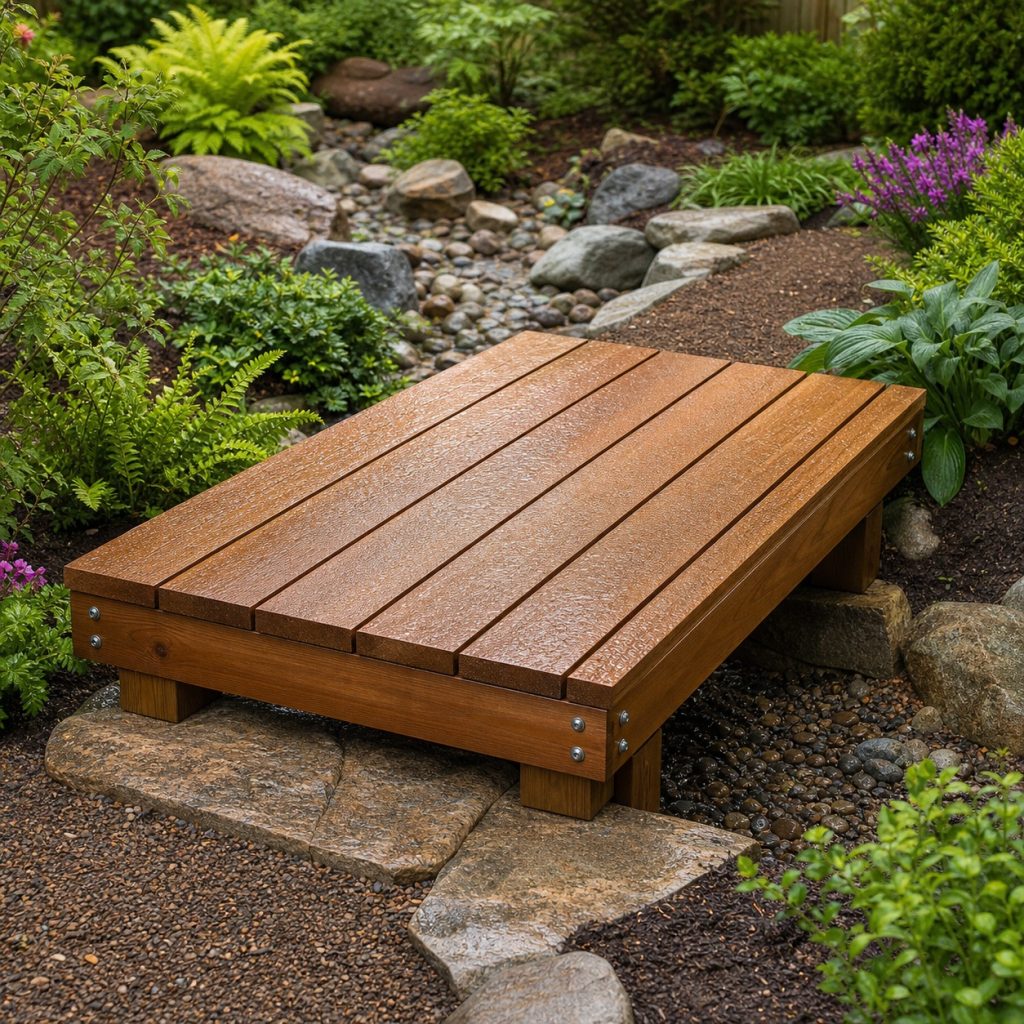
Consistent gaps let boards drain and move, while a penetrating or film finish must be rated for exterior walking surfaces. Avoid glossy coatings that become slick. Inspect fasteners, checking, algae, settlement, and end bearings regularly, especially after storms or seasonal flooding.
Planning checklist
- Limit the concept to a low pedestrian landscape crossing.
- Verify span, loads, lumber, connections, guards, and local requirements.
- Build firm drained landings beyond eroding channel edges.
- Provide stable approaches, visible edges, drainage gaps, and traction.
- Inspect after storms for settlement, rot, loose hardware, and slippery growth.
These concepts are general planning guidance, not engineering drawings or tested load-rated plans. Verify dimensions, lumber grade and treatment, structural loads, foundations, fasteners, coatings, utility locations, accessibility, wildlife guidance, property rules, permits, and local building requirements for the actual site. Use qualified local professionals for structural, fall, swing, bridge, retaining, electrical, plumbing, or water hazards.
Frequently asked questions
Can a wooden garden bridge cross running water?
That introduces hydraulic, erosion, environmental, permitting, and structural issues. Use qualified local professionals rather than a decorative garden plan.
Do small garden bridges need railings?
It depends on fall height, users, slope, local rules, and risk. Decorative rails should not be treated as compliant guards without verification.
How do you keep a wooden bridge from rotting?
Use suitable lumber, drained bearings, protected end grain, open deck gaps, compatible fasteners, and a maintenance schedule that lets every member dry.