Project planning guide
Before you build
Use the reference image and planning notes as a starting point. Confirm dimensions, loads, materials, local codes, and site conditions before purchasing or cutting.
- Garden Projects
- 8 reference images
- Print-friendly guide
A wooden garden obelisk gives beans, clematis, sweet peas, and other light climbers a freestanding support while adding vertical structure to a bed. The best design is sized to the mature plant, reachable for pruning, rigid before vines are added, and detailed so water does not linger on end grain.
Classic Tapered Cedar Obelisk
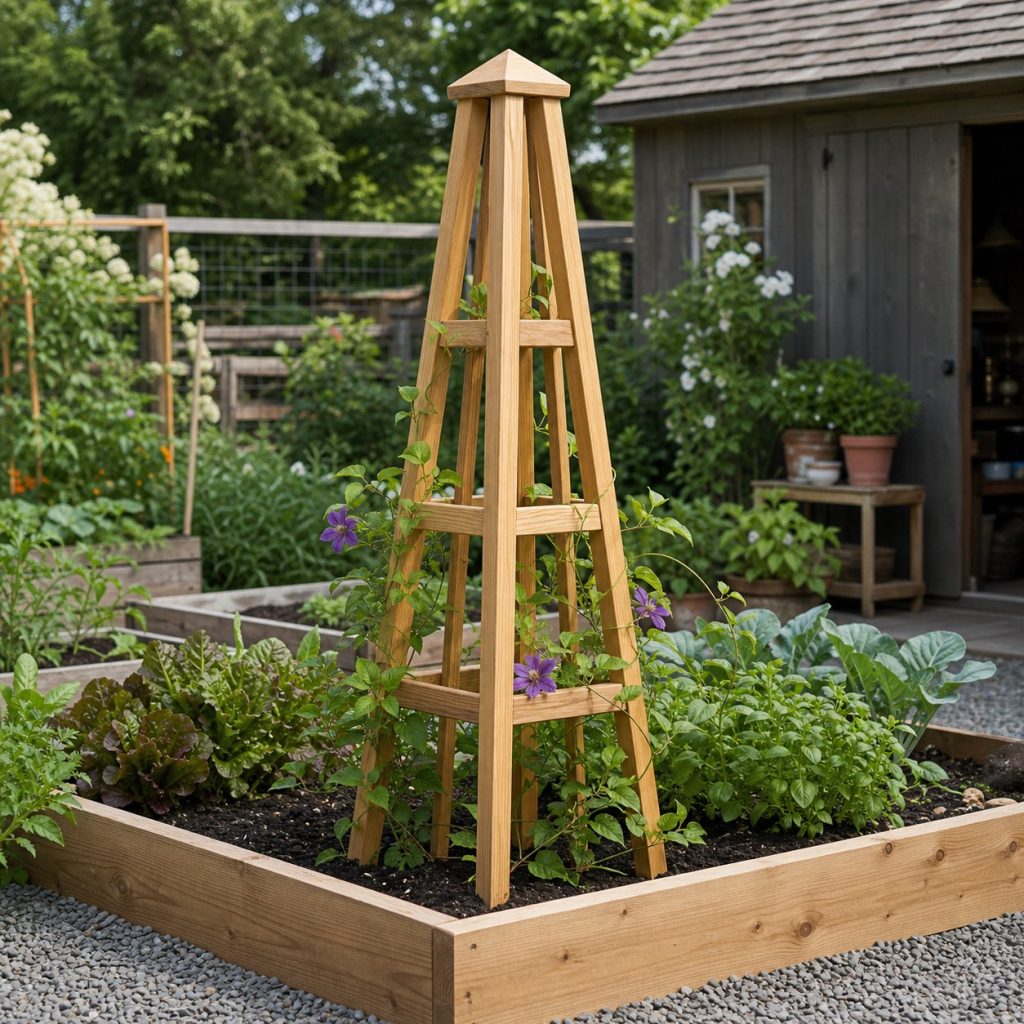
A classic form uses four legs that taper toward a small cap. Assemble two matching side frames on a flat surface, join them with equal crosspieces, and compare both diagonals before fastening the top. A broad base improves stability and leaves useful soil around the plant crown.
Square Four-Leg Frame
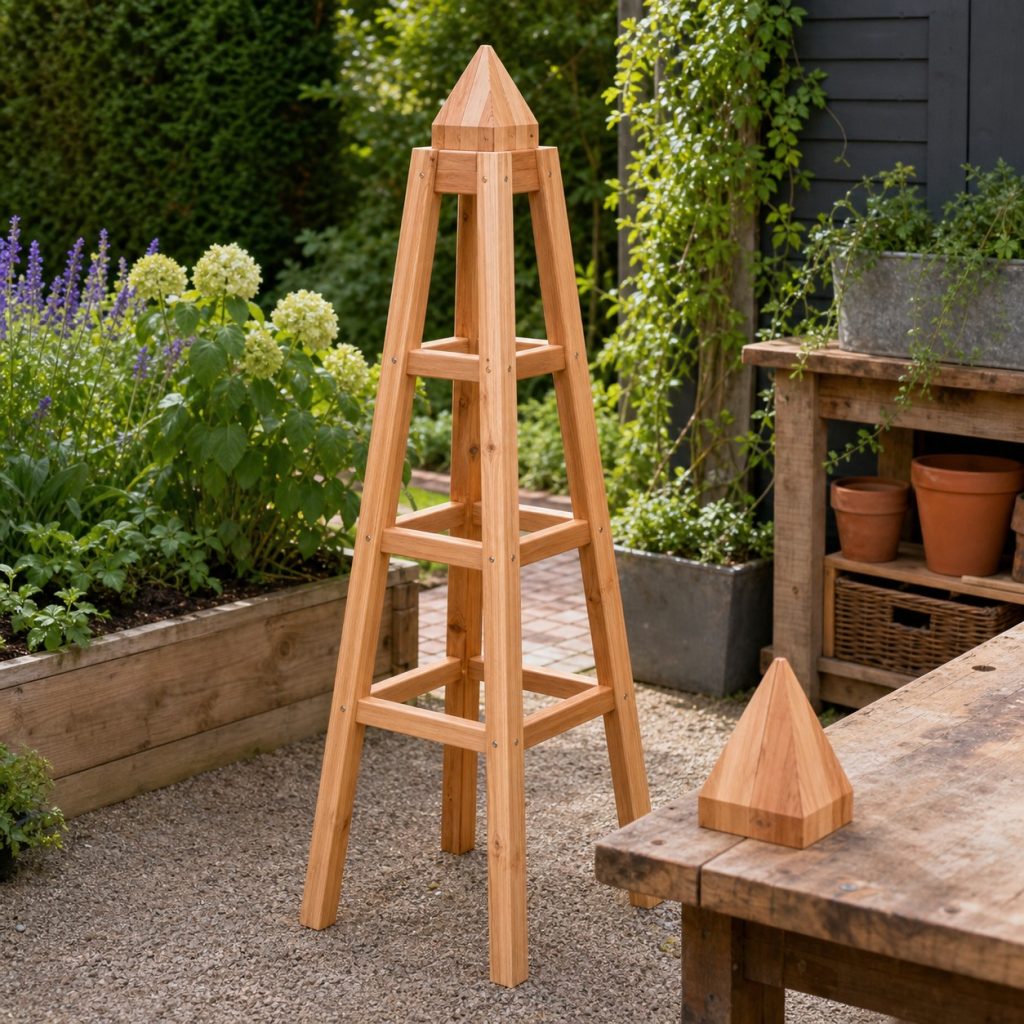
Straight legs and square frames simplify layout because every rung can be cut in matching pairs. Use spacer blocks to keep the levels parallel, predrill near board ends, and keep the lowest rail above wet soil. This version is easy to resize without changing the basic joinery.
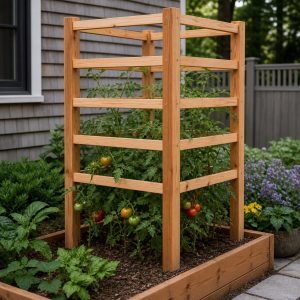
Pyramid Trellis for Vegetables
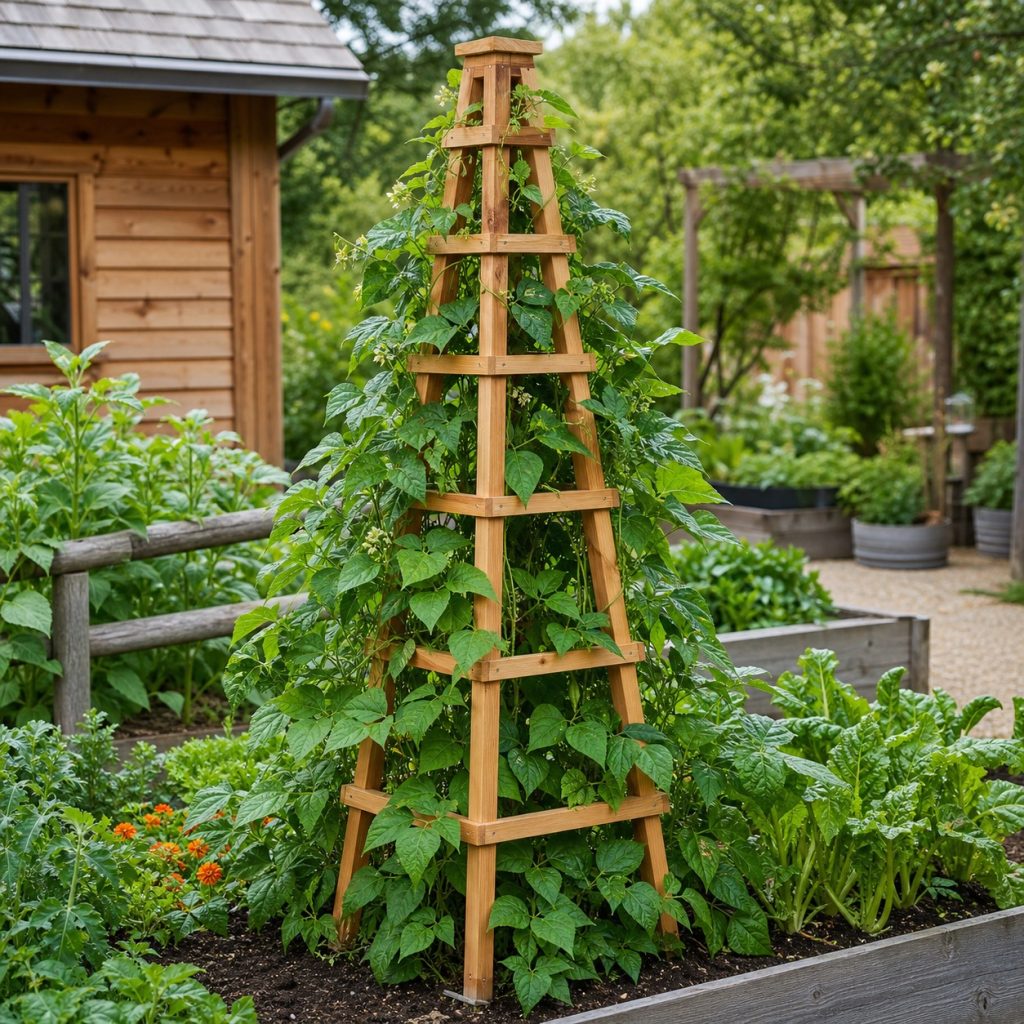
Vegetable vines need open picking access as well as height. Space the rails so young growth can be guided without creating a dense wooden wall, and keep the finished top within safe reach. Place the structure before sowing so anchors and feet do not disturb established roots.
Compact Obelisk for a Planter
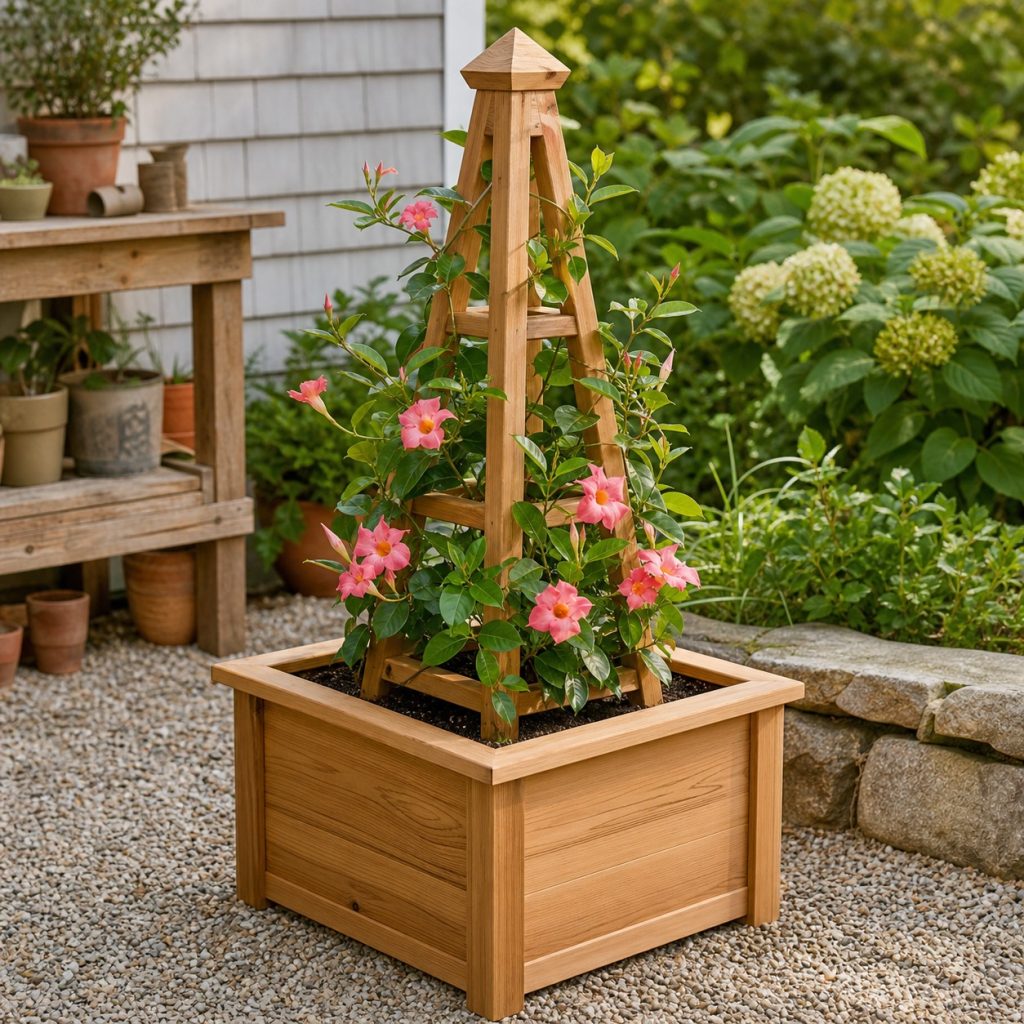
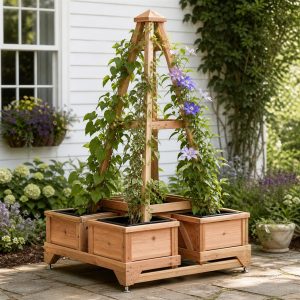
A planter version must fit the container without occupying most of the root zone. Build a lighter, shorter frame, secure it to the planter structure rather than relying on loose potting mix, and confirm that the combined planter and trellis cannot overturn when foliage catches wind.
Lattice-Panel Obelisk
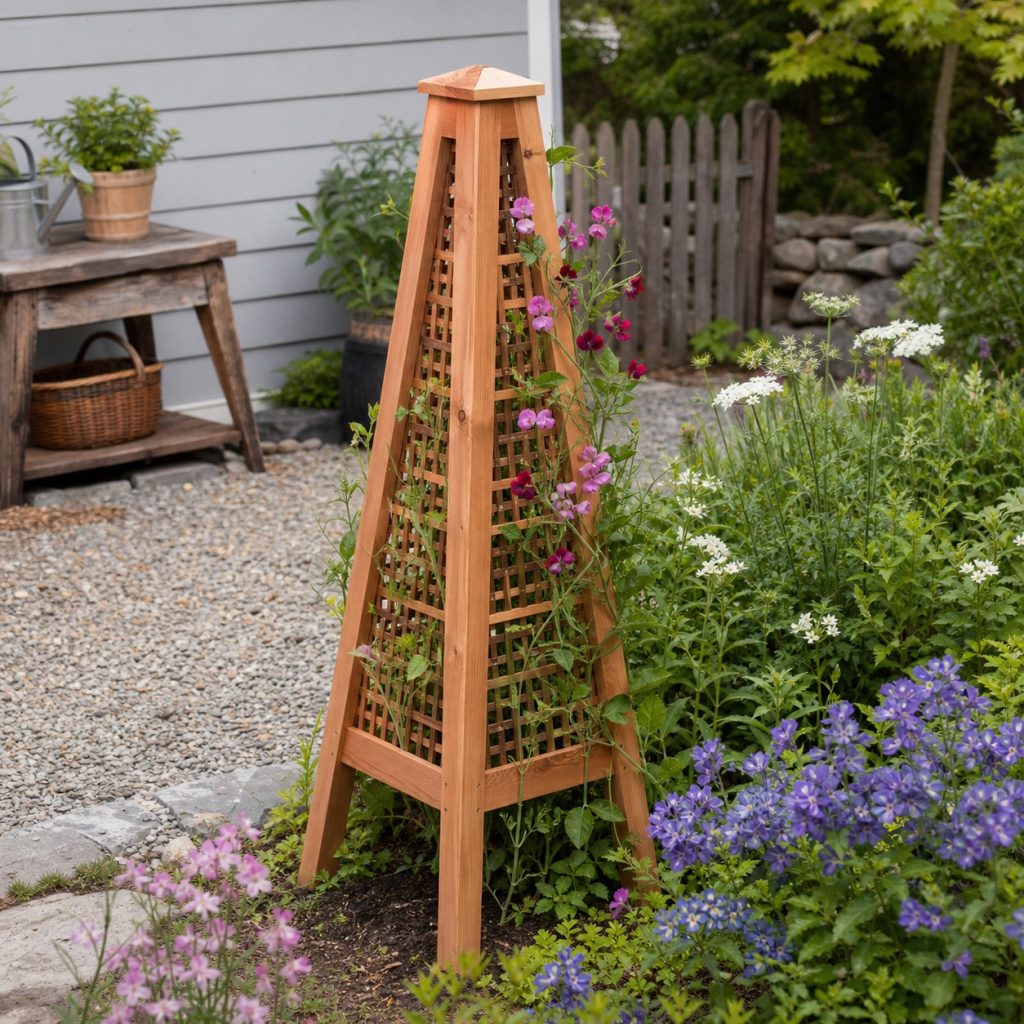
Lattice adds attachment points for delicate vines, but it also adds wind area and more joints. Capture each panel inside structural corner legs, leave openings large enough for pruning, and keep thin lattice clear of soil. The legs and top frame, not the lattice, should carry the structure.
Weather-Shedding Top Cap
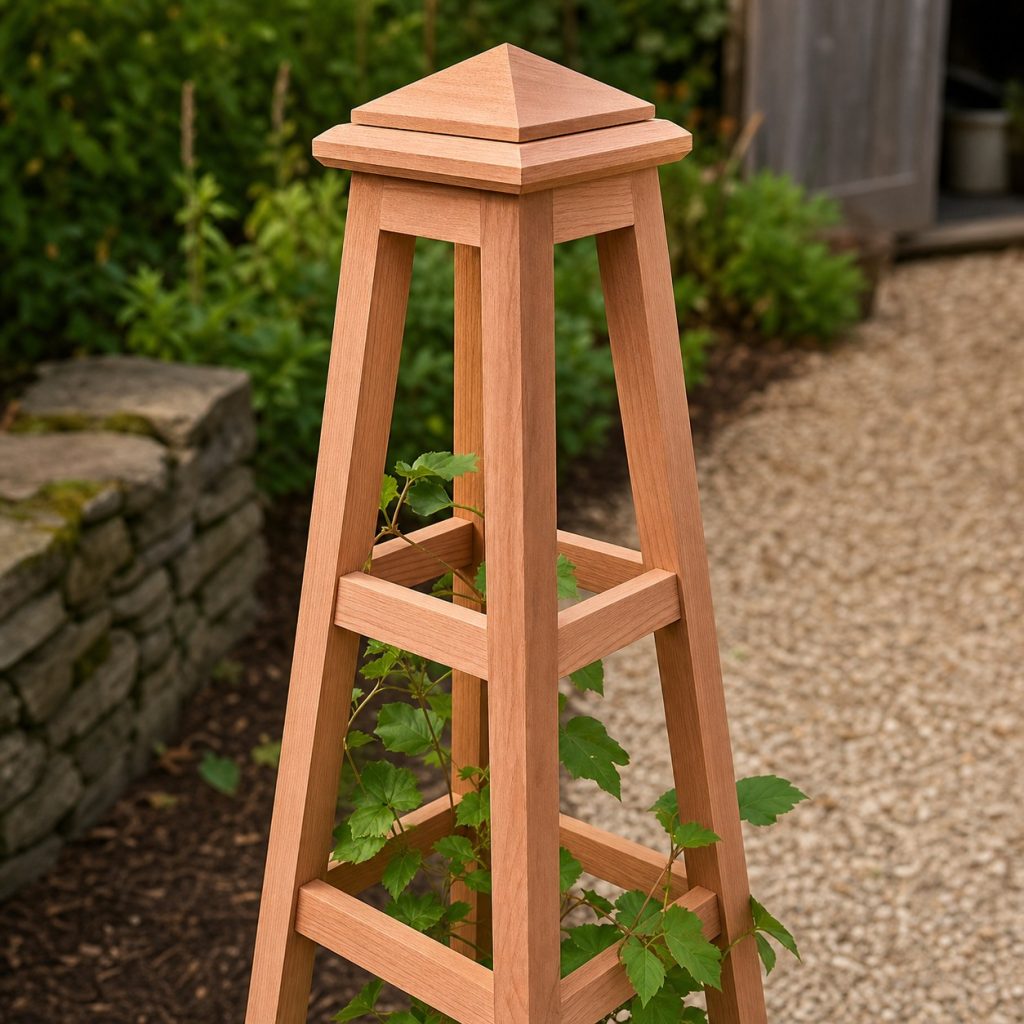
The upper joint gathers four angled or tapered members in a small area. A fitted cap or finial can lock the assembly and protect end grain, provided it sheds water and remains removable for repair. Ease sharp corners and seal every cut before the obelisk goes outside.
Ground Anchors and Bed Clearance
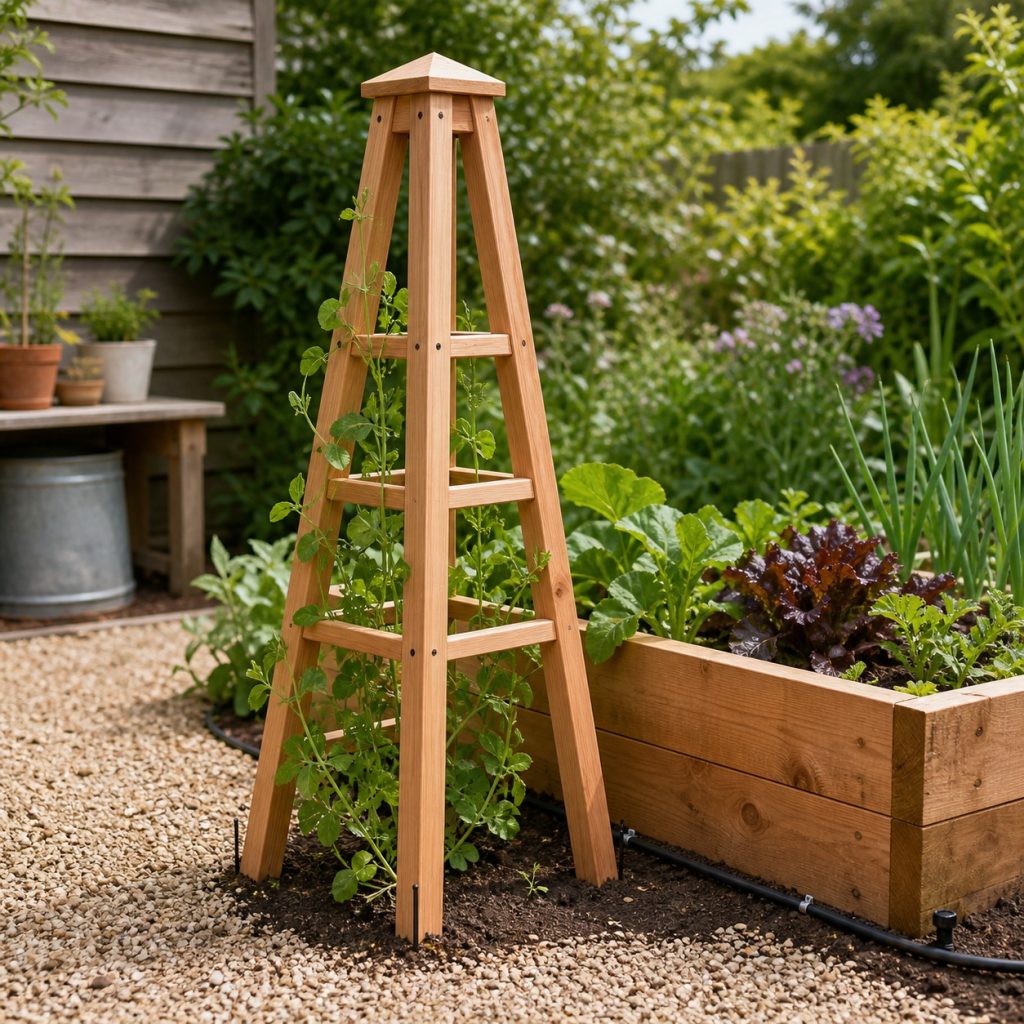
A mature vine can turn a light trellis into a sail. Use anchors suited to the soil and frame, keep irrigation tubing visible and serviceable, and avoid driving stakes near buried utilities. Recheck plumb after the first heavy rain and after the plant gains weight.
Exterior Paint or Clear Finish
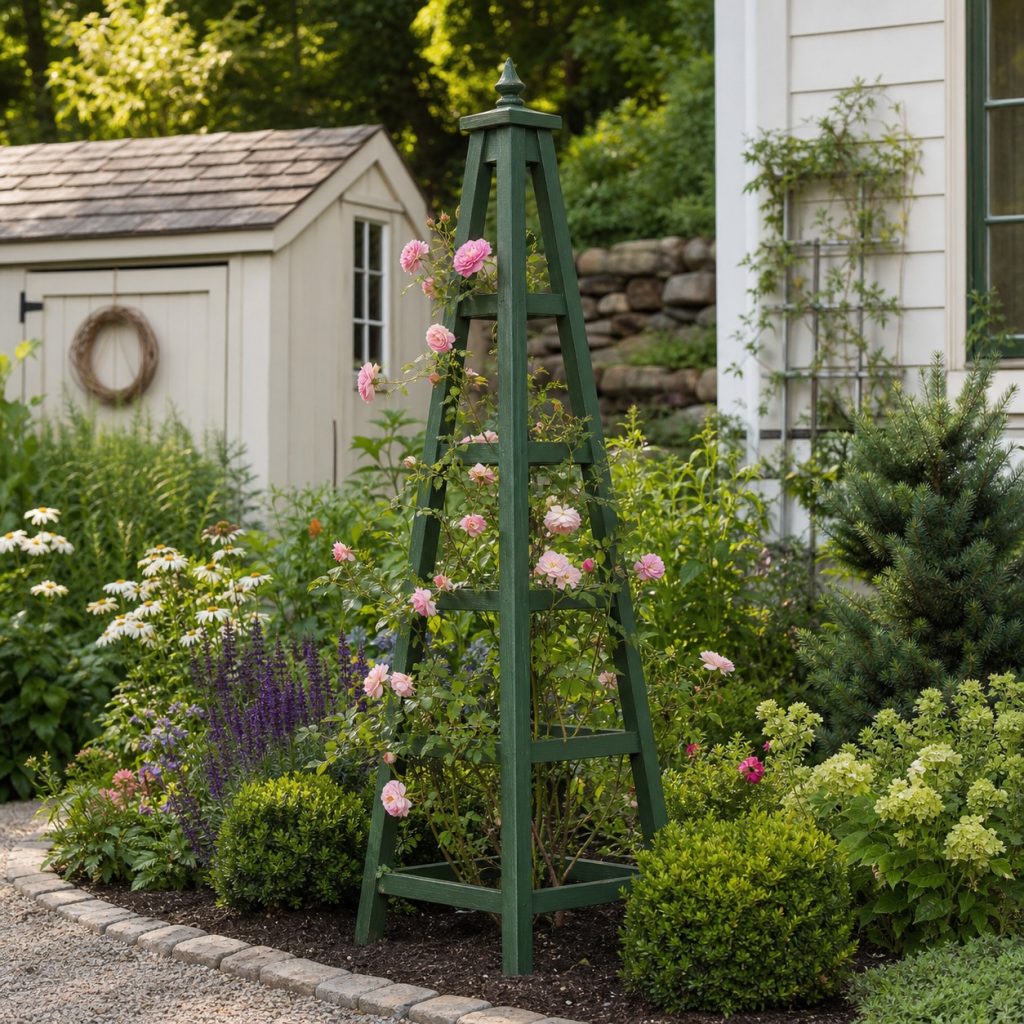
Paint can make an obelisk recede into foliage, while a clear exterior finish keeps the wood visible. Apply the complete coating system to dry prepared lumber, cover end grain, and allow it to cure before planting. Inspect horizontal ledges yearly because they hold moisture longest.
Planning checklist
- Choose the vine and mature weight before setting height and rung spacing.
- Build matching side frames and compare diagonals before final fastening.
- Keep untreated end grain and thin lattice away from wet soil.
- Anchor for local wind, soil, planter weight, and seasonal foliage.
- Use exterior-compatible fasteners and maintain the finish and joints.
These concepts are general planning guidance, not engineering drawings or tested load-rated plans. Verify dimensions, lumber grade and treatment, structural loads, foundations, fasteners, coatings, utility locations, accessibility, wildlife guidance, property rules, permits, and local building requirements for the actual site. Use qualified local professionals for structural, fall, swing, bridge, retaining, electrical, plumbing, or water hazards.
Frequently asked questions
How tall should a wooden garden obelisk be?
It should support the selected plant while keeping pruning and harvesting within safe reach. Confirm the final height with the planter or bed included.
Does a garden obelisk need anchors?
Most freestanding obelisks benefit from anchoring because foliage increases wind load. Match the anchor to the soil, frame, and local exposure.
What wood works for a garden obelisk?
Naturally durable lumber such as cedar is common. Appropriately rated treated lumber may suit some parts when its label and fastener requirements match the use.