Project planning guide
Before you build
Use the reference image and planning notes as a starting point. Confirm dimensions, loads, materials, local codes, and site conditions before purchasing or cutting.
- Woodworking
- 10 reference images
- Print-friendly guide
This guide presents ten square, photorealistic views of a professional solid-beech woodworking workbench. Every concept view uses one consistent overall size: 1800 mm wide x 750 mm deep x 900 mm high.
The design uses a laminated top, front and end vises, dog holes, tool well, two drawers, lower shelf, heavy trestle legs, and drawbored mortise-and-tenon stretchers. The dimensions printed on every image are fixed project-level planning references.
10 measured woodworking views
- Complete three-quarter project view
- Front elevation and overall proportions
- Side elevation and depth
- Top view and usable surface
- Rear construction and support
- Primary joinery detail
- Storage or functional detail
- Exploded construction overview
- Project shown in a real room
- Finished project variation
1. Complete three-quarter project view
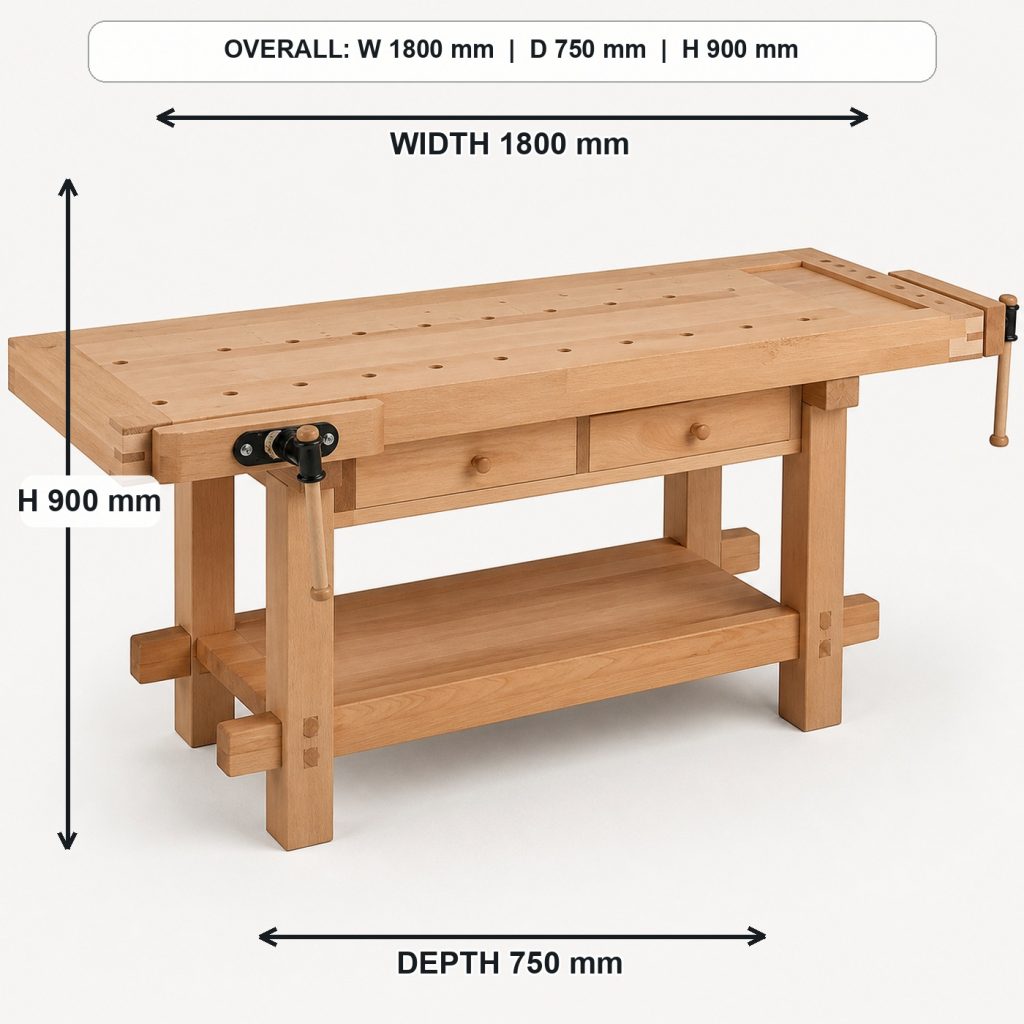
Use this complete view to judge the balance between the top, supports, storage, and overall footprint. The material direction is solid European beech, with attention to believable grain, thickness, and assembly.
Workshop check: Confirm the full width, depth, and height in the intended room before buying material.
2. Front elevation and overall proportions
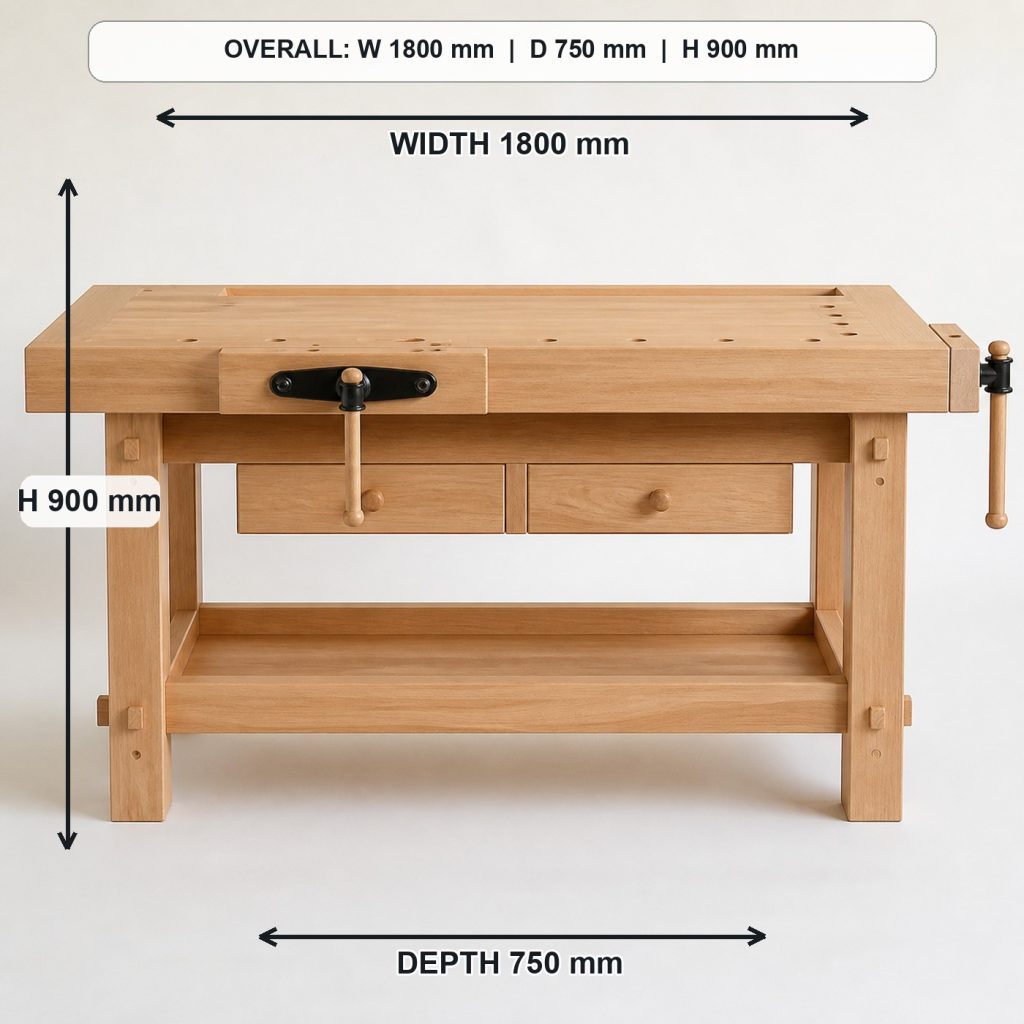
The front elevation makes symmetry, usable width, opening sizes, and floor contact easier to compare. The material direction is solid European beech, with attention to believable grain, thickness, and assembly.
Workshop check: Account for real material thickness, reveals, overlays, and hardware when sizing every opening.
3. Side elevation and depth
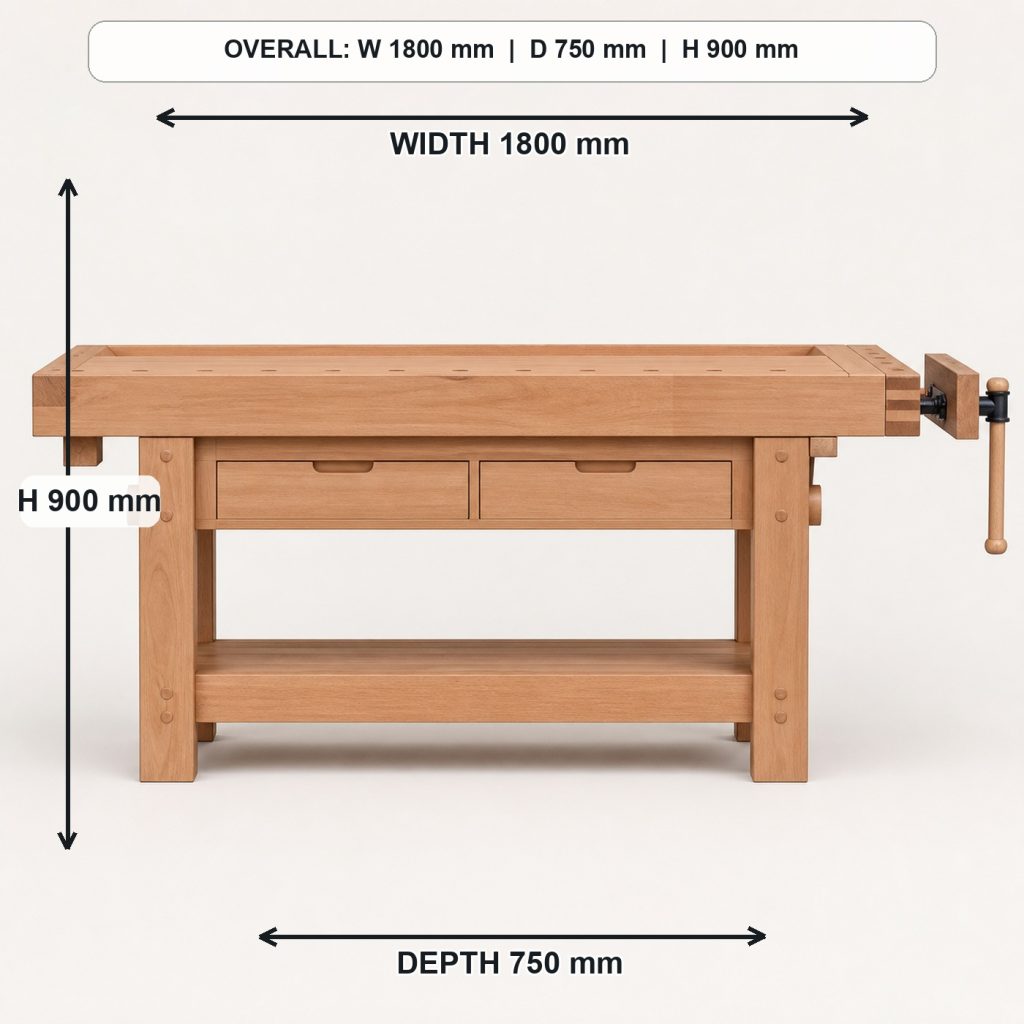
The side view clarifies depth, overhang, projection, and how far the project enters the room. The material direction is solid European beech, with attention to believable grain, thickness, and assembly.
Workshop check: Measure the project at its deepest point and preserve safe walkway or working clearance.
4. Top view and usable surface
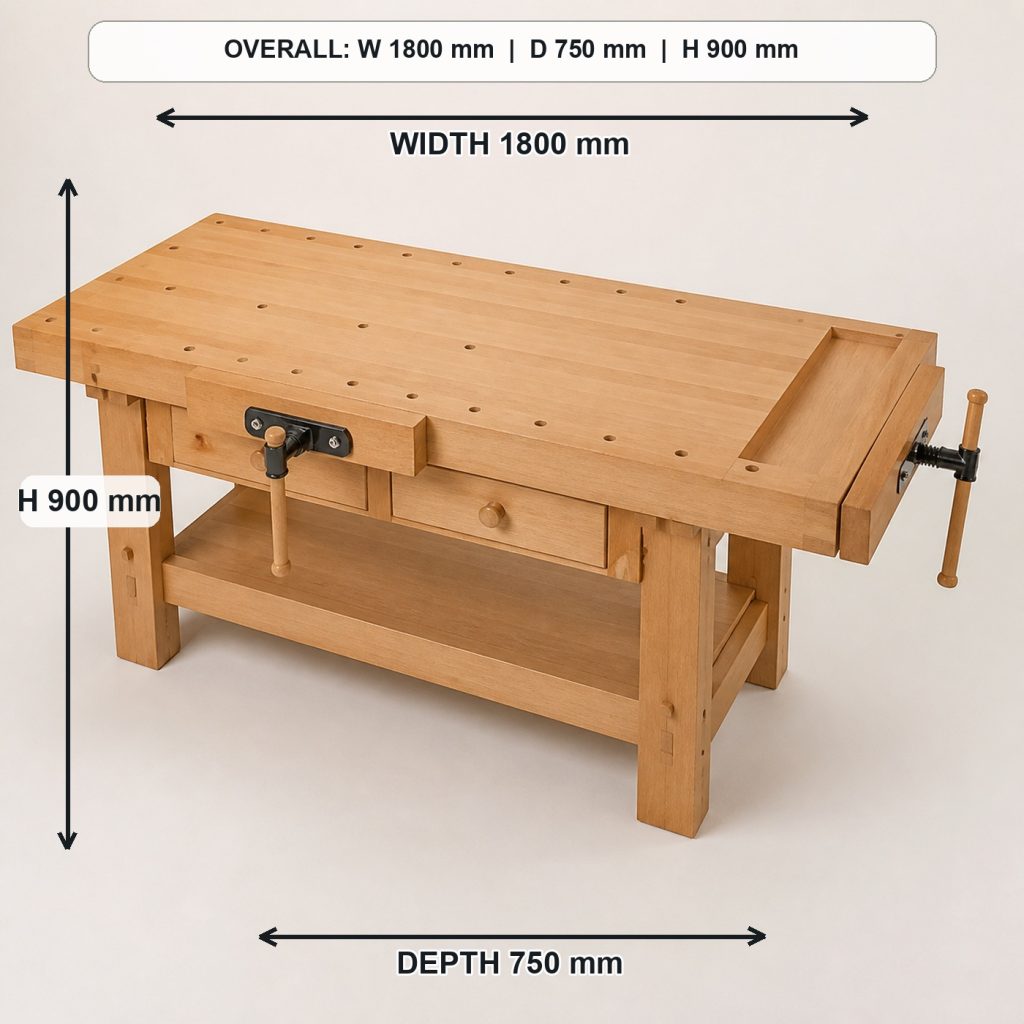
The elevated view explains the usable top surface and the relationship between front, side, and rear members. The material direction is solid European beech, with attention to believable grain, thickness, and assembly.
Workshop check: Plan for wood movement across wide solid-wood parts and avoid trapping expanding panels.
5. Rear construction and support
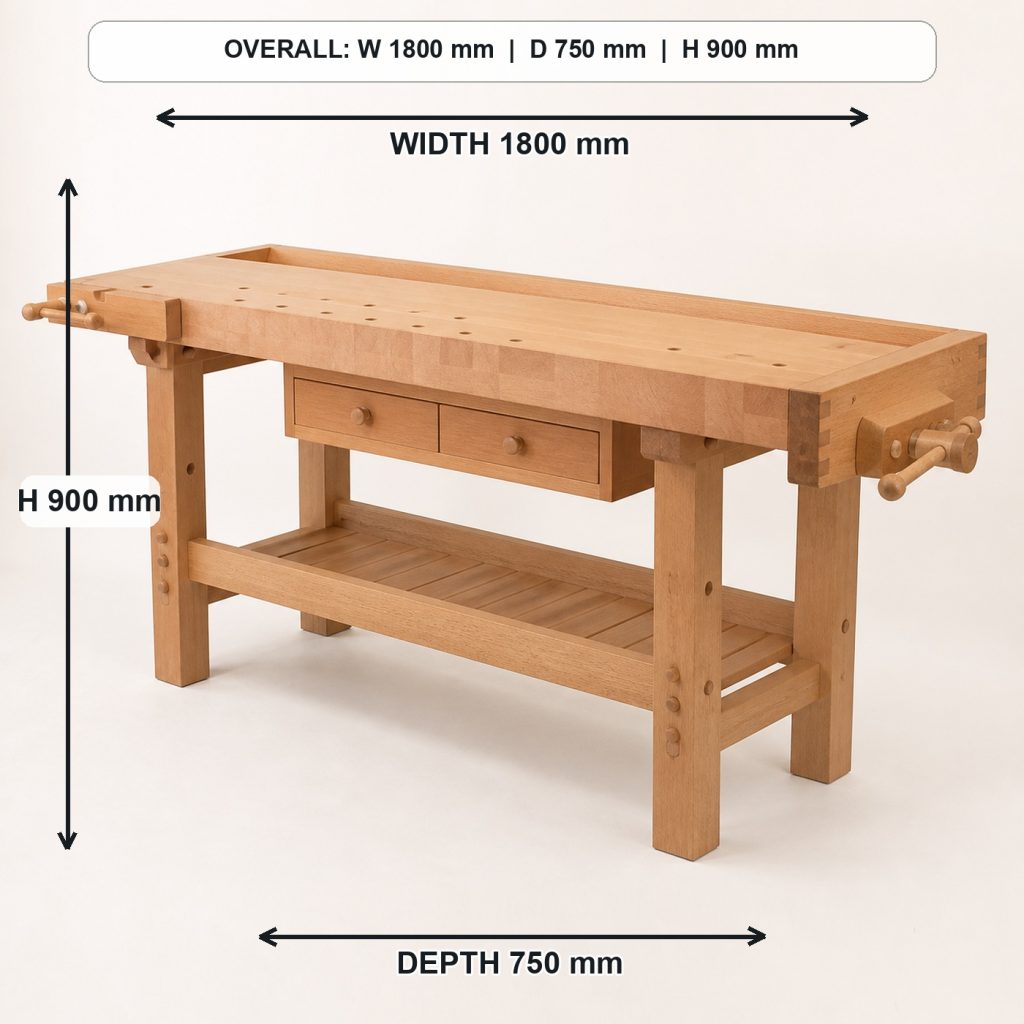
The rear view reveals backing, rails, braces, cleats, ventilation, or service access hidden from the front. The material direction is solid European beech, with attention to believable grain, thickness, and assembly.
Workshop check: Provide verified racking resistance through a back, rails, braces, or suitable joinery.
6. Primary joinery detail
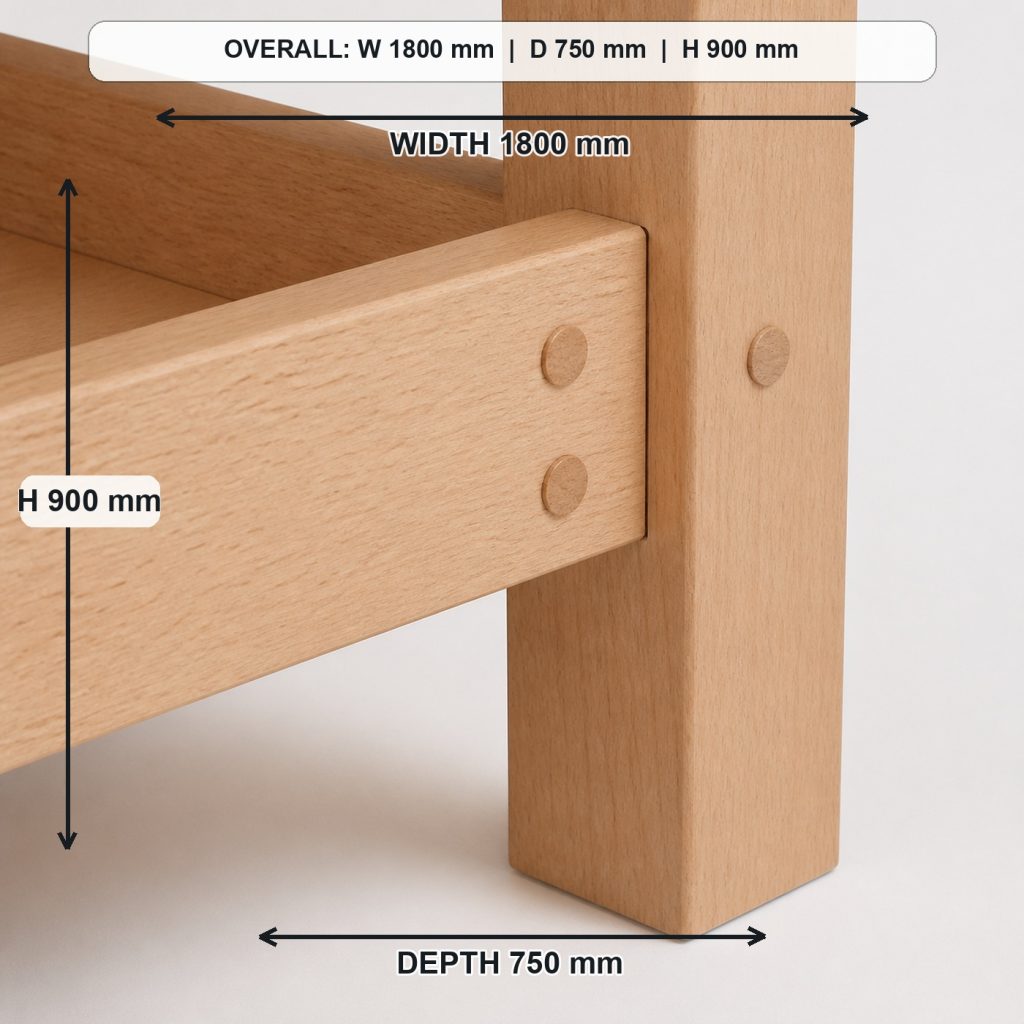
This close view focuses on a primary connection and the intended load path through the structure. The material direction is solid European beech, with attention to believable grain, thickness, and assembly.
Workshop check: Size glue area, fasteners, reinforcement, and joint geometry for the expected load.
7. Storage or functional detail
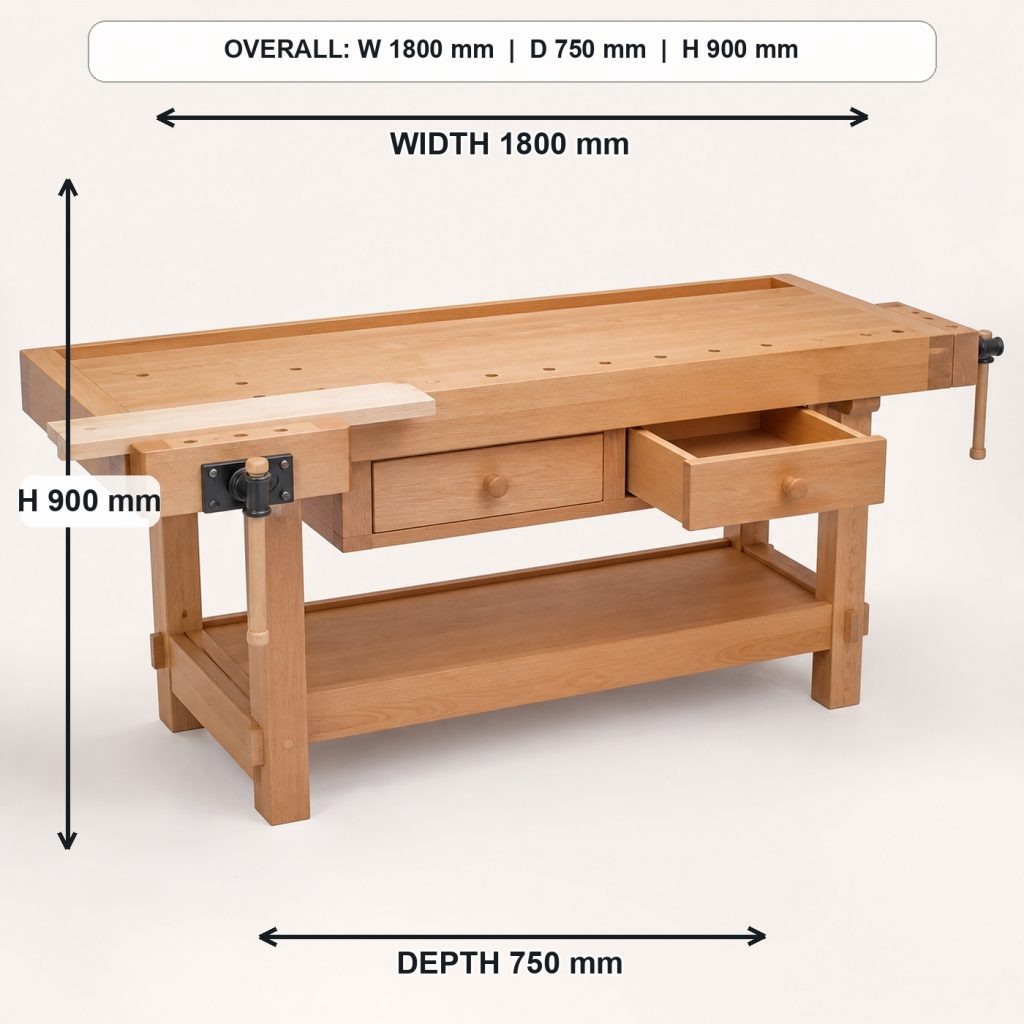
The functional view shows how drawers, doors, shelves, hardware, or removable parts are intended to work. The material direction is solid European beech, with attention to believable grain, thickness, and assembly.
Workshop check: Test moving parts with the actual hinges, slides, stops, retainers, or caster hardware.
8. Exploded construction overview
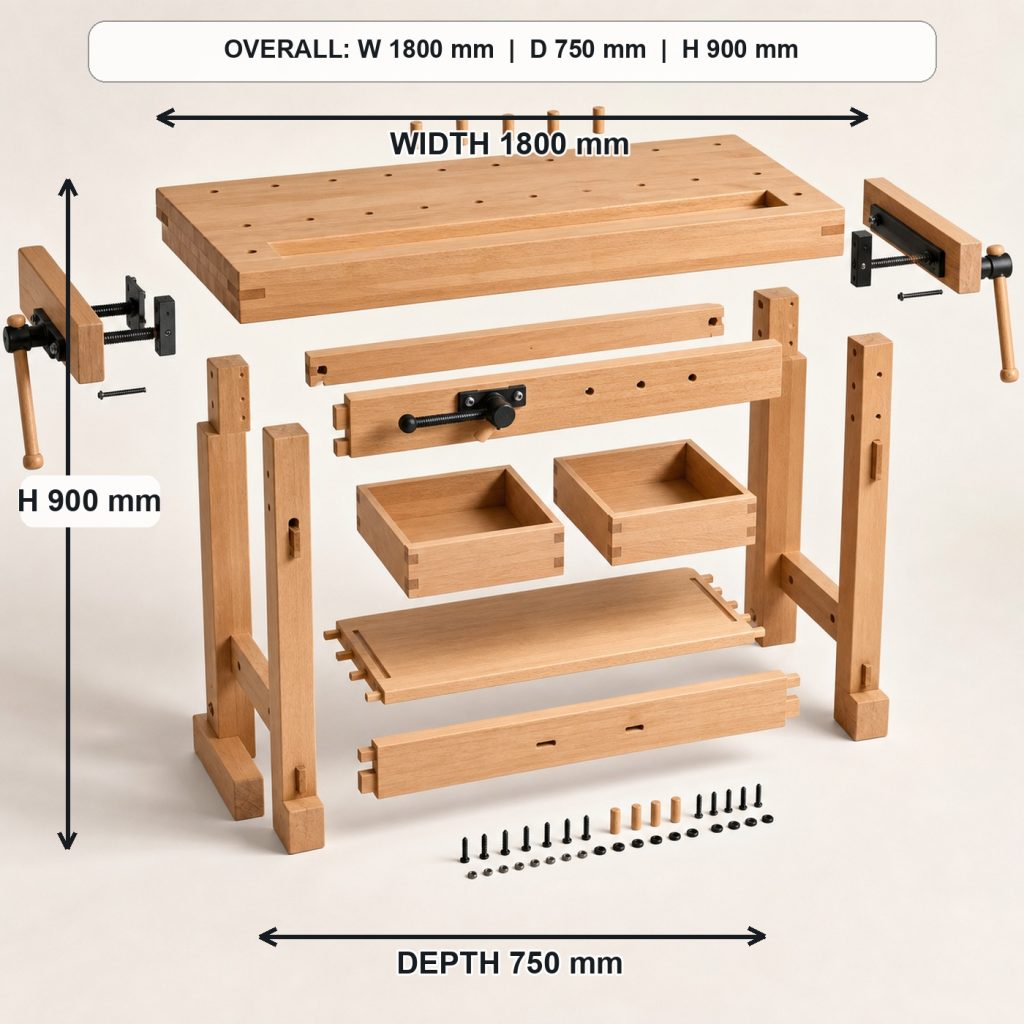
The exploded arrangement separates the major parts to communicate assembly logic without pretending to be a cut diagram. The material direction is solid European beech, with attention to believable grain, thickness, and assembly.
Workshop check: Create a verified cut list and scaled assembly drawing before cutting material.
9. Project shown in a real room
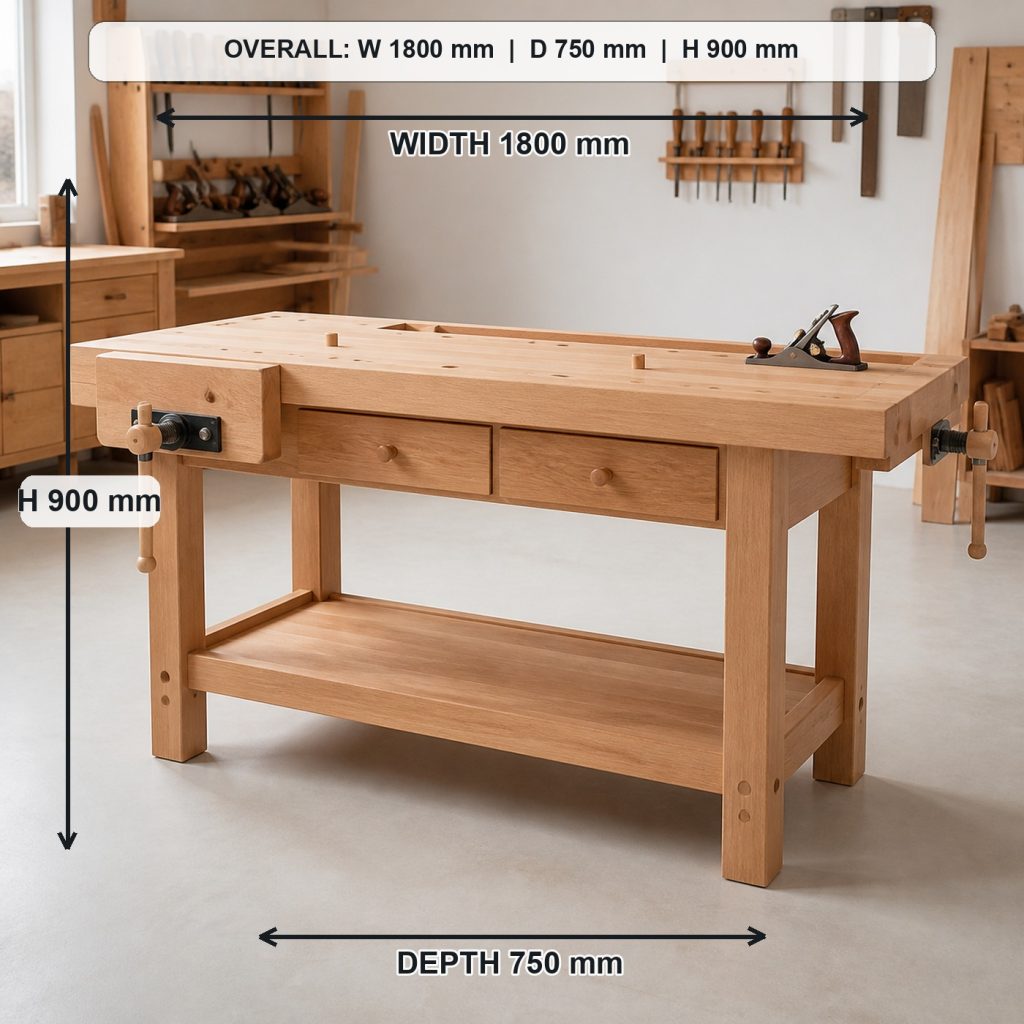
The room view provides scale and helps evaluate doors, drawers, circulation, and nearby clearances. The material direction is solid European beech, with attention to believable grain, thickness, and assembly.
Workshop check: Check tipping, wall anchoring, caster locks, plumbing, ventilation, and room circulation as applicable.
10. Finished project variation
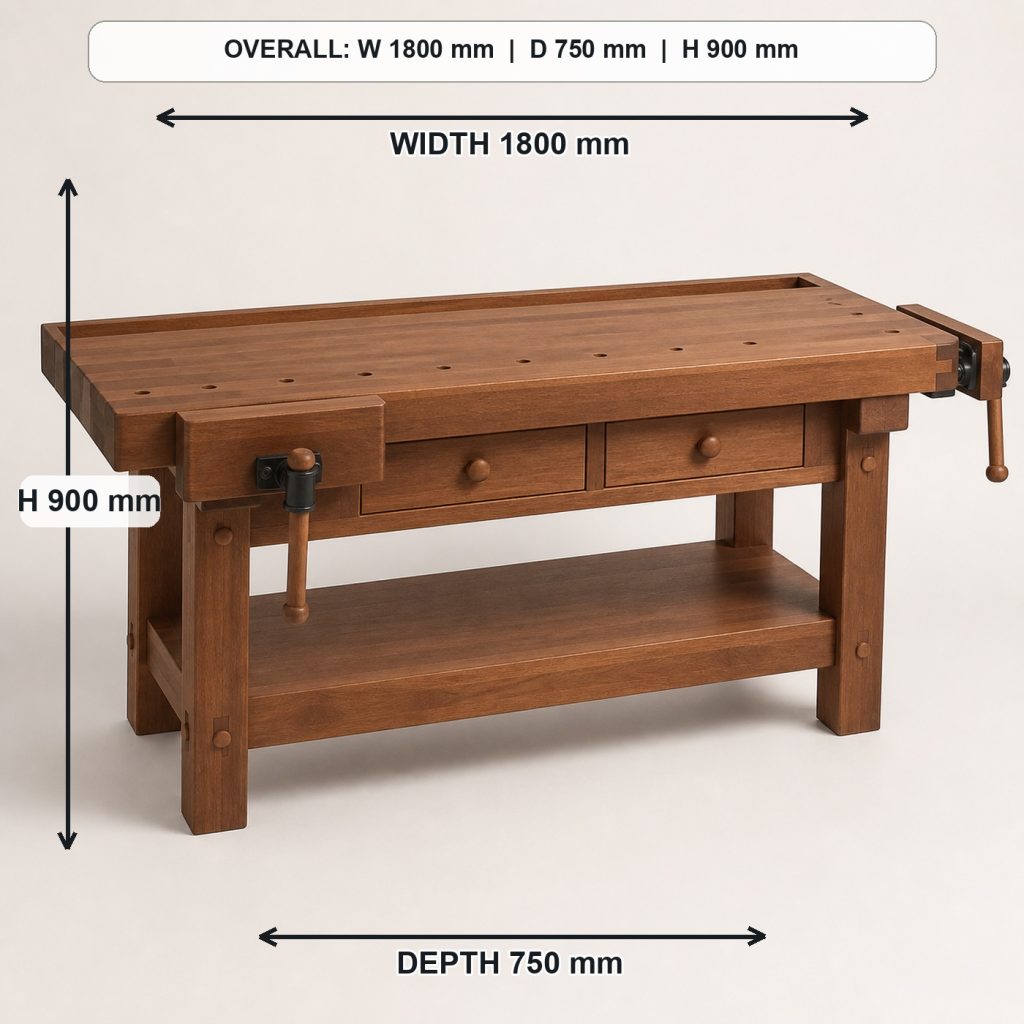
The final variation shows how finish details can change while the fixed overall dimensions remain the same. The material direction is solid European beech, with attention to believable grain, thickness, and assembly.
Workshop check: Choose a finish compatible with moisture, heat, cleaning, food contact, or indoor air needs as applicable.
Before turning the concept into a build
- Redraw the project to scale with plan, elevation, section, and detail views.
- Select real material thicknesses and update every internal opening and clearance.
- Prepare a cut list, hardware schedule, and safe assembly sequence.
- Verify loads, joinery, tipping resistance, anchoring, plumbing, ventilation, and caster ratings where relevant.
- Build a test joint or full-size mockup before using expensive material.
Frequently asked questions
Are the dimensions consistent across all ten images?
Yes. Every image carries the same fixed overall width, depth, and height. These are planning references, not proof that each visible component is drawn to engineering scale.
Can I build directly from these images?
No. Convert the concept into verified drawings, member sizes, joints, fasteners, hardware clearances, and a cut list first.
Why include detail, exploded, and room views?
Together they help evaluate appearance, assembly logic, usable storage, access, and room clearance before detailed drafting.