Project planning guide
Before you build
Use the reference image and planning notes as a starting point. Confirm dimensions, loads, materials, local codes, and site conditions before purchasing or cutting.
- Garden Projects
- 8 reference images
- Print-friendly guide
A patio side table has a small footprint but still needs a stable base when a drink is set near an edge. Its height should relate to the chair arm, while top gaps, lower shelves, feet, and finish must release water instead of creating damp pockets.
Simple Square Side Table
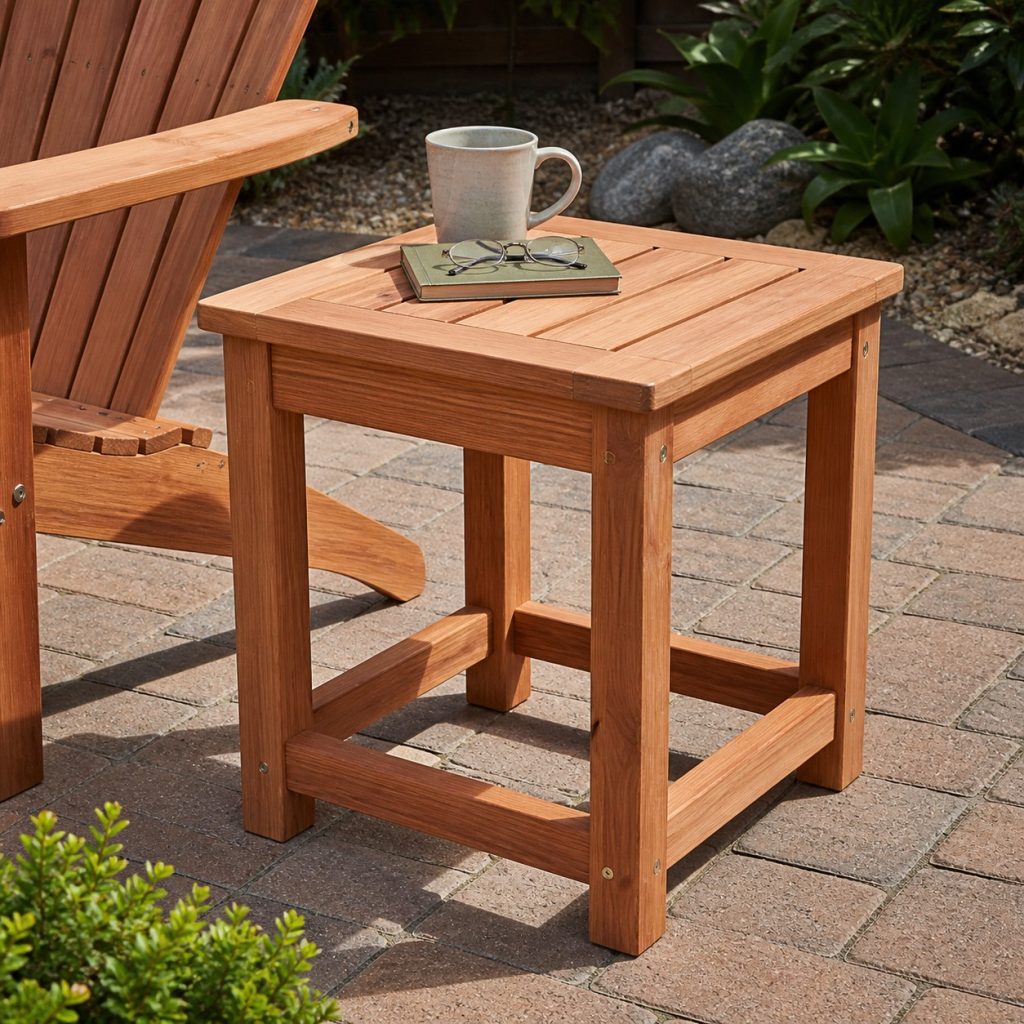
Four straight legs joined by aprons and lower stretchers make a dependable first build. Keep the top close to the chair arm height, use a restrained overhang, and support each slat at both ends. Broad foot contact reduces rocking on pavers.
Adirondack Companion Table
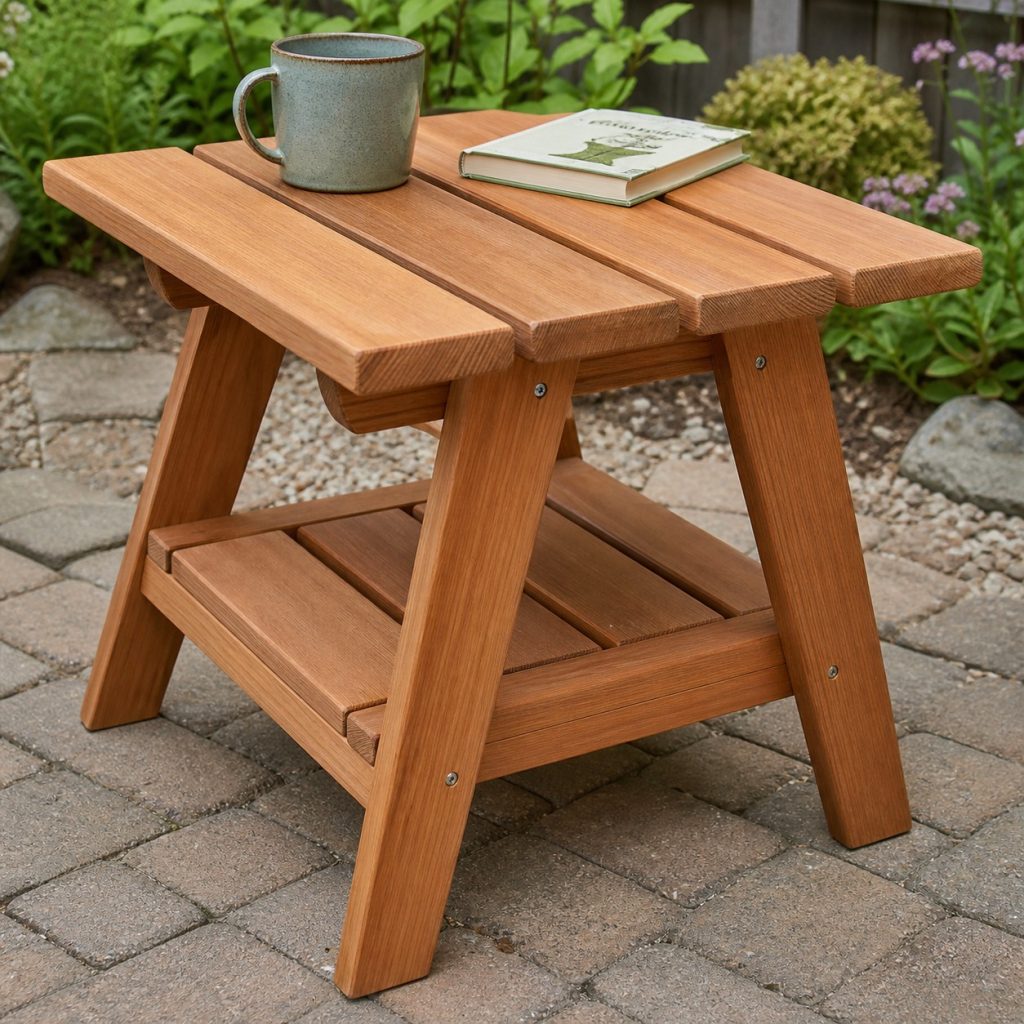
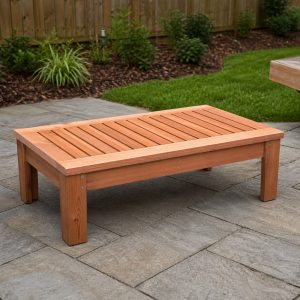
A lower table suits the relaxed seat height of an Adirondack chair. Angled legs need matched cuts and positive stretchers so they cannot spread. Keep the top wide enough for a drink and book without turning it into an unstable low stool.
Braced C-Shaped Table
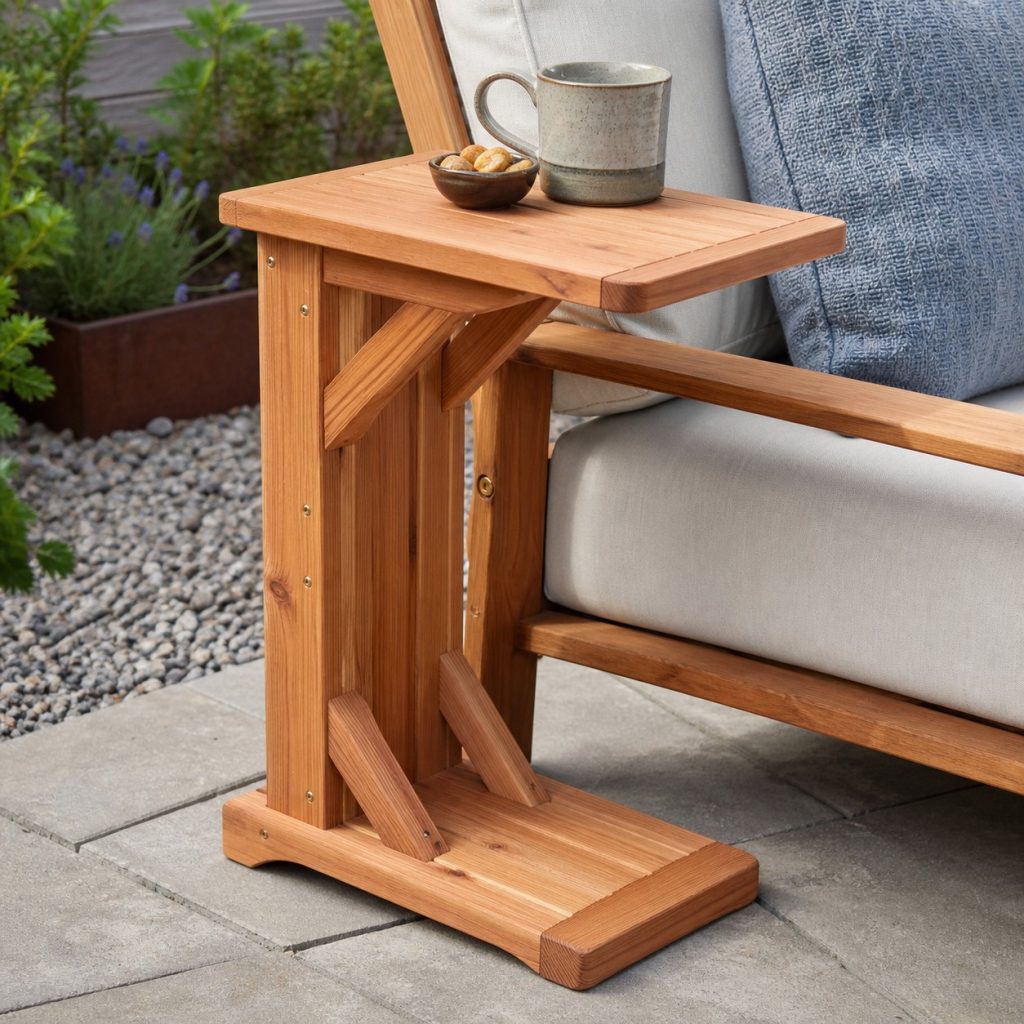
A C-table can bring the surface closer, but its cantilever multiplies stress at the vertical joint. Use a short overhang, a broad base, strong corner reinforcement, and a modest intended load. Test stability from every edge and never use it as seating.
Two-Tier End Table
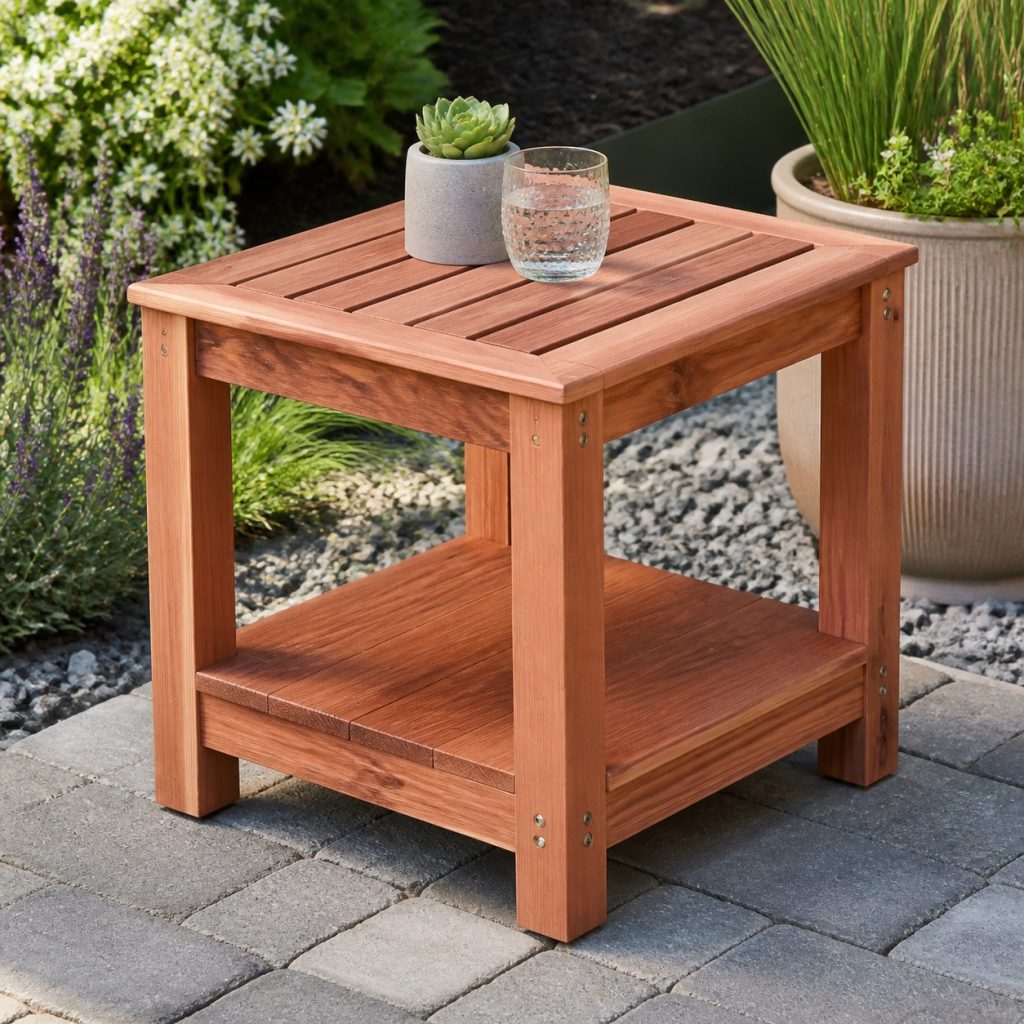
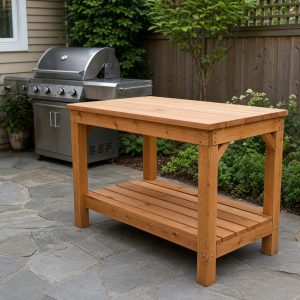
A lower shelf holds lightweight items and ties the legs together. Leave enough clearance to clean beneath the top, gap both surfaces for drainage, and avoid storing textiles where rain reaches them. The shelf rails should contribute to racking resistance.
Folding Patio Table
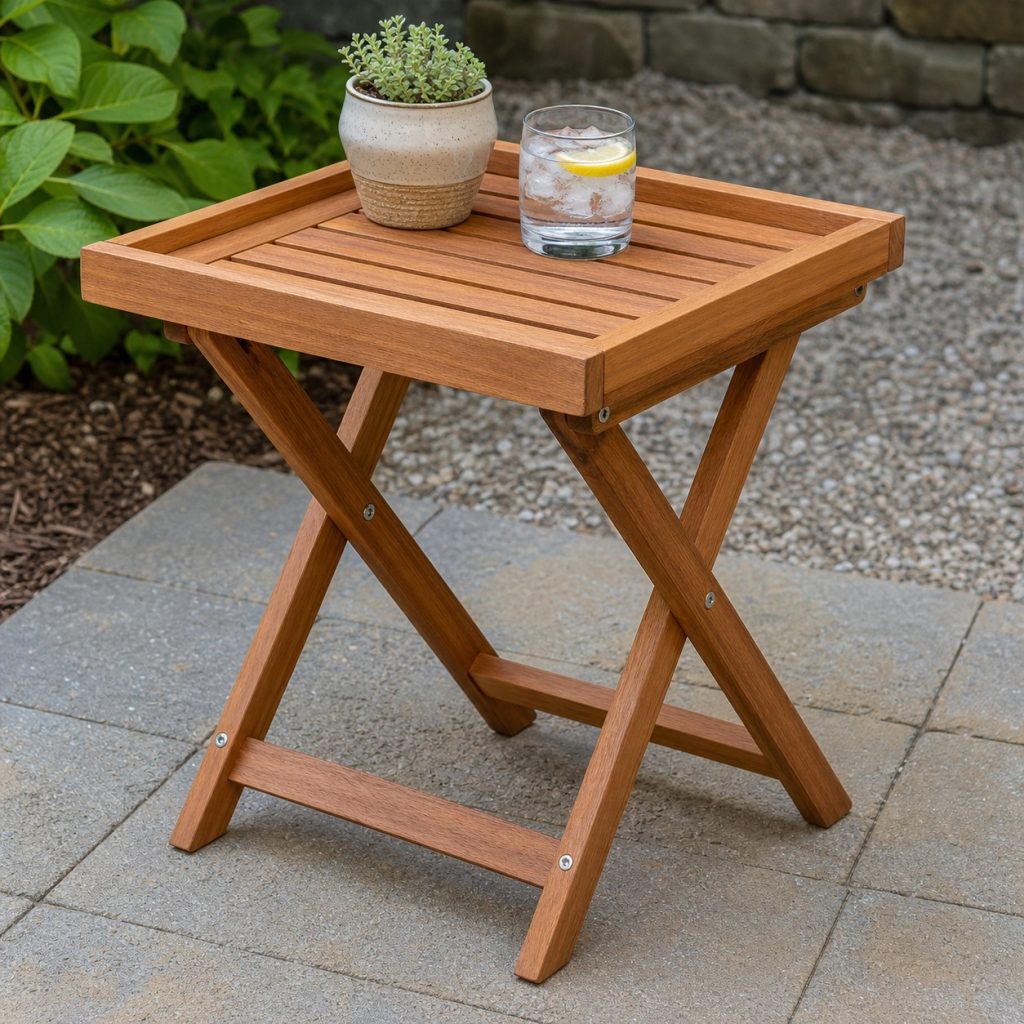
Folding crossed legs require a proven pivot location and positive open stops. Use exterior bolts with controlled side play, keep fingers away from the scissor area, and make the top lock securely. Inspect every moving part before use.
Round Three-Leg Table
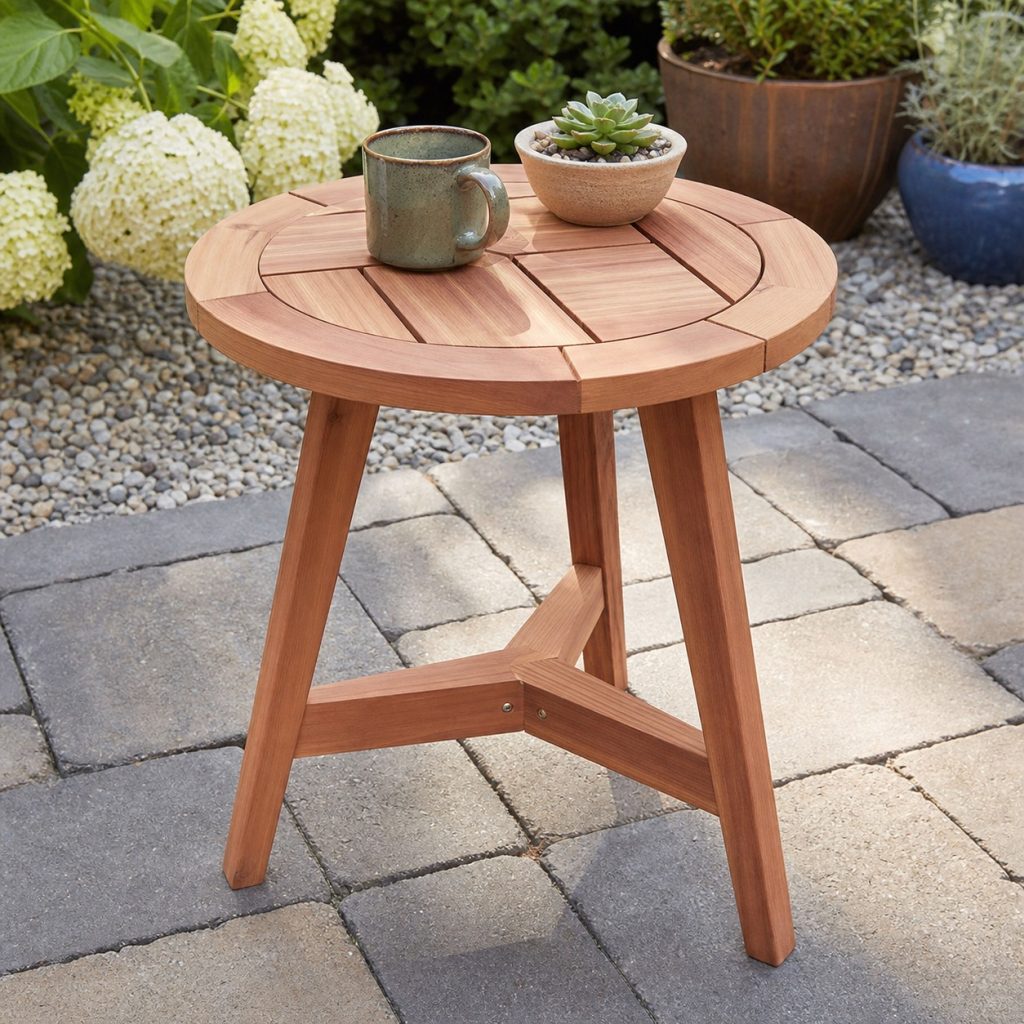
Three legs will not rock on a slightly uneven surface, but the footprint must remain broad. Tie the splayed legs together, support the segmented round top, and remove sharp corners. Keep each leg clear of common foot paths beside the chair.
Build Matched Leg Frames
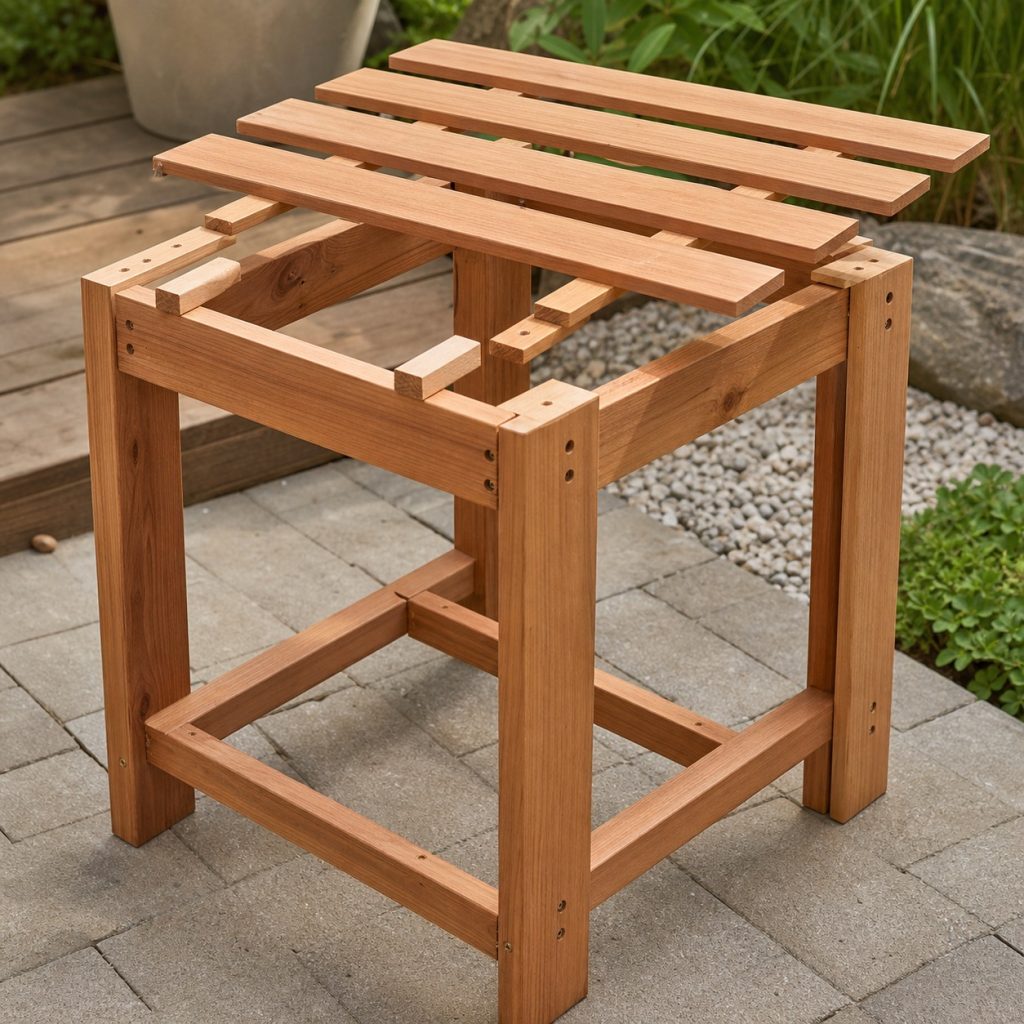
Assemble two leg frames from one setup, then connect them with aprons and stretchers. Compare diagonals and dry-fit the slats with spacers. Finishing parts before assembly can improve coverage, but bonding surfaces and fastener seats must stay clean.
Raise Feet and Drain Shelves
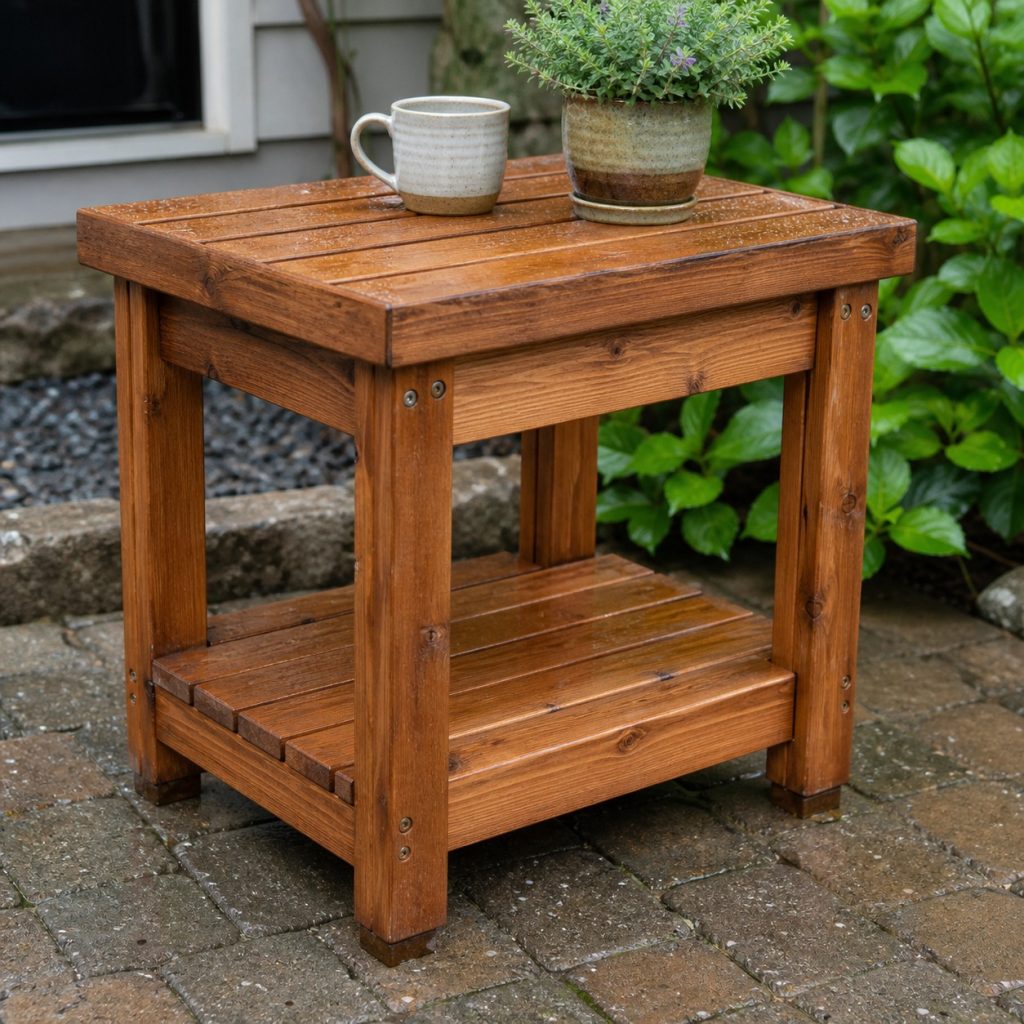
Water should leave the top and lower shelf without collecting at the legs. Raise feet above puddles, inspect apron joints and folding hardware, and refinish before exposed end grain checks deeply. Do not hide rocking with soft pads that trap moisture.
Planning checklist
- Measure chair-arm height and available side clearance.
- Use a broad base, modest overhang, and complete braces or stretchers.
- Support top boards and provide drainage through every shelf.
- Guard cantilever and folding designs against tipping and pinch points.
- Keep feet dry and inspect rocking, joints, hardware, and finish.
These concepts are general planning guidance, not engineering drawings or tested load-rated plans. Verify dimensions, ergonomics, lumber grade and treatment, structural loads, fasteners, coatings, food-contact use, wildlife and compost guidance, accessibility, utility locations, property rules, permits, and local building requirements for the actual project. Use qualified professionals where structural, electrical, plumbing, refrigeration, fall, or entrapment hazards apply.
Frequently asked questions
How tall should an outdoor side table be?
It usually relates to the companion chair arm or seat, but mock up the height where the table will actually be used.
Can an outdoor side table double as a stool?
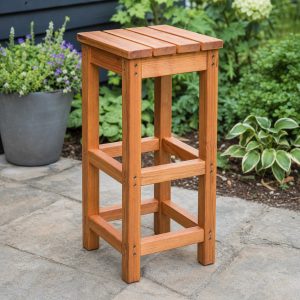
Not unless it was specifically engineered and tested for seating loads. A side table should not be presented as a seat.
Are three-legged tables stable?
They avoid rocking on uneven surfaces, but leg spread, top size, joint strength, and edge loading still determine tipping stability.