Project planning guide
Before you build
Use the reference image and planning notes as a starting point. Confirm dimensions, loads, materials, local codes, and site conditions before purchasing or cutting.
- Garden Projects
- 8 reference images
- Print-friendly guide
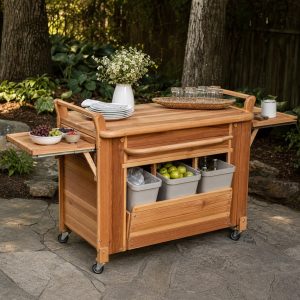
An outdoor bar cart is most useful as a mobile serving station for water, glassware, plates, and sealed beverages. It needs a low center of gravity, rails that retain items, wheels suited to the patio, positive locks, free drainage, and surfaces that can be cleaned without trapping moisture.
Two-Shelf Locking-Caster Cart
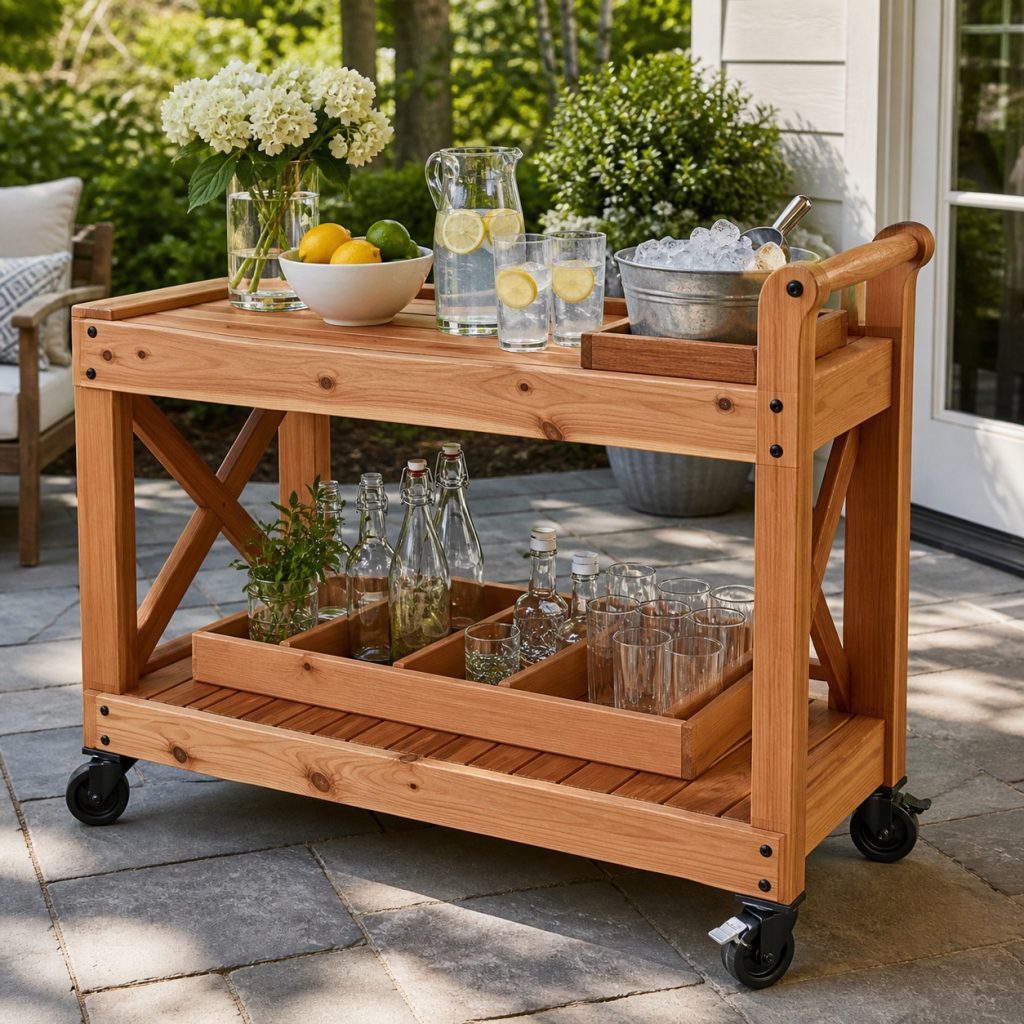
A two-shelf frame gives enough storage without becoming top-heavy. Use a tall comfortable push handle, rail the lower shelf, and mount all four casters to reinforced corners. Lock every wheel before serving and keep glassware away from edges while moving.
Removable Serving-Tray Cart
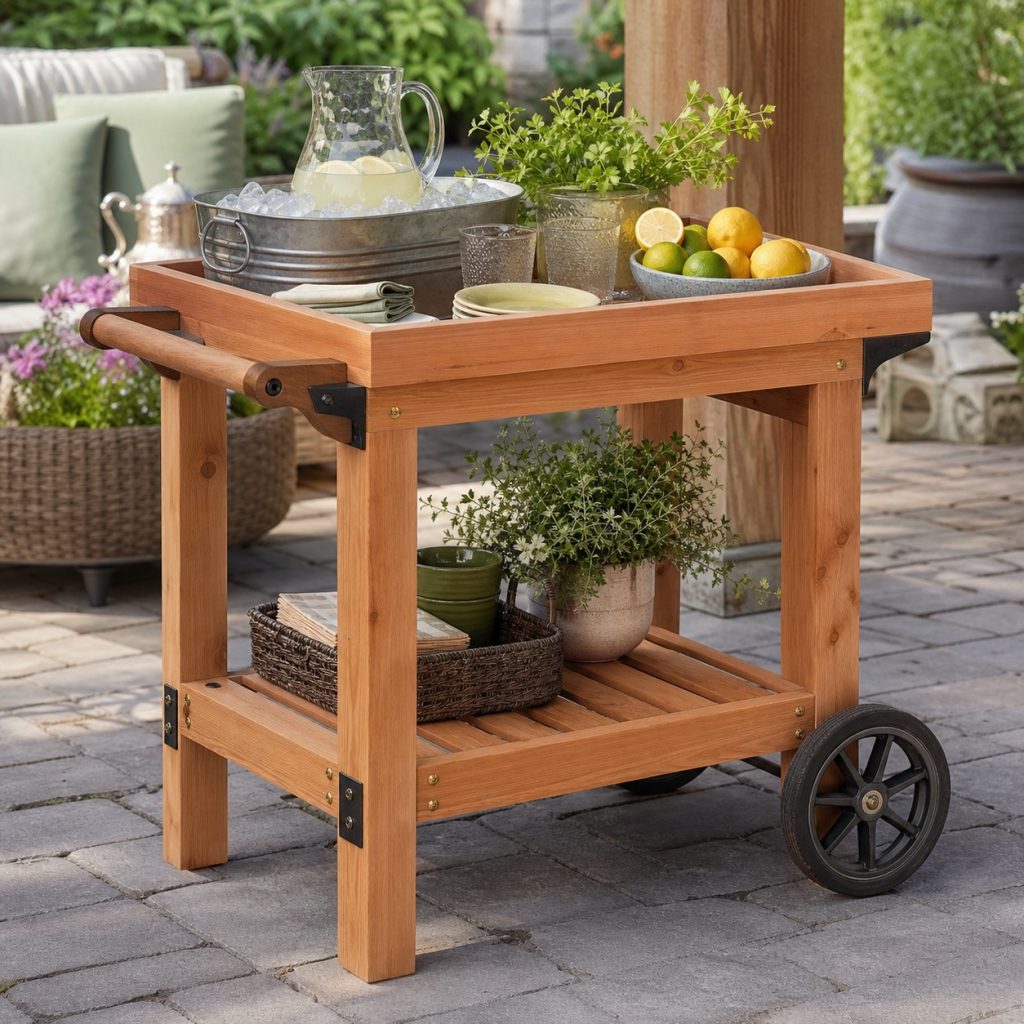
A removable tray simplifies cleanup and lets the user carry a prepared service indoors. Seat it in shallow stops so it cannot slide, keep handles clear, and balance the cart over two larger wheels and stable front feet. Move only with a light secure load.
Three-Tier Beverage Cart
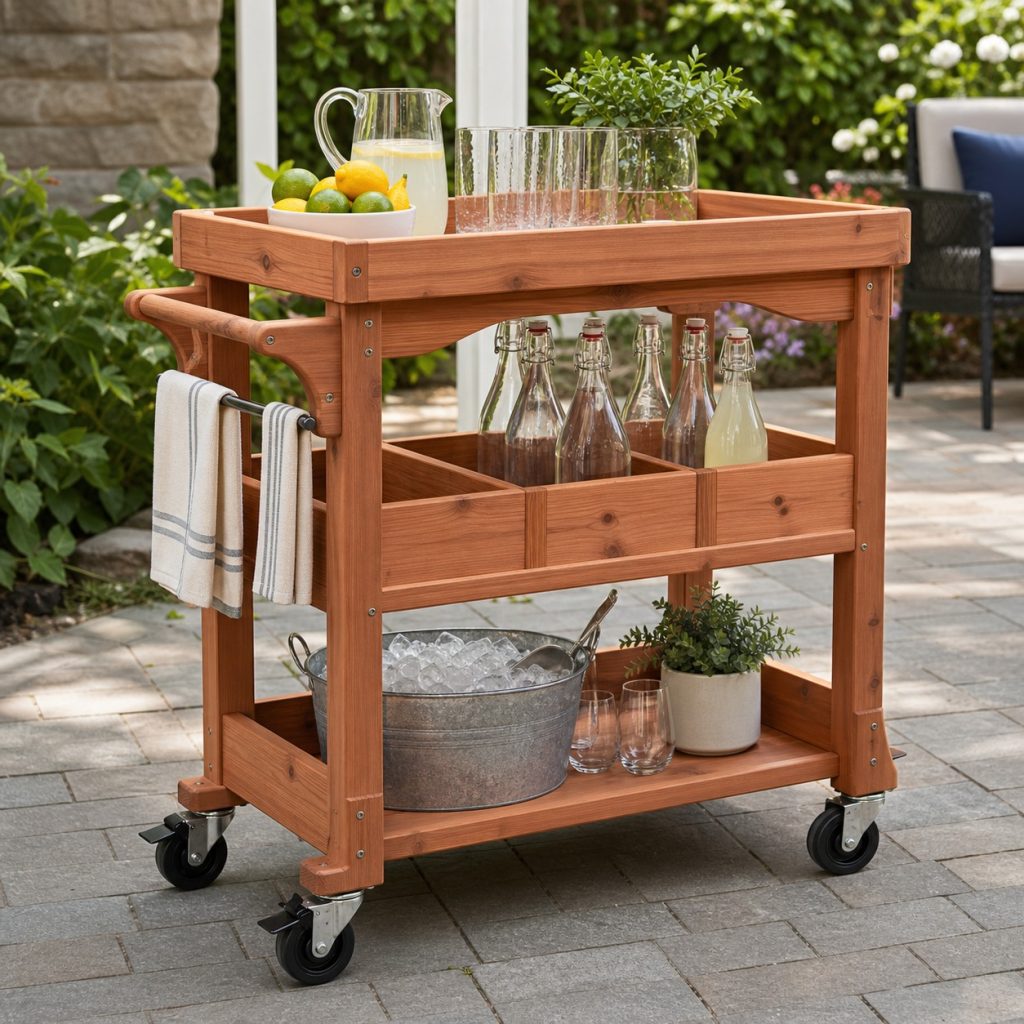
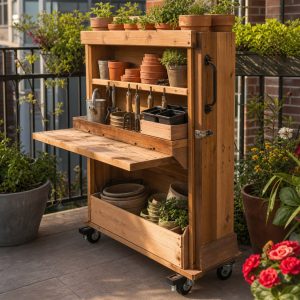
Three levels organize cups, bottles, and linens, but upper shelves should stay light. Build dividers with drainage and cleaning access, add lips to each edge, and leave enough vertical clearance to lift items. A rear brace prevents the tall frame from racking.
Supported Fold-Up Side Leaf
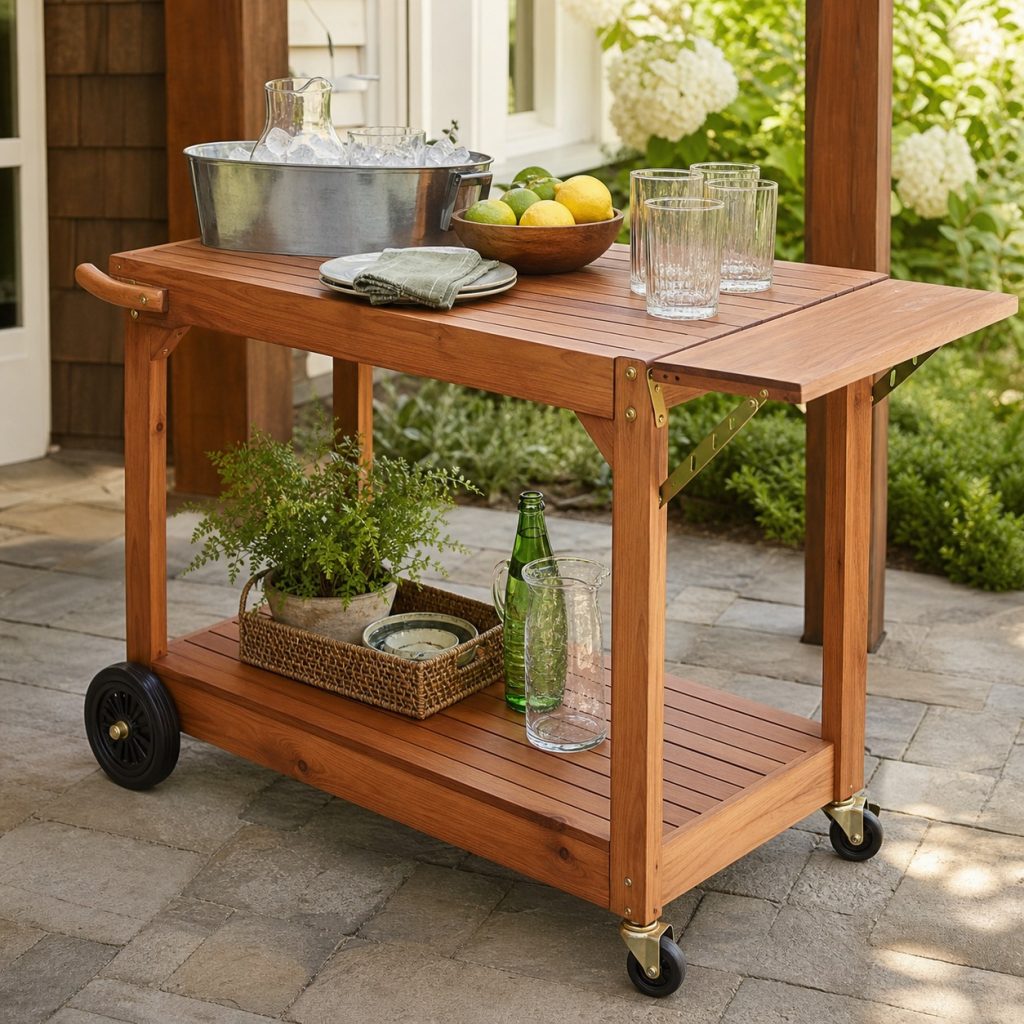
A side leaf creates temporary prep space only when its support locks positively. Keep the hinge away from hand paths, test the bracket before every use, and fold the leaf down before rolling the cart. Never put a grill, burner, or heavy appliance on it.
Removable Ice-Tub Insert
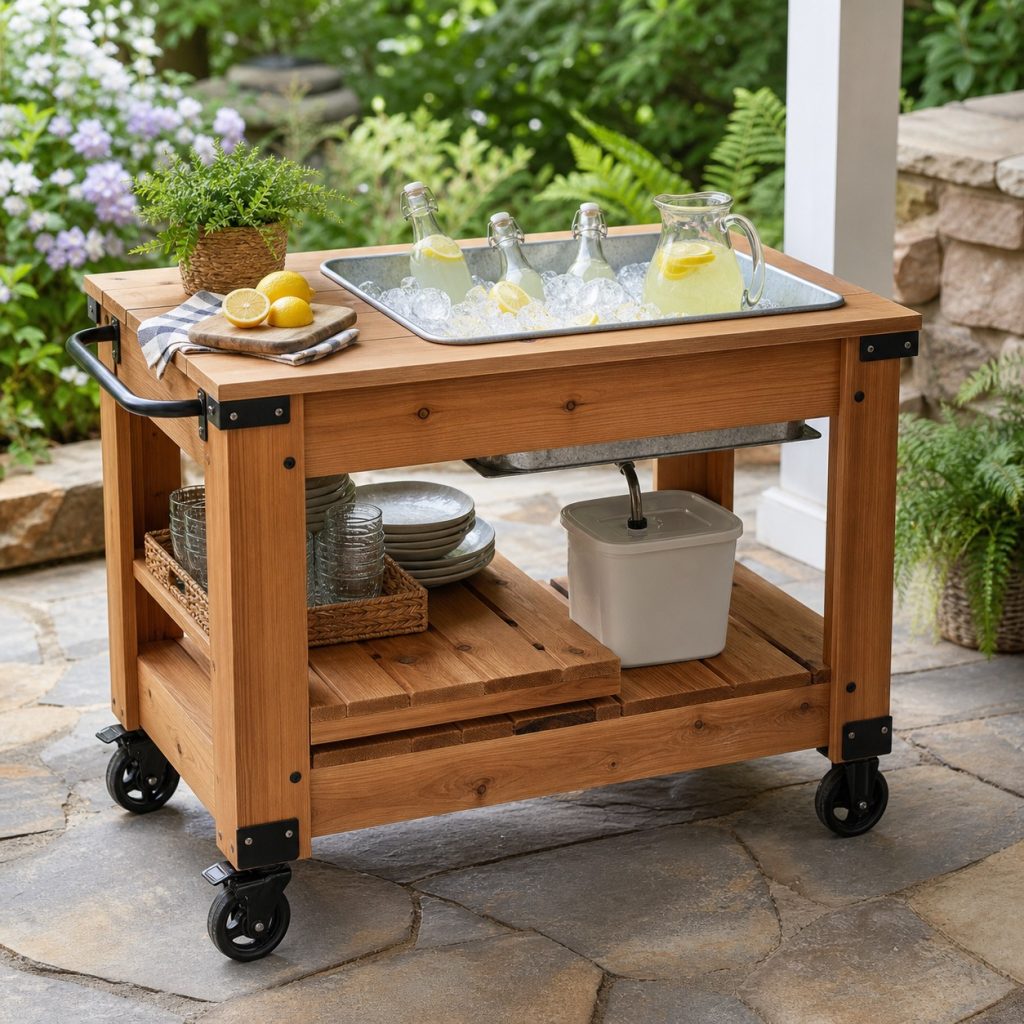
A manufactured tub can hold sealed drinks and ice without exposing them to raw wood. Support the rim and bottom, route meltwater into a removable container, and lift the tub out for cleaning. It is not a substitute for a temperature-monitored food cooler.
Build and Brace the Cart Frame
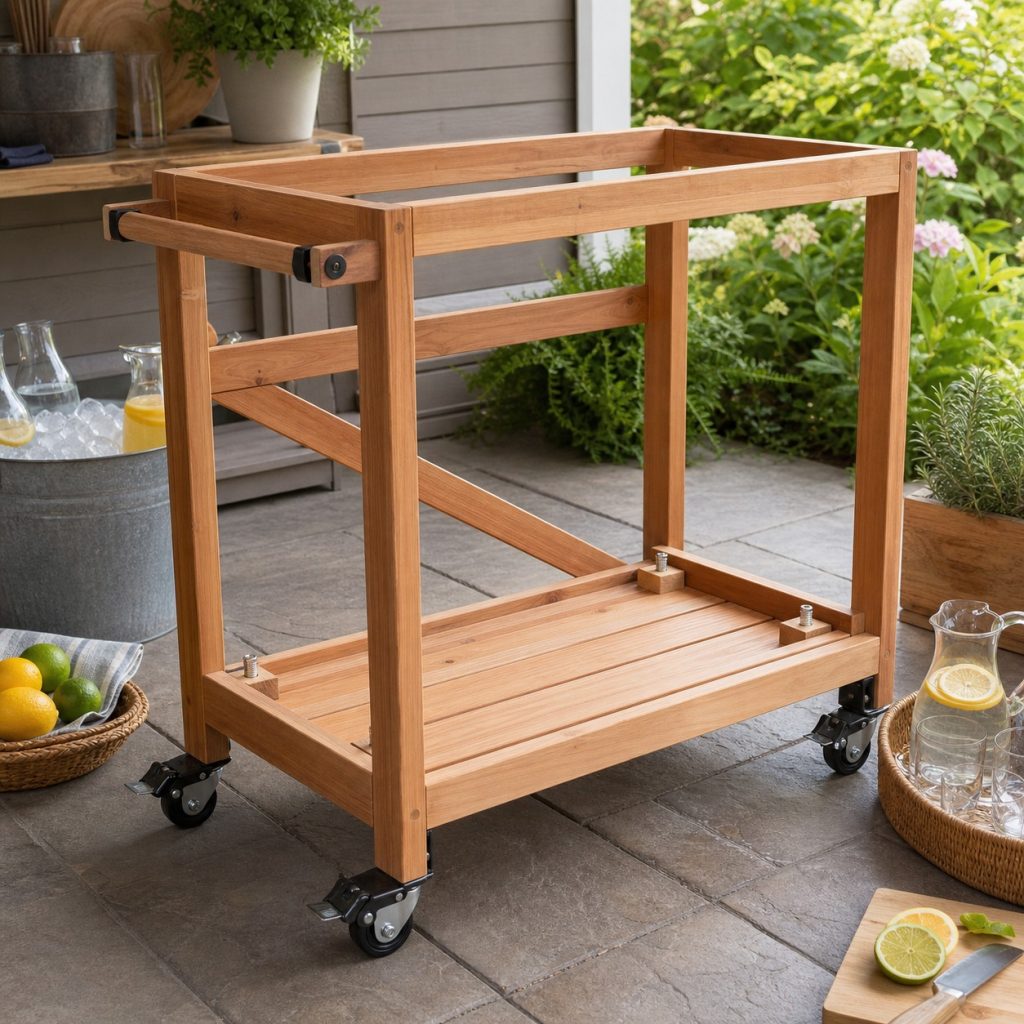
Assemble two square side frames, connect them with shelf rails, and add diagonal bracing. Reinforce every wheel block and test all fasteners before slats hide the structure. Dry-fit the handle and full caster sweep so wheels do not strike lower shelves.
Reinforce Casters and Handles
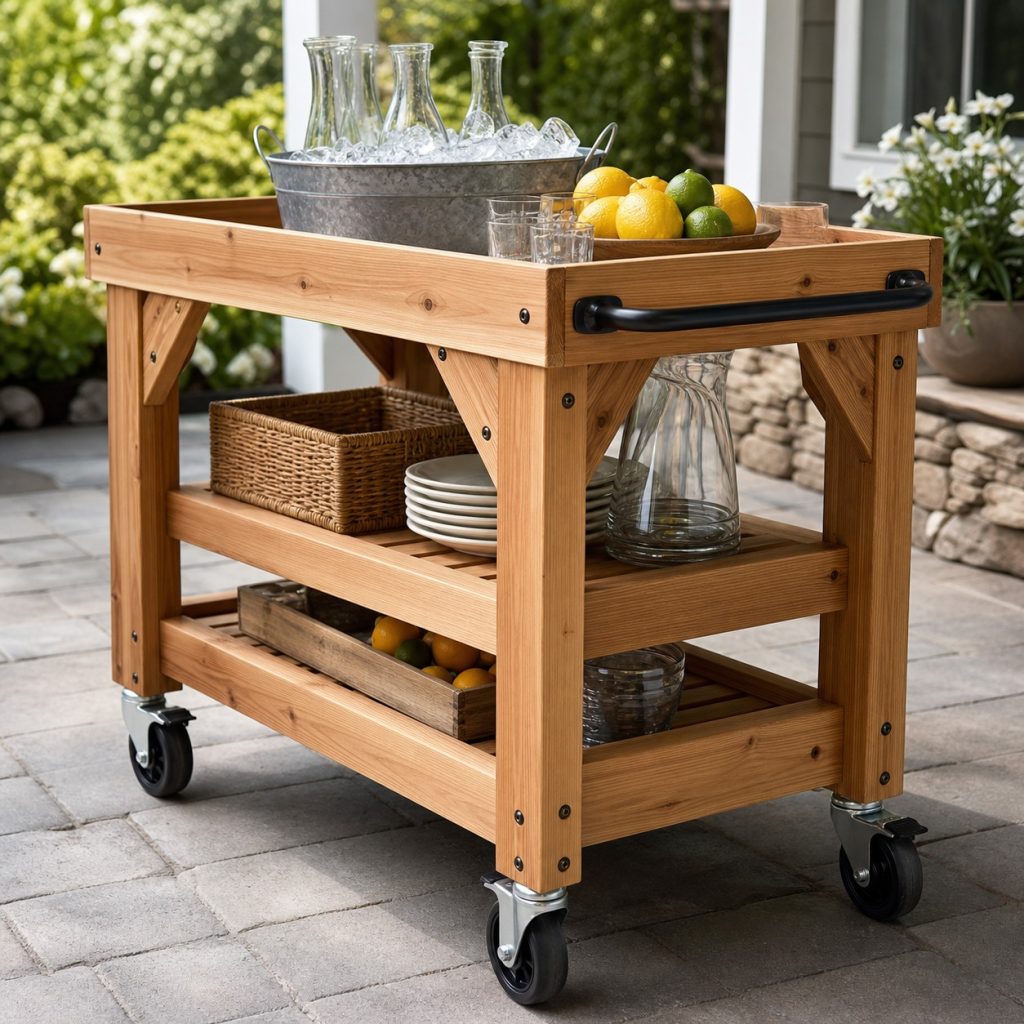
Through-bolt or otherwise mount casters according to their instructions into substantial reinforced corners. Choose wheel diameter for the surface, smooth the handle, and keep shelf lips below comfortable lifting height. Do not roll the cart on steps or steep slopes.
Empty, Dry, and Store Under Cover
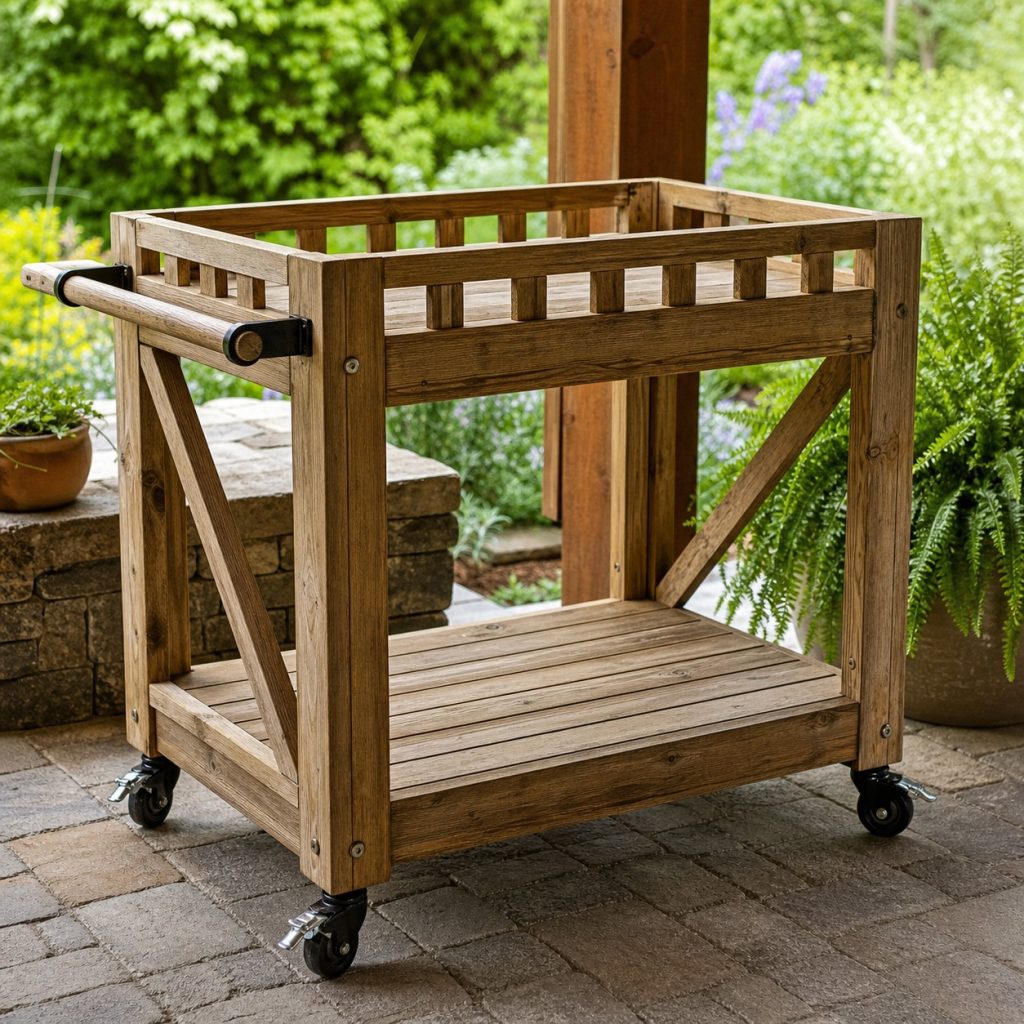
Remove glassware, food, ice, and textiles after use. Wash removable surfaces, dry the shelves, lock wheels, and store the cart out of severe weather. Inspect braces, casters, handles, finish, and standing-water points before the next gathering.
Planning checklist
- Map the travel route, thresholds, slopes, and serving position.
- Keep heavy items low and retain every shelf with lips or dividers.
- Reinforce wheel mounts and use positive caster locks.
- Use removable suitable surfaces for food and ice contact.
- Unload, clean, dry, and inspect the cart after use.
These concepts are general planning guidance, not engineering drawings or tested load-rated plans. Verify dimensions, ergonomics, lumber grade and treatment, structural loads, fasteners, coatings, food-contact use, wildlife and compost guidance, accessibility, utility locations, property rules, permits, and local building requirements for the actual project. Use qualified professionals where structural, electrical, plumbing, refrigeration, fall, or entrapment hazards apply.
Frequently asked questions
What wheels work on an outdoor bar cart?
Choose exterior-rated wheels sized for the actual patio joints and load, with positive locks and mounting plates suited to the reinforced frame.
Can a bar cart hold a grill or burner?
Do not place heat-producing appliances on a general wood serving cart. Use a listed cooking station with required clearances.
Can the cart stay outside?
It lasts longer under cover and empty. Lumber, hardware, finish, drainage, climate, and maintenance determine whether seasonal outdoor storage is suitable.