Project planning guide
Before you build
Use the reference image and planning notes as a starting point. Confirm dimensions, loads, materials, local codes, and site conditions before purchasing or cutting.
- Garden Projects
- 8 reference images
- Print-friendly guide
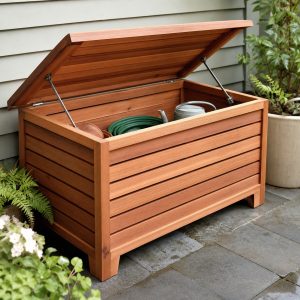
A wood patio cooler should be a supportive exterior cabinet around a manufactured insulated cooler, not a homemade raw-wood ice chamber. The insert keeps ice, sealed beverages, and food away from lumber and finish, while the frame provides working height, mobility, drainage access, and a weathered-garden appearance.
Mobile Cooler Stand
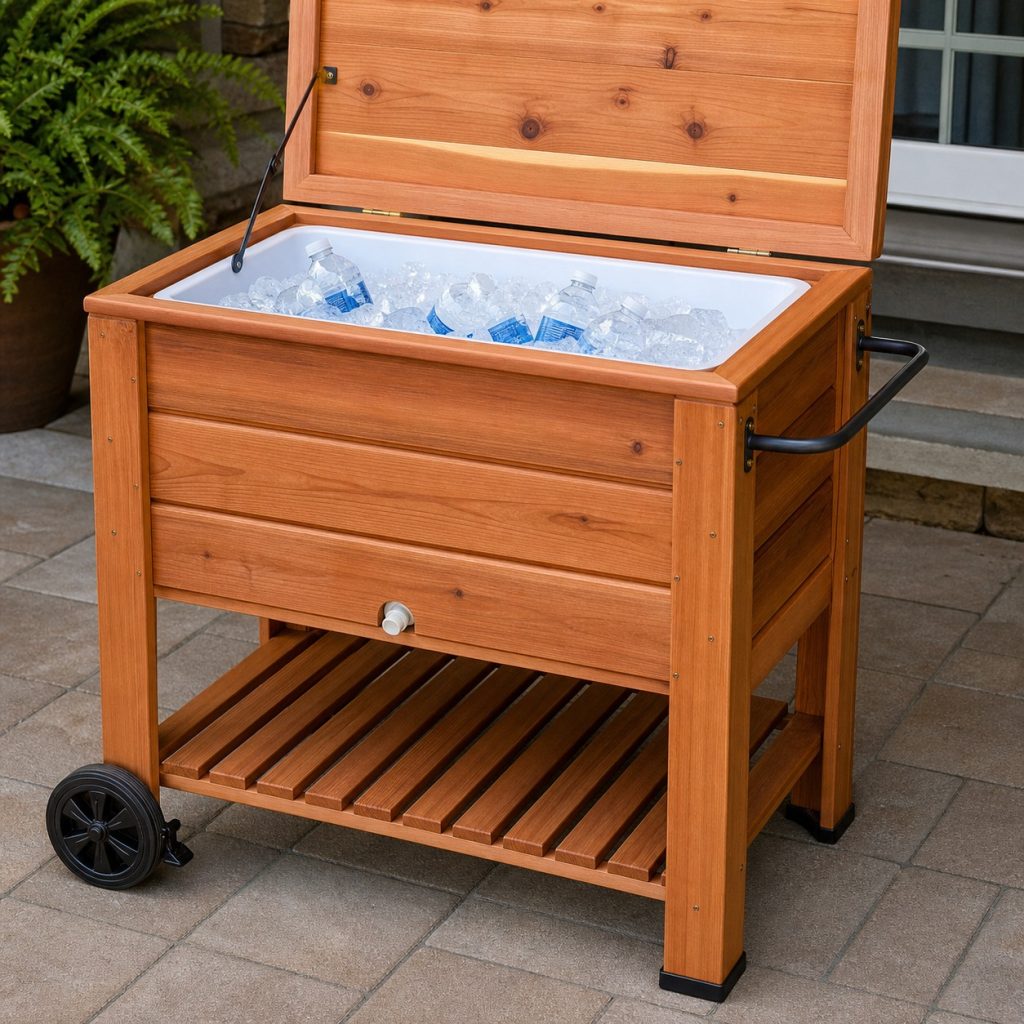
A mobile frame works when the cooler weight stays low and wheel mounts are reinforced. Use two fixed feet and two wheels or four locking casters, add handles at comfortable height, and keep the lower shelf light. Move the unit only on a level route.
Stationary Covered-Patio Cabinet
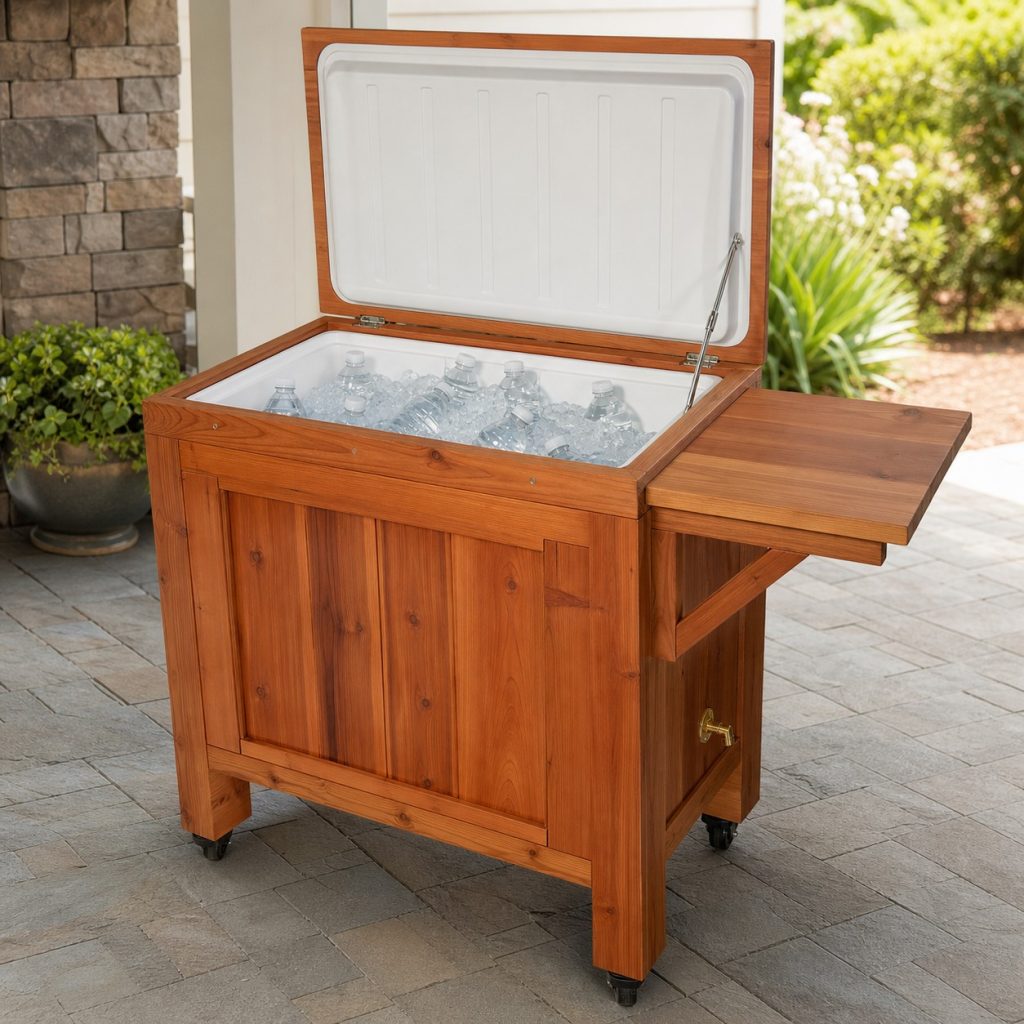
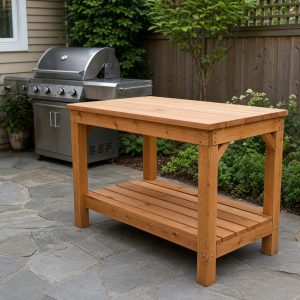
A stationary cabinet removes wheel maintenance and can use broader feet. Keep it under cover, support the insert at multiple points, and provide a safe lid stay. A small side shelf is for light serving items, not hot appliances or raw food preparation.
Align the Cooler and Wood Lids
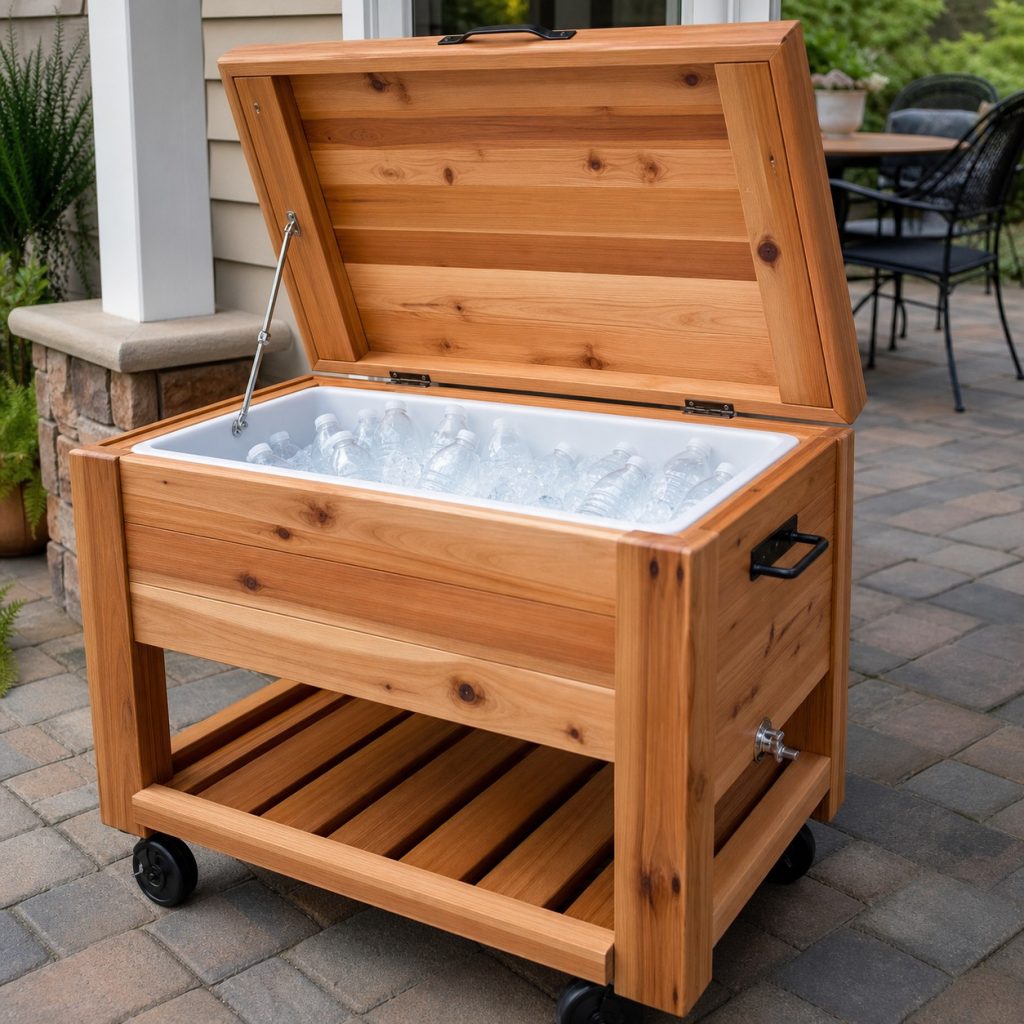
The wood-clad lid should move with or independently from the manufactured cooler lid without binding. Keep fingers clear of hinges, limit the opening angle with rated stays, and make the insert easy to lift out. Do not remove insulation or alter the food-contact shell.
Route the Factory Drain
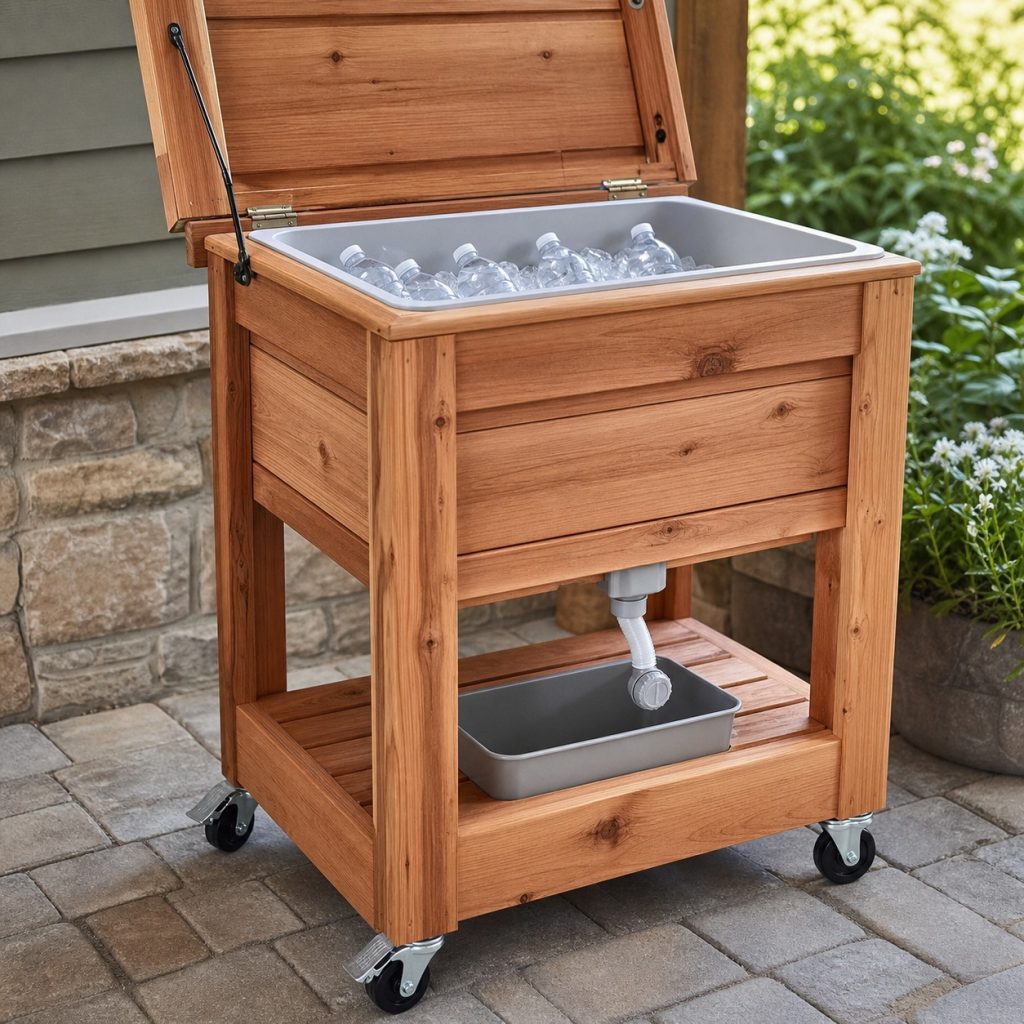
Use the insert’s existing drain and manufacturer-compatible fittings. Route meltwater to an accessible capped outlet or removable container without creating a trip hose or wetting wood feet. Clean and dry the drain after each use so stagnant water does not remain hidden.
Reinforce Wheels and Handles
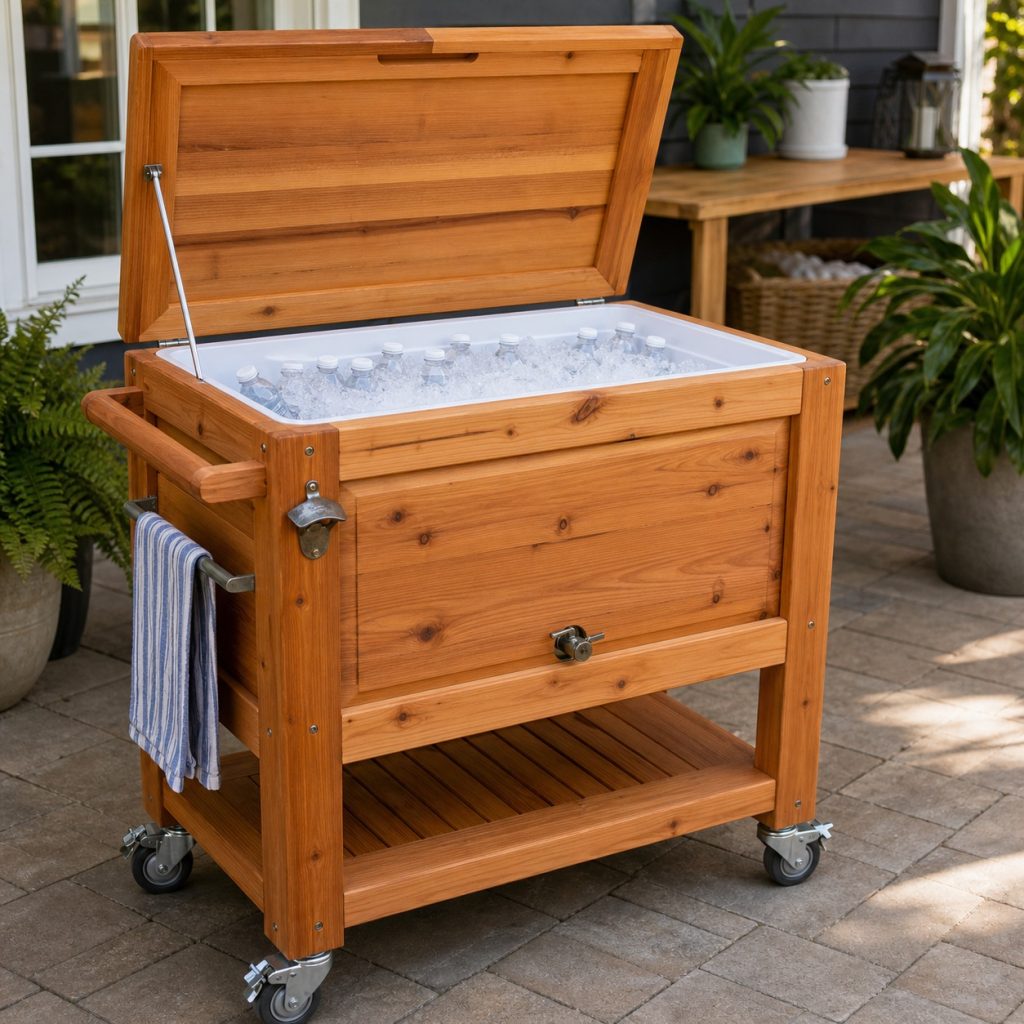
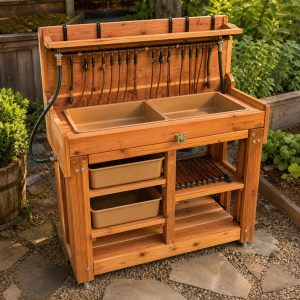
A loaded cooler is heavy. Reinforce axle or caster blocks, through-bolt the push handle when appropriate, and size the wheel for patio joints. Keep accessories light and mount any opener away from food surfaces and hand pinch zones.
Build Around the Actual Insert
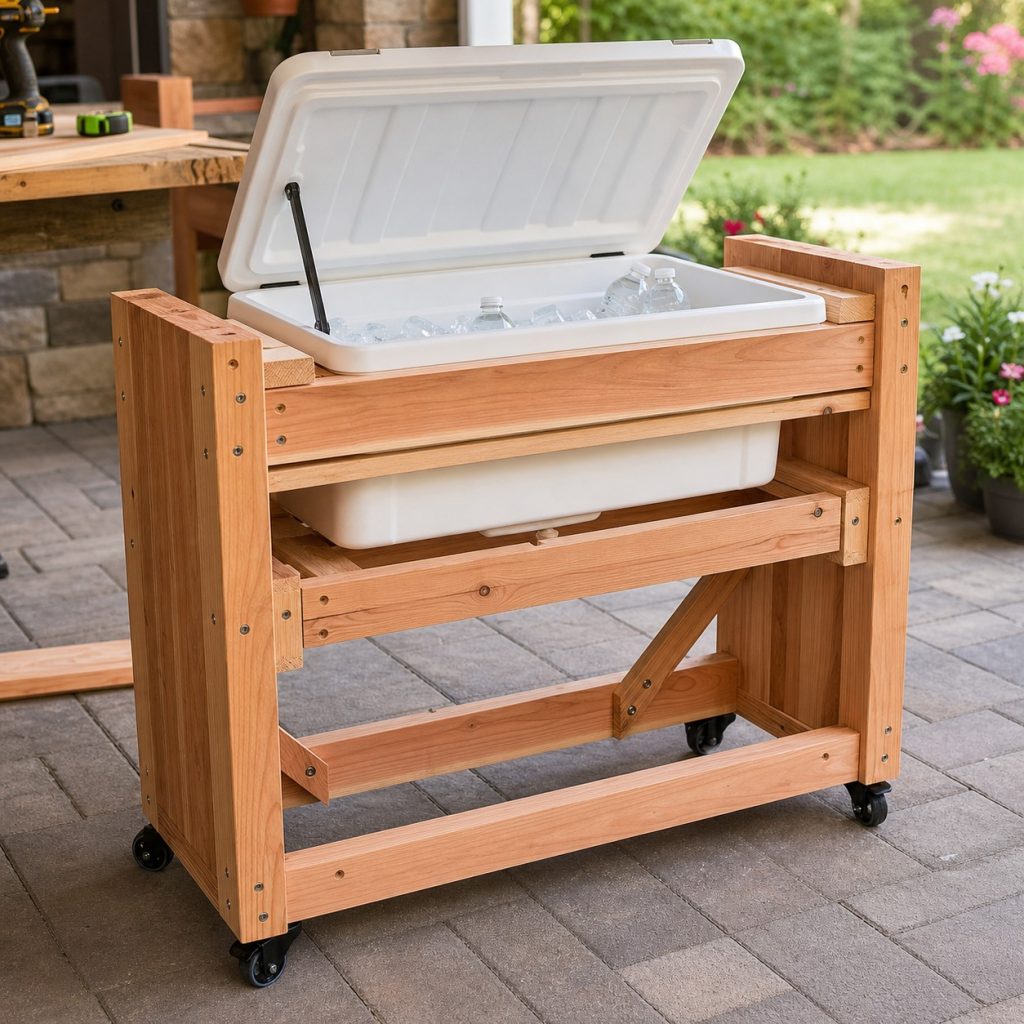
Make a full-size template or use the actual empty insert during dry fit. Build two braced side frames, install ledgers that support the base and rim, and preserve access to the drain. Do not squeeze the cooler so tightly that it cannot expand or be removed.
Support, Vent, and Separate Materials
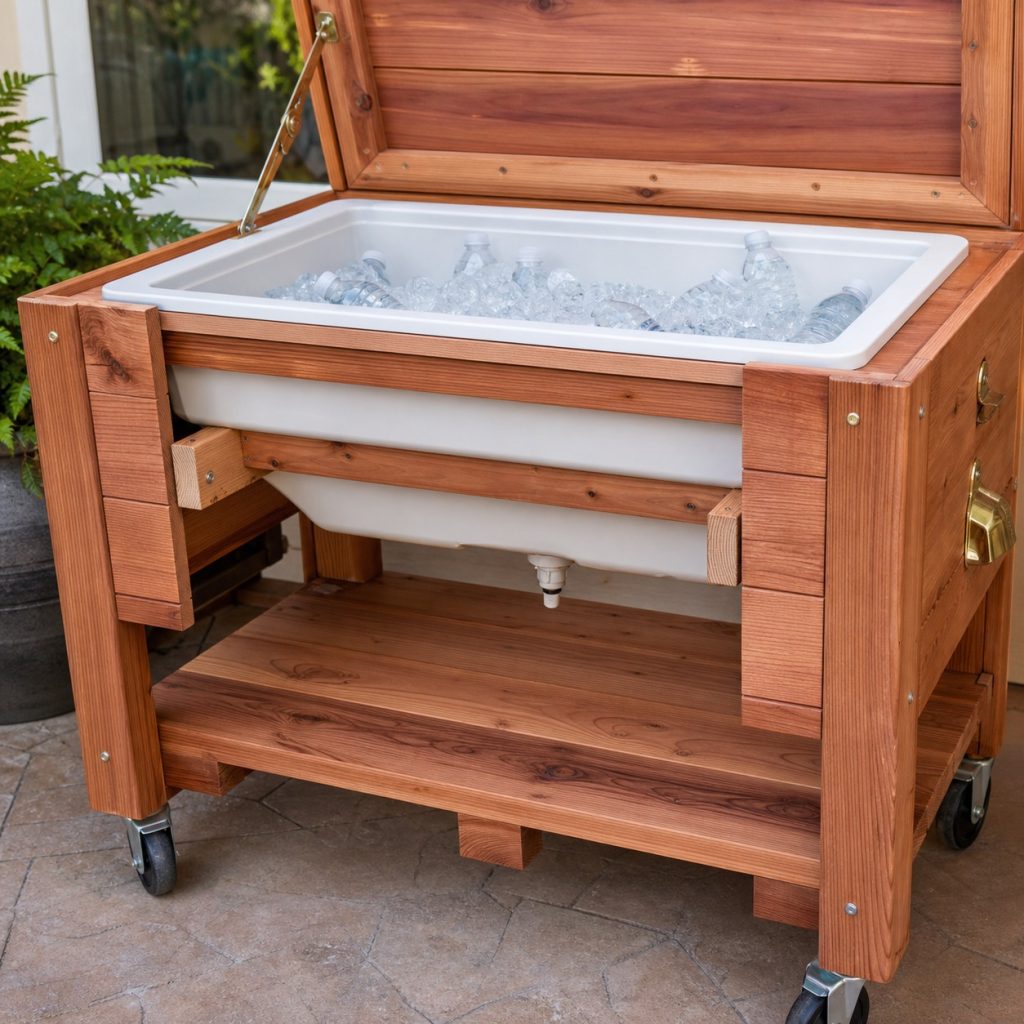
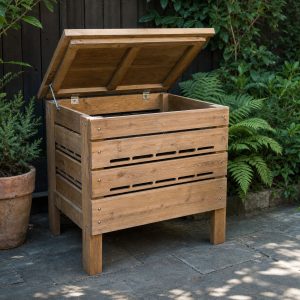
Allow an air gap where the cooler manufacturer permits it, seal exposed wood end grain, and keep improvised foam or finish away from food and ice. The wooden enclosure should not bear on the drain fitting or distort the cooler body.
Clean, Drain, and Dry Open
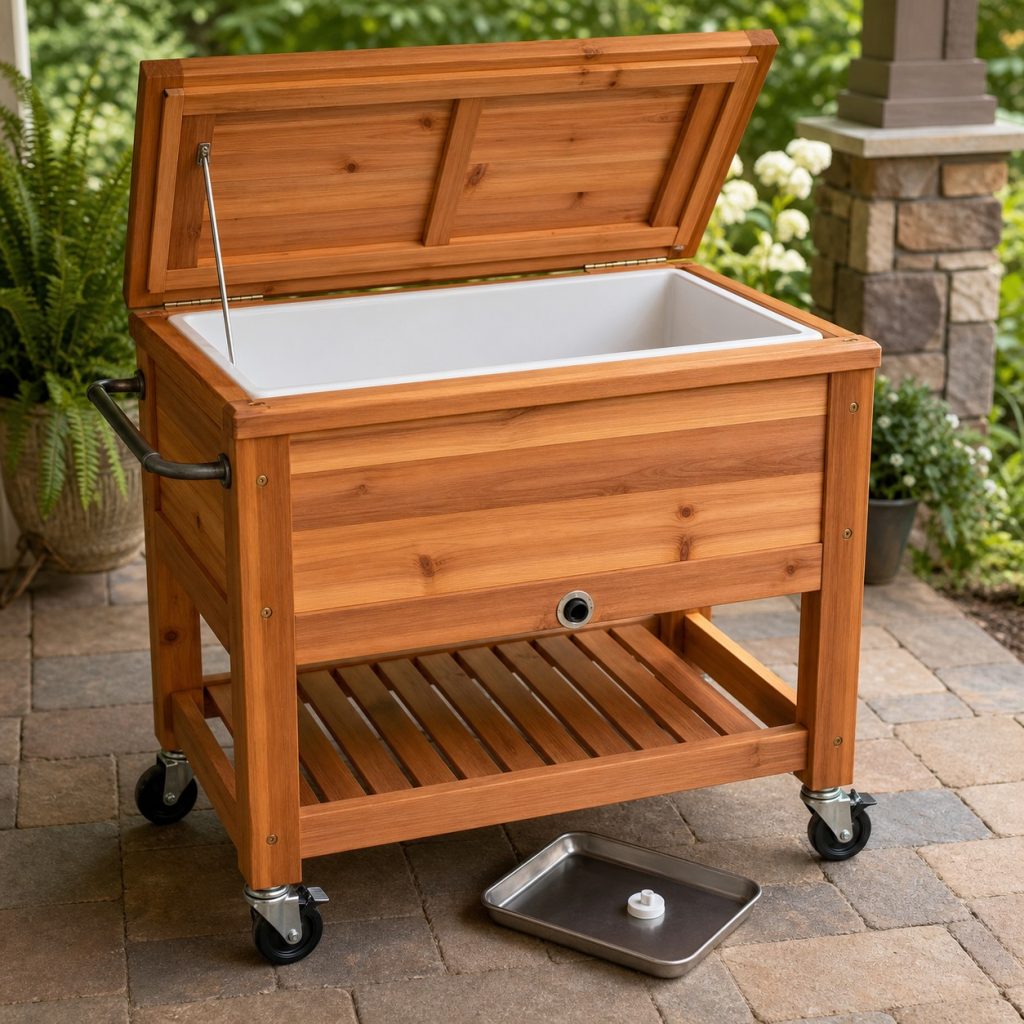
Remove all food and ice, drain completely, wash the manufactured insert according to its instructions, and let it dry open. Store the wood unit locked and stable under cover, with the drain protected from pests. Inspect lid stays and wheel mounts before reuse.
Planning checklist
- Purchase and measure a removable manufactured insulated cooler first.
- Support its base and rim without altering the food-contact shell.
- Use paired safe lid stays and accessible manufacturer-compatible drainage.
- Reinforce wheels and move only on a level clear route.
- Monitor food temperature and clean, drain, and dry after every use.
These concepts are general planning guidance, not engineering drawings or tested load-rated plans. Verify dimensions, ergonomics, lumber grade and treatment, structural loads, fasteners, coatings, food-contact use, wildlife and compost guidance, accessibility, utility locations, property rules, permits, and local building requirements for the actual project. Use qualified professionals where structural, electrical, plumbing, refrigeration, fall, or entrapment hazards apply.
Frequently asked questions
Can the wooden box itself hold ice?
No. Ice and food should stay inside a clean manufactured cooler insert designed for that purpose.
How cold should perishable food stay?
Follow current USDA guidance and verify temperature with an appropriate thermometer rather than relying on the presence of cool water alone.
Can a patio cooler use electrical refrigeration?
That becomes a different listed appliance installation requiring outdoor electrical, ventilation, service, and manufacturer guidance.