Project planning guide
Before you build
Use the reference image and planning notes as a starting point. Confirm dimensions, loads, materials, local codes, and site conditions before purchasing or cutting.
- Garden Projects
- 8 reference images
- Print-friendly guide
A picnic table combines seating and a tabletop in one outdoor structure, so racking, tipping, splinters, trapped water, and awkward entry all matter. Start with the intended users and site, then mock up the relationship between seat height, tabletop height, overhang, leg position, and walking clearance.
Classic A-Frame Picnic Table
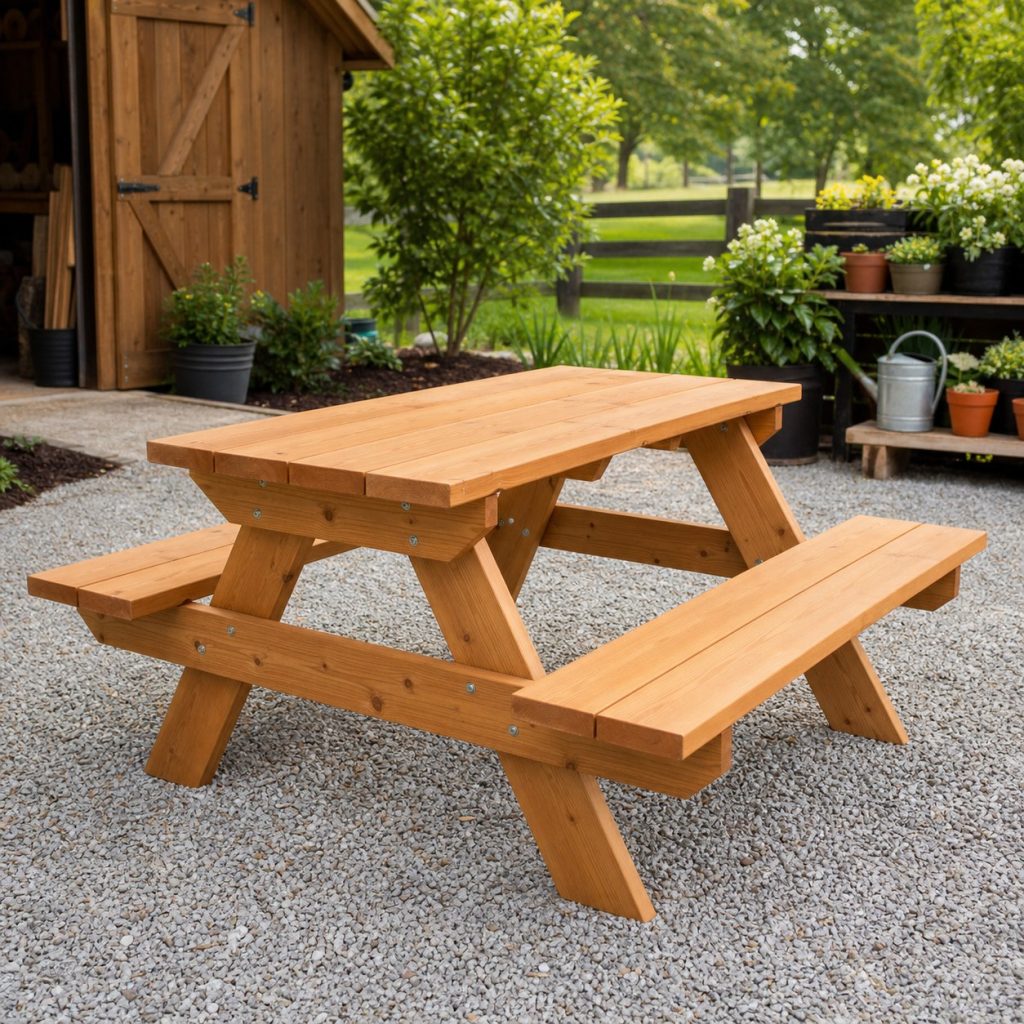
The familiar A-frame uses sloped leg pairs to support both seats and top. Keep matching frames parallel, connect them with a substantial center stretcher, and brace against racking. Test entry clearance so users can sit without striking knees or climbing over structure.
Detached-Bench Picnic Table
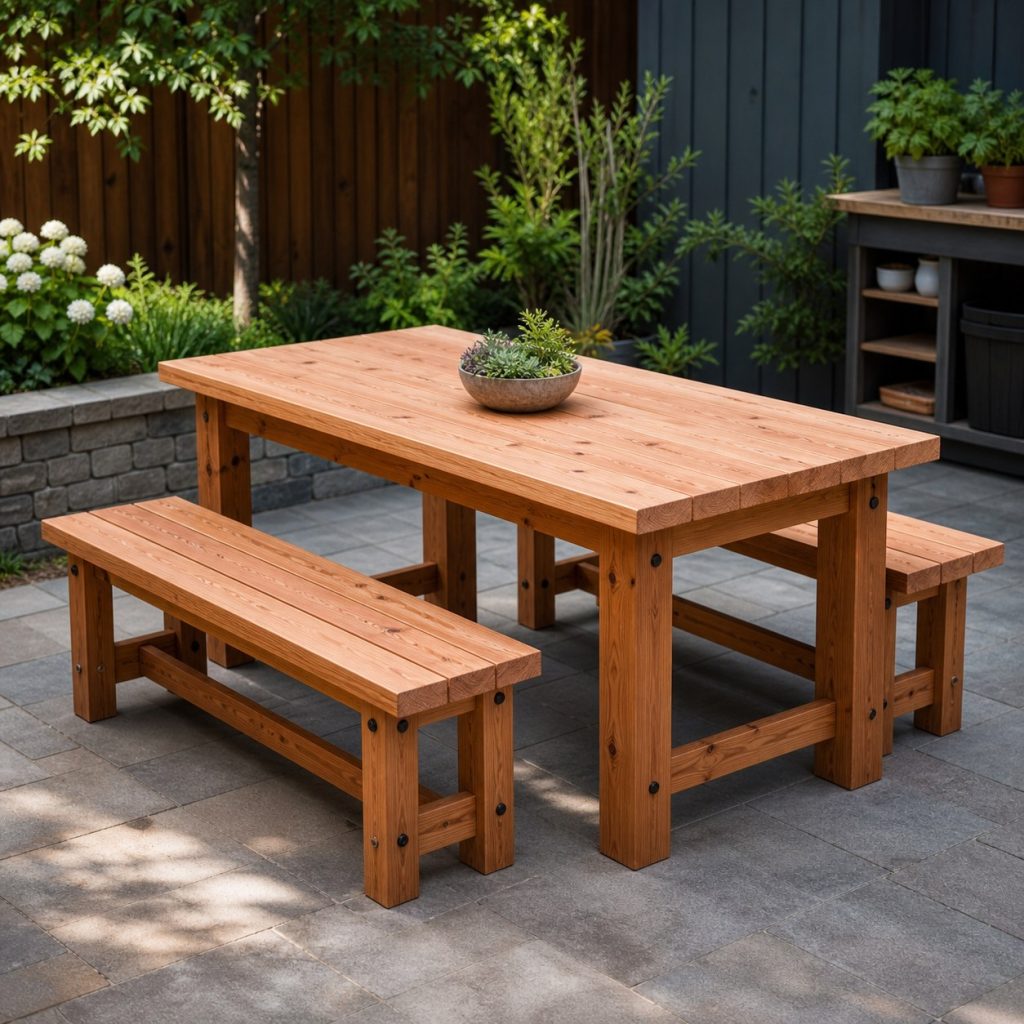
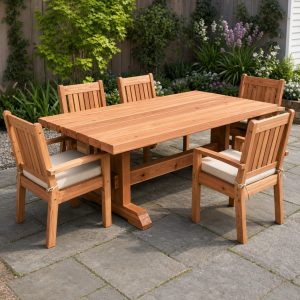
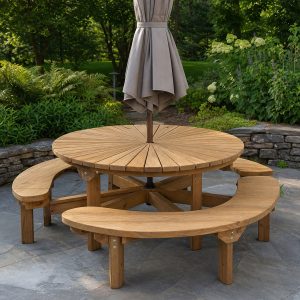
Separate benches make entry easier and let users adjust their distance from the table. Each bench needs its own stable trestle frame and braces, while the table base must resist tipping independently. Store benches where wind cannot overturn or move them.
Compact Four-Person Table
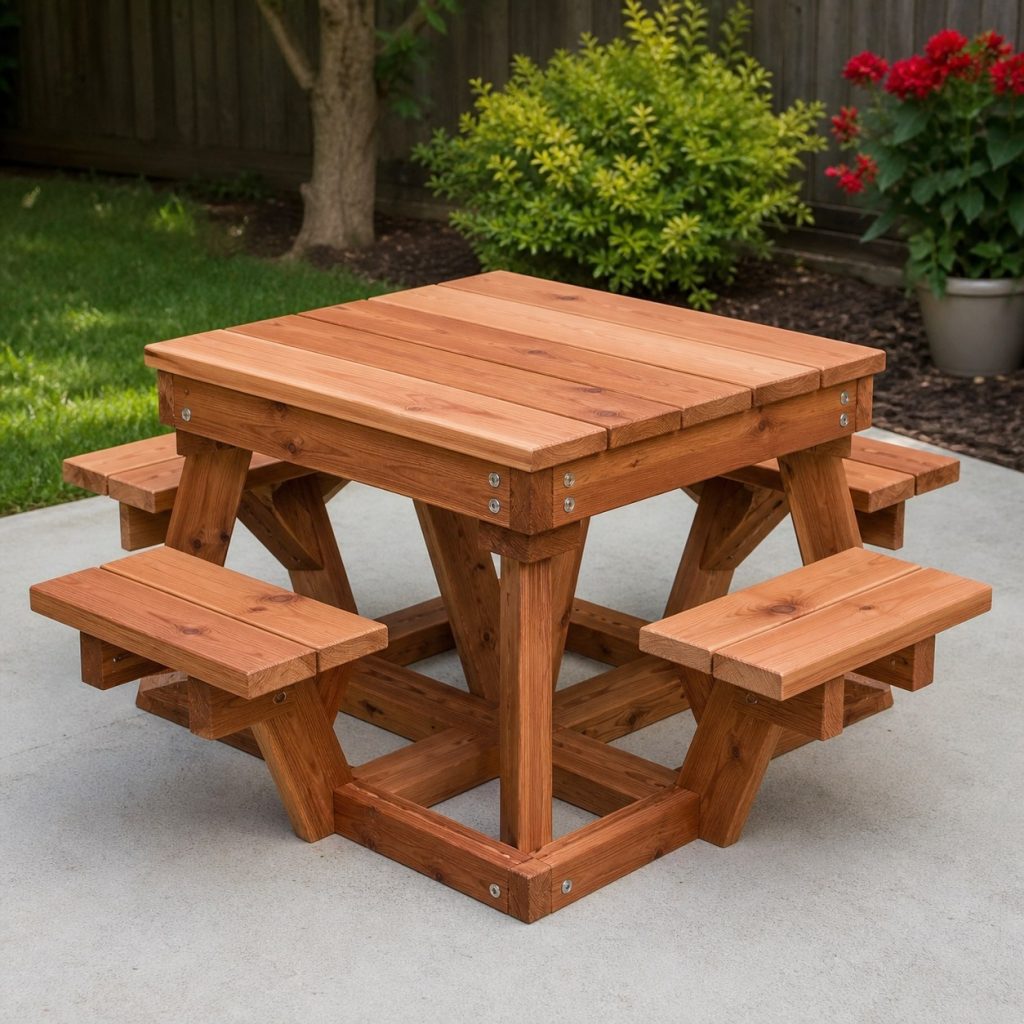
A square layout can serve four people in a small area, but corner geometry quickly crowds knees and feet. Make a full-size plan view, keep diagonal braces out of leg space, and verify that each seat has a clear approach.
Accessible End Extension
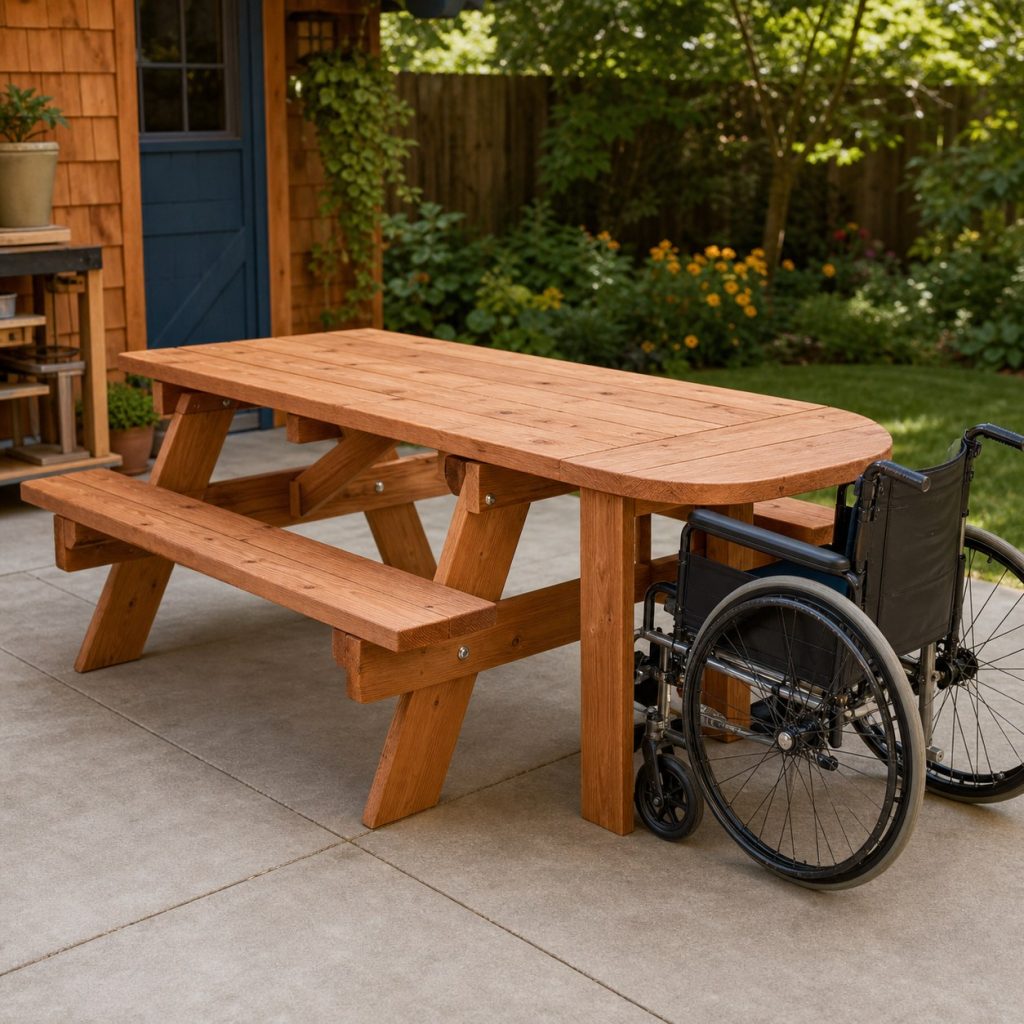
An extended end may improve wheelchair approach when it provides verified knee and toe clearance on a firm, stable route. Accessibility depends on the full site and exact geometry, so follow current applicable standards rather than relying on appearance alone.
Child-Scale Picnic Table
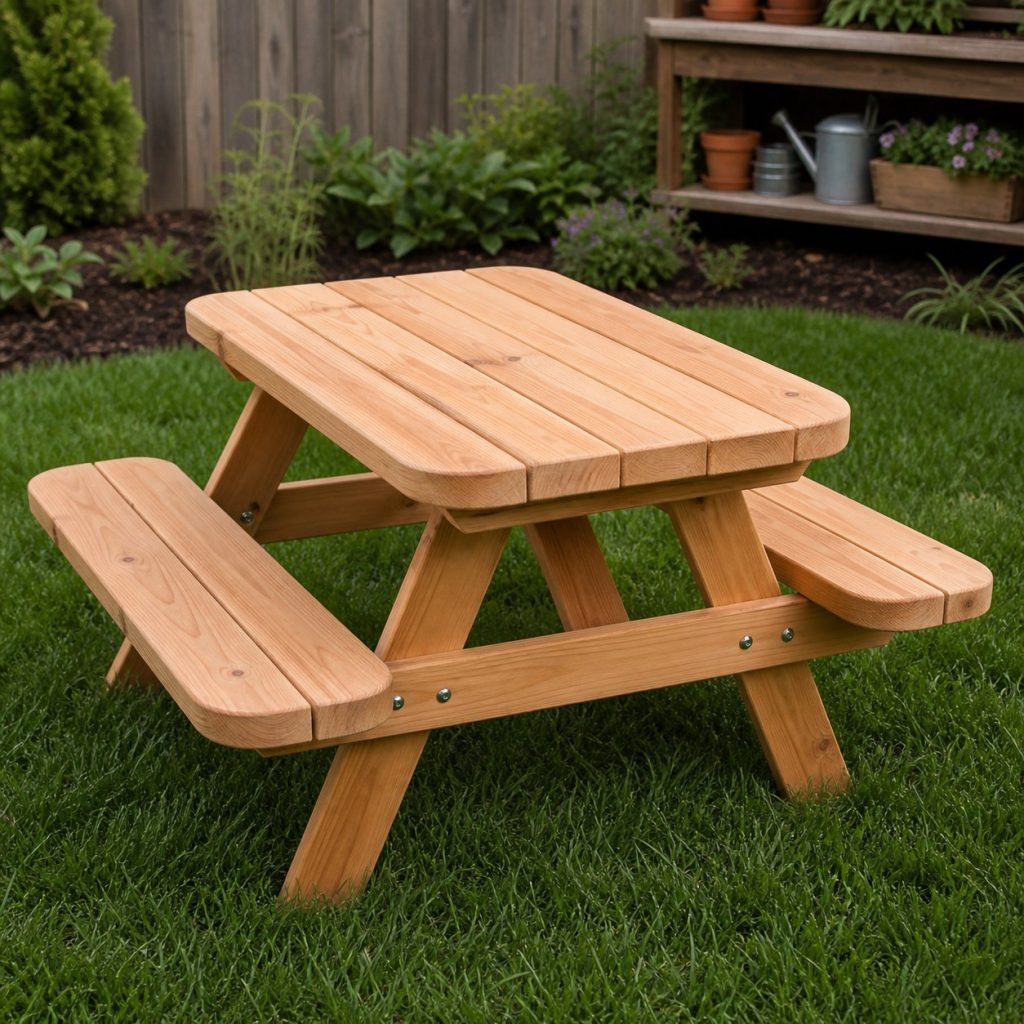
A child-scale table should use proportions suited to its intended age group and a broad stable footprint. Round all contact edges, eliminate protruding hardware, and supervise use. Do not simply shrink adult joinery until fastener edge distances become inadequate.
Assemble Matching Leg Frames
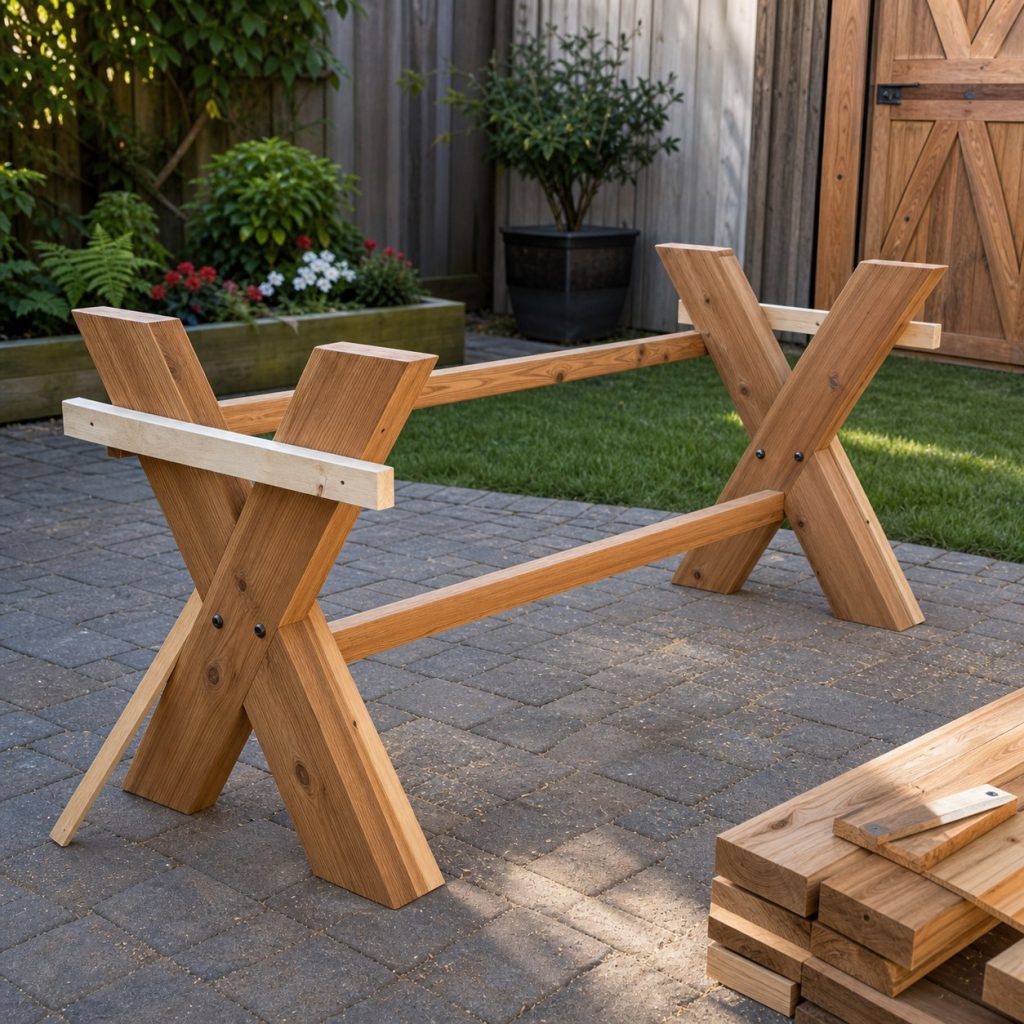
Cut matching legs from one setup, assemble the two frames on a flat surface, and compare them before adding stretchers. Temporary blocks hold spacing while the top and seat supports are installed. Use approved connection details for treated or naturally durable lumber.
Attach Top and Seat Boards
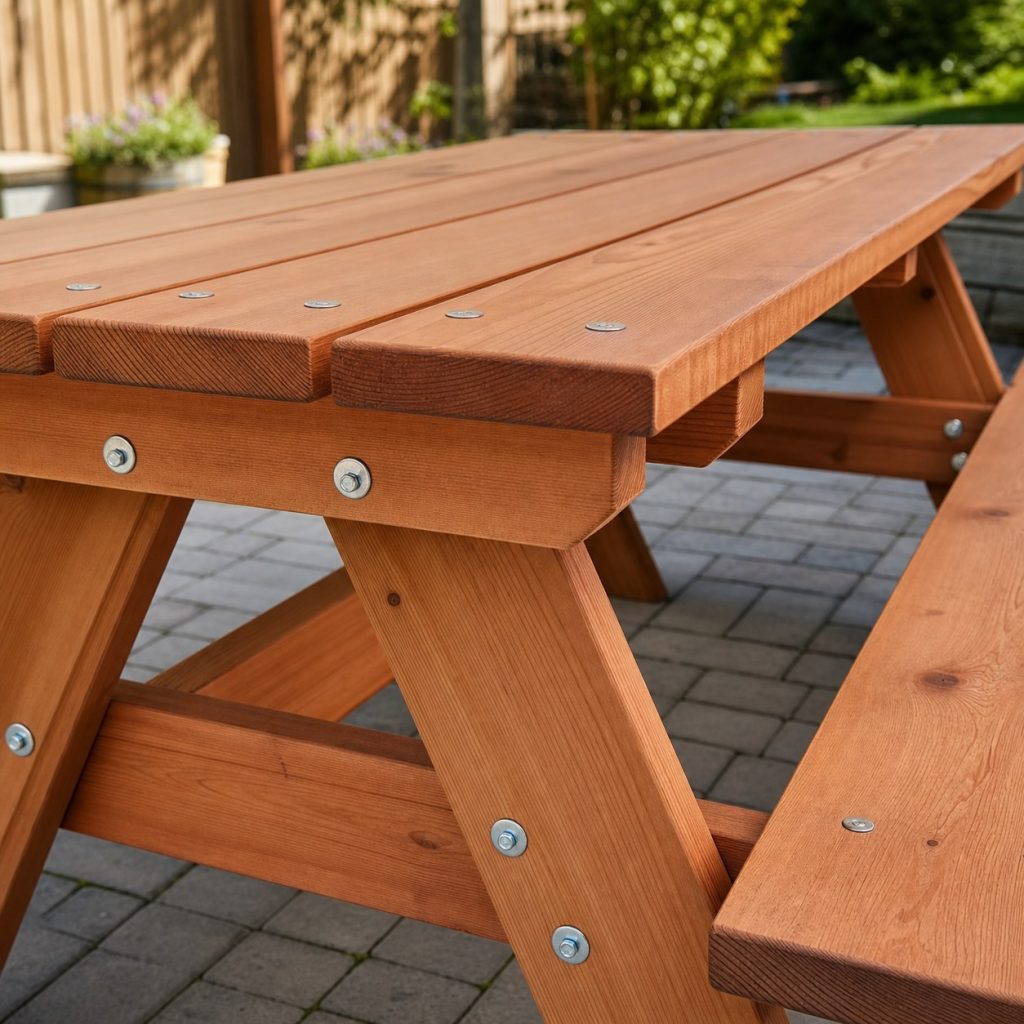
Ease every hand and leg-contact edge, predrill near board ends, and leave consistent gaps for drainage. Support long boards at intermediate points when required and attach them in a way that accommodates seasonal movement without creating deep water pockets.
Inspect After Wet Weather
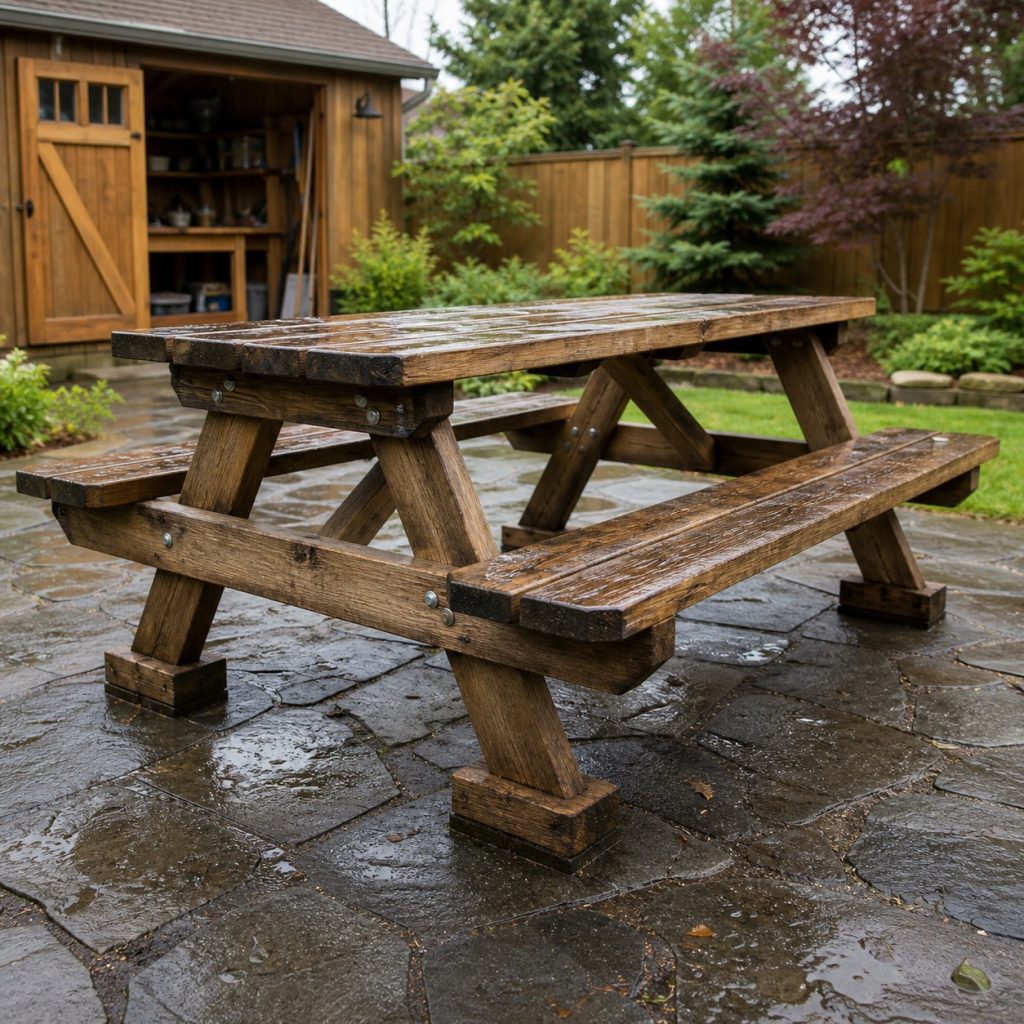
Water should leave the top, seats, fastener recesses, and feet. Check rocking, loose braces, corrosion, splits, rough edges, finish loss, and ground settlement. Remove the table from service if the frame moves until the cause is repaired.
Planning checklist
- Mock up seat, table, knee, and entry geometry.
- Build matching braced frames on a flat surface.
- Support all long boards and allow drainage and movement.
- Round contact edges and use compatible exterior hardware.
- Inspect rocking, splits, decay, and settlement regularly.
These concepts and generated images are general planning inspiration, not measured drawings, wildlife-box specifications, engineered plans, or tested load-rated designs. Verify dimensions, lumber grade and treatment, structural loads, fasteners, coatings, accessibility, utility locations, wildlife and public-health guidance, property rules, permits, and local building requirements for the actual project. Use current species- and region-specific plans for wildlife habitat, and qualified professionals where structural, electrical, plumbing, fall, or entrapment hazards apply.
Frequently asked questions
How long should a picnic table be?
Base length on place settings, end overhang, support spacing, board spans, and available circulation rather than a single standard dimension.
Should picnic-table boards have gaps?
Small consistent gaps let rain drain and wood move. Keep them comfortable and avoid openings that can trap fingers or small objects.
Can a picnic table stay on grass?
Grass holds moisture and may settle unevenly. A firm, level, drained surface makes the table easier to inspect and more stable.