Project planning guide
Before you build
Use the reference image and planning notes as a starting point. Confirm dimensions, loads, materials, local codes, and site conditions before purchasing or cutting.
- Garden Projects
- 8 reference images
- Print-friendly guide
A tree bench can turn existing shade into useful seating, but the structure must respect the living trunk and root zone. These eight concepts focus on independent support, drainage, maintainable joints, and an opening that can accommodate growth.
Classic Hexagonal Tree Bench
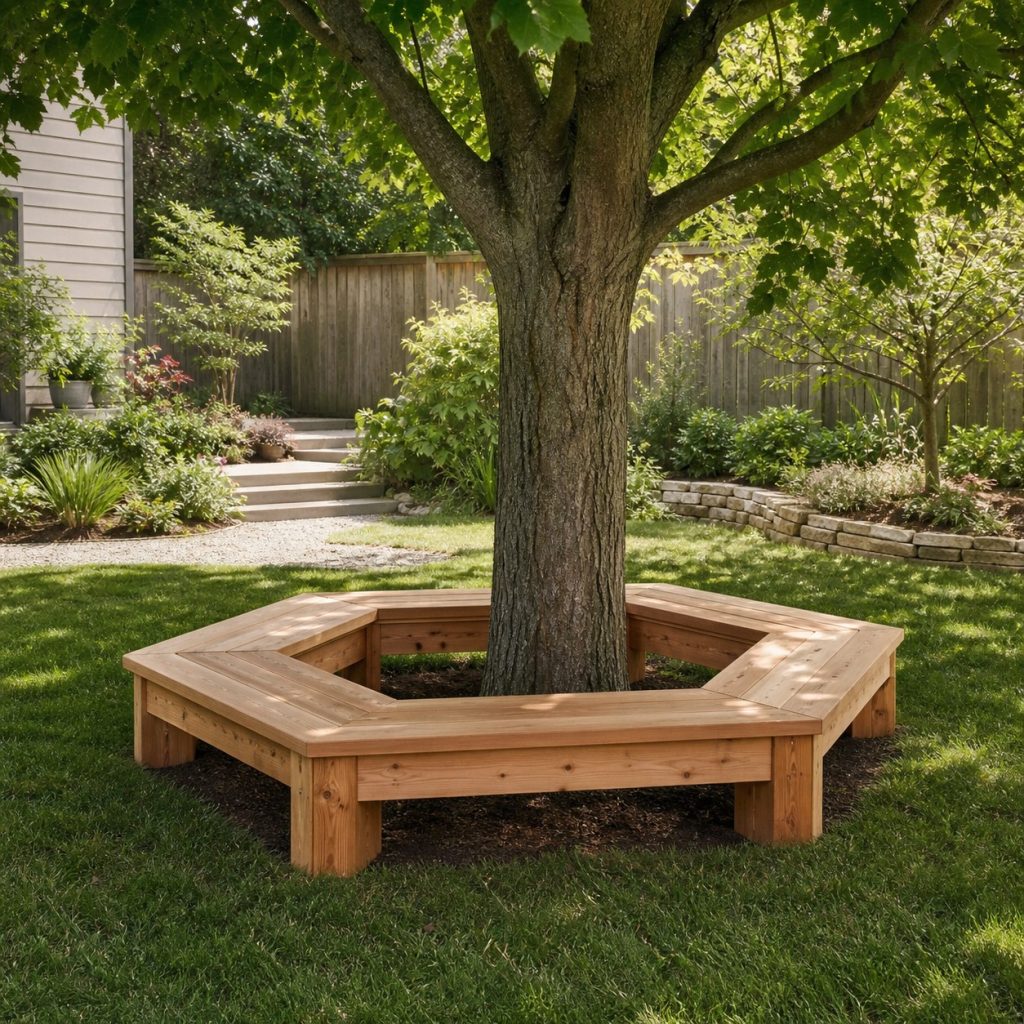
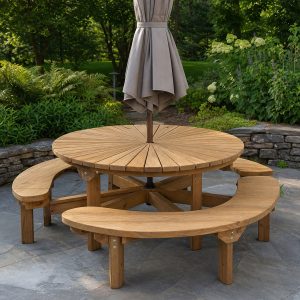
Six repeated seat modules create the familiar wraparound form and keep the cut list manageable. Size the center opening for future trunk growth, keep every board off the bark, and place feet carefully so excavation does not cut major roots.
Square Tree Bench With Open Corners
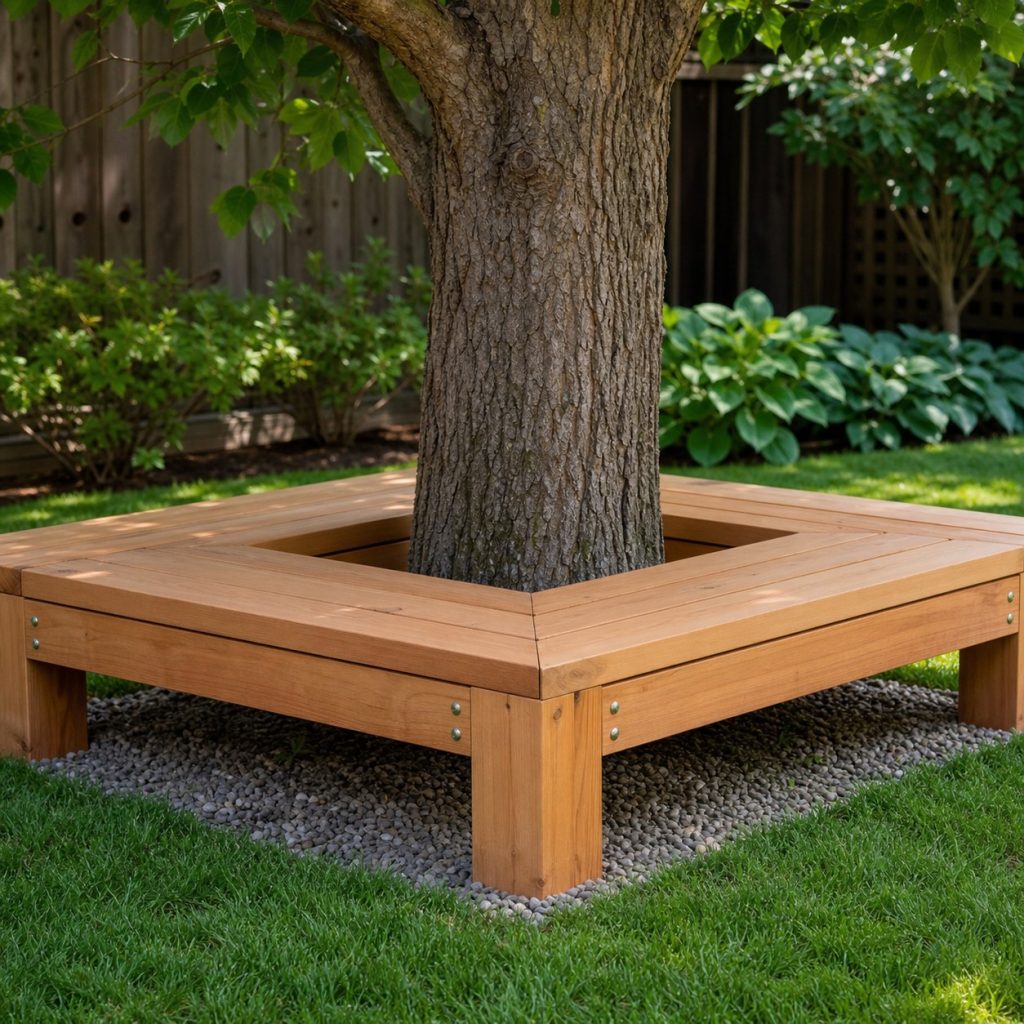
A square layout uses simple right-angle joinery and leaves corner gaps for airflow and visual lightness. Independent leg frames should sit on stable pads near grade rather than being anchored through roots or attached to the trunk.
Half-Wrap Tree Bench
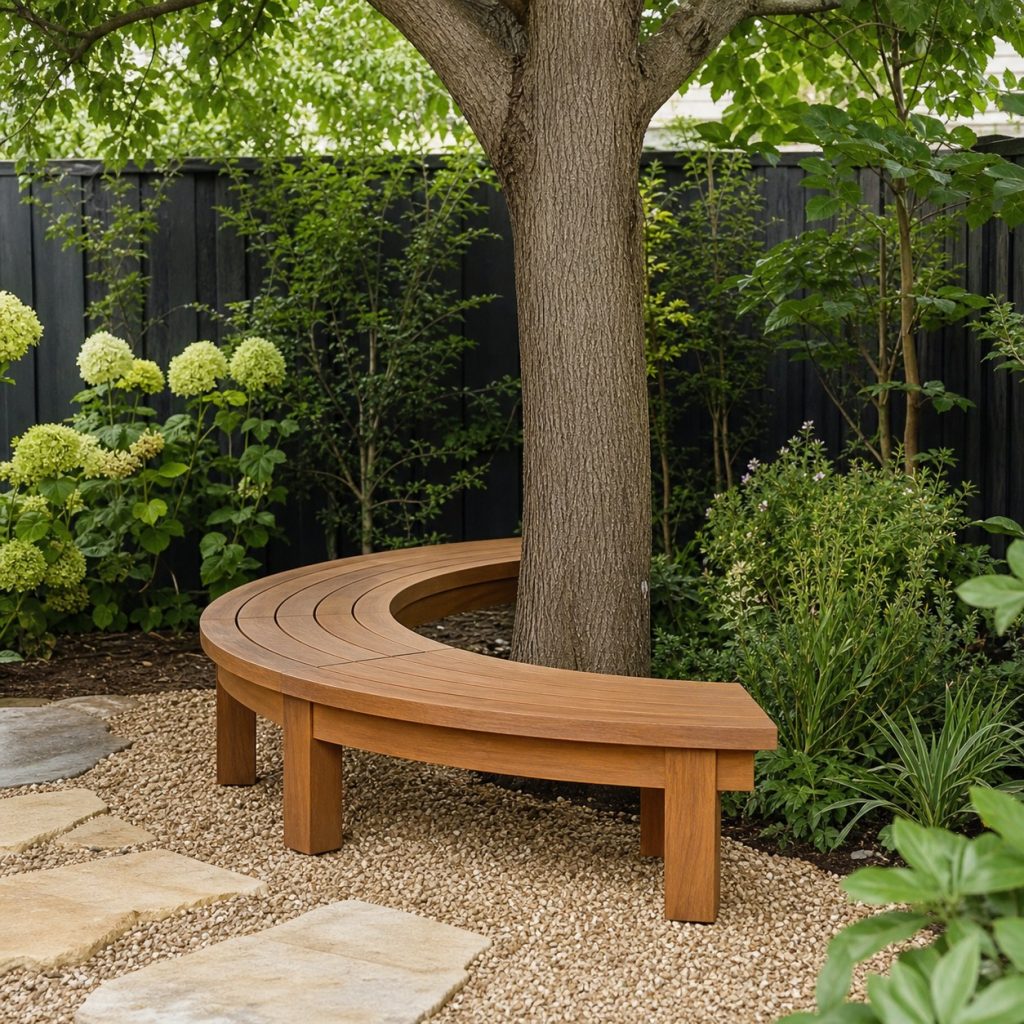
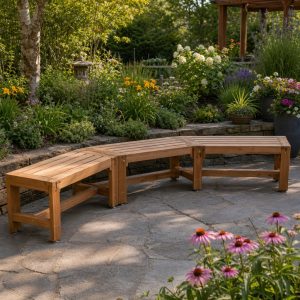
A half-wrap bench works where a path, fence, or planting bed limits access around the tree. The open side simplifies mowing and inspection while the curved or faceted seat still captures shade without enclosing the root flare.
Backed Tree Bench
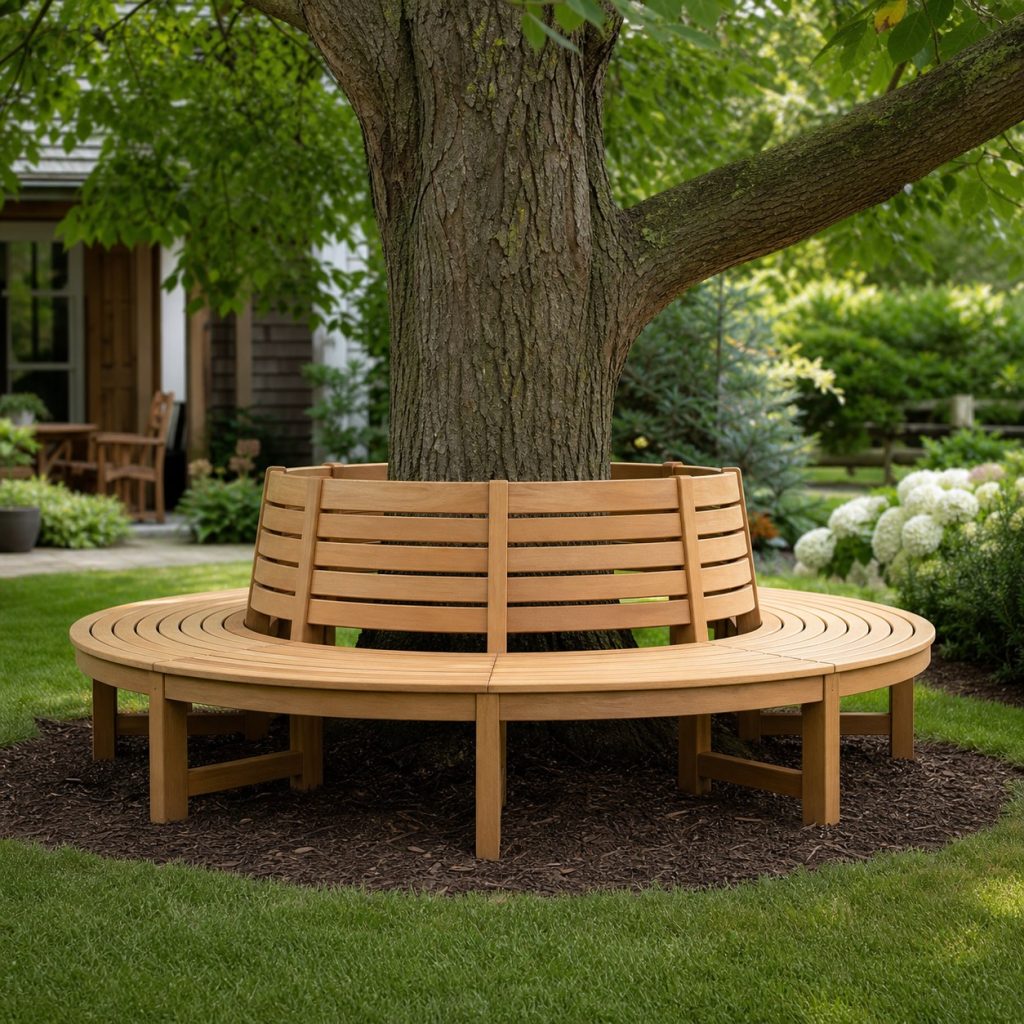
Backrests add comfort but also increase wind area and leverage at the legs. Brace each module as outdoor furniture, round contact edges, and maintain a clear gap between the back assembly and all bark.
Floating-Look Slatted Bench
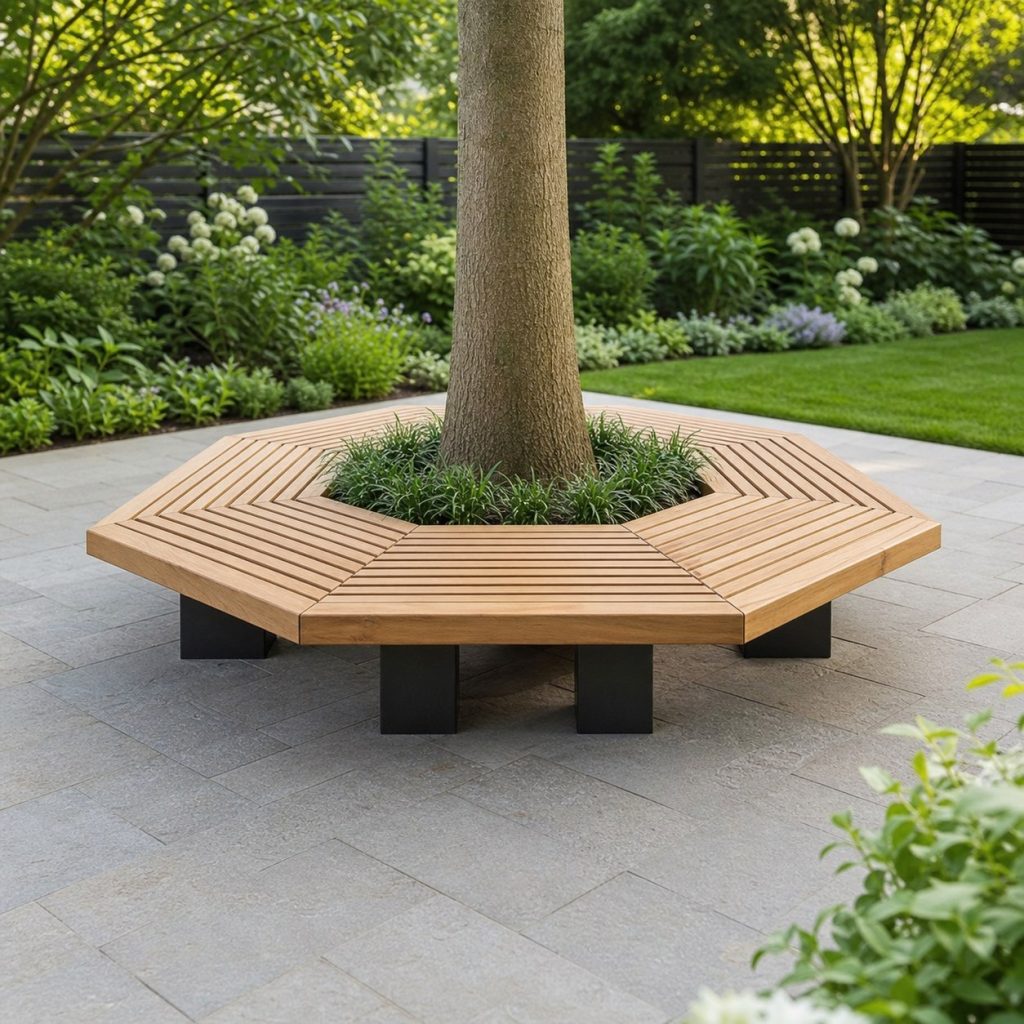
Recessed supports give the seat a lighter appearance while remaining structurally independent of the tree. Use durable exterior framing, allow water to drain between slats, and provide removable access panels for inspection and leveling.
Tree Bench With Planter-Free Root Zone
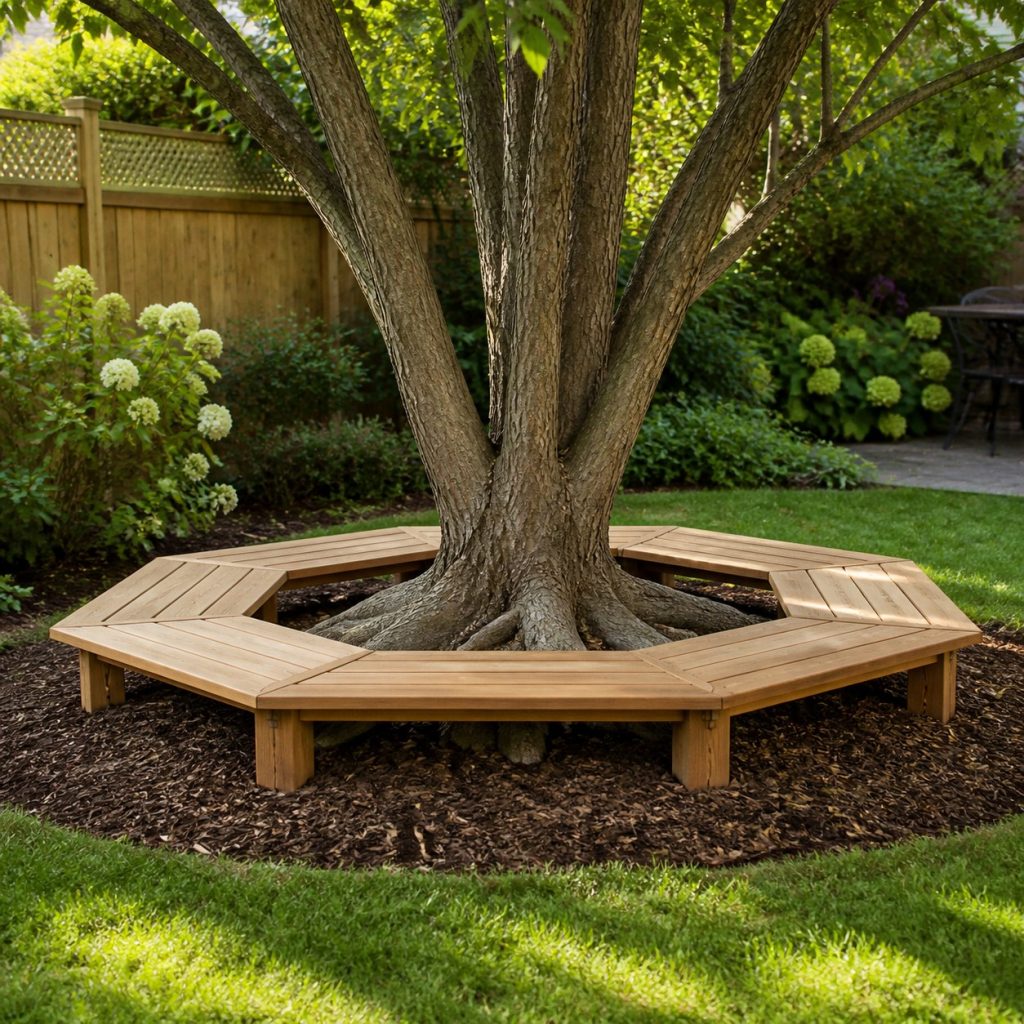
Leaving the inner zone open avoids trapping wet soil or planter media against the trunk. Preserve the visible root flare, keep mulch shallow and away from bark, and avoid adding irrigation that continuously wets the trunk.
Modular Four-Section Bench
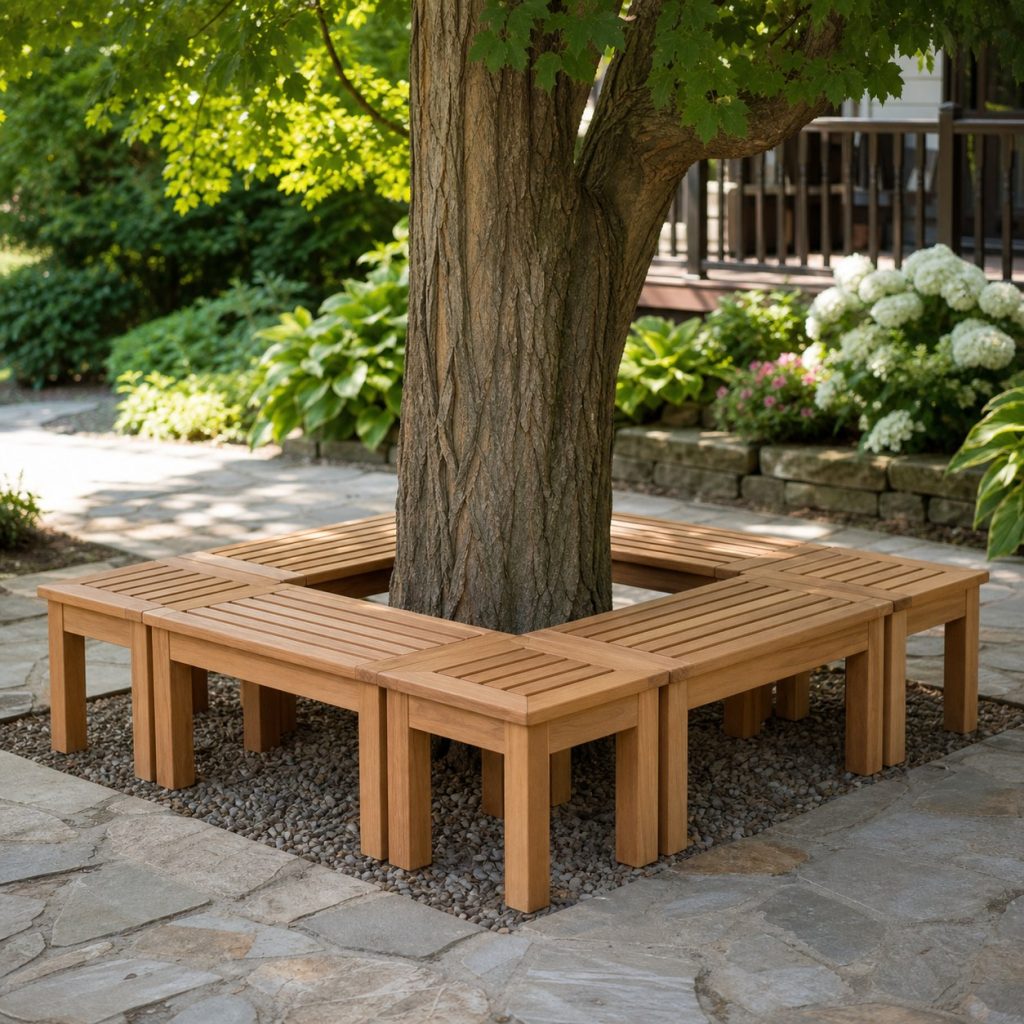
Four separate modules are easier to carry, level, repair, and widen later than a single closed ring. Connect them with accessible exterior-rated bolts or concealed linking plates that can be removed without disturbing the tree.
Planning Clearances and Footings
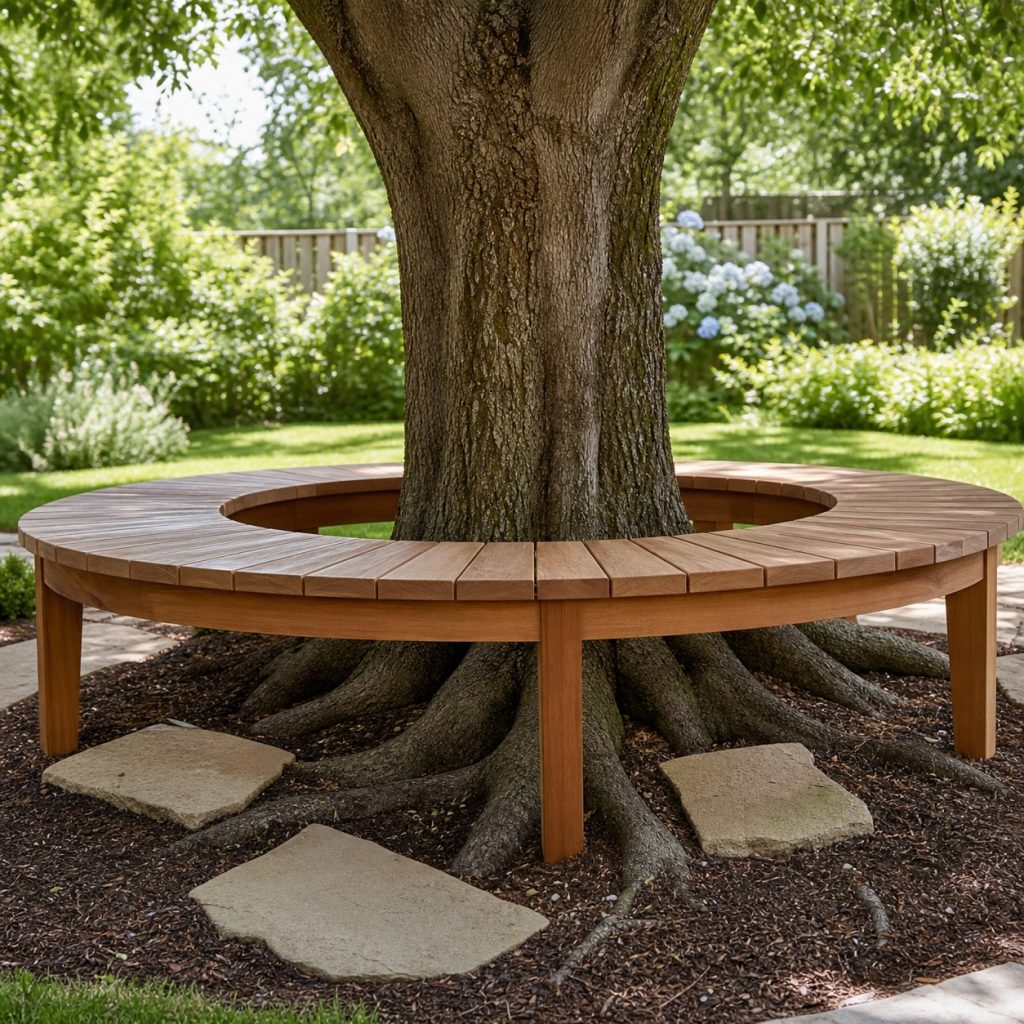
Start with an arborist assessment if roots, trunk condition, or excavation locations are uncertain. Mark the root flare and visible surface roots, choose shallow noninvasive support pads, and recheck clearances every season as the tree grows.
Planning checklist
- Confirm the tree is healthy and suitable for nearby seating.
- Leave generous clearance around the trunk and visible root flare.
- Do not fasten the bench to the tree or cut major roots.
- Use independent, level supports with drainage beneath them.
- Choose exterior-rated lumber, fasteners, and finishes.
- Plan modules that can be removed, repaired, or widened.
These concepts and generated images are general planning inspiration, not measured drawings, drainage calculations, equipment-clearance instructions, accessibility designs, engineered plans, or tested load-rated structures. Verify dimensions, soil and drainage, roots and utilities, lumber and hardware, structural and wind loads, equipment manuals, service access, electrical and plumbing work, water and chemical safety, accessibility, permits, and local requirements for the actual project. Use qualified arborists, engineers, HVAC and pool technicians, electricians, plumbers, drainage professionals, and other licensed trades where those hazards or systems apply.
Frequently asked questions
How much space should a tree bench leave around the trunk?
There is no universal gap because species and growth rates differ. Leave substantially more than the current trunk diameter requires, keep the root flare visible, and have an arborist advise on valuable or mature trees.
Can the bench be attached to the tree?
No. A tree grows and moves, while fasteners can injure bark and create unstable connections. Build a freestanding bench on independent supports.
How do I level a bench without digging through roots?
Use carefully placed shallow pads or adjustable feet at grade, avoiding major roots. Stop and seek arborist advice when the root zone makes a safe support layout uncertain.