Project planning guide
Before you build
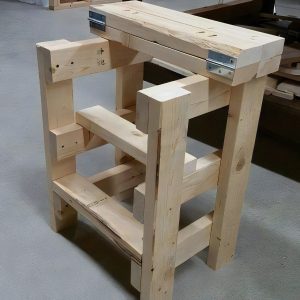
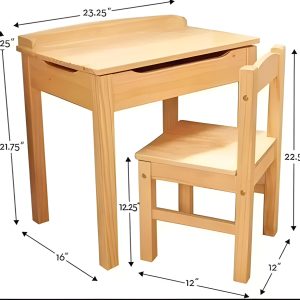
Use the reference image and planning notes as a starting point. Confirm dimensions, loads, materials, local codes, and site conditions before purchasing or cutting.
- Woodworking
- 1 reference image
- Print-friendly guide
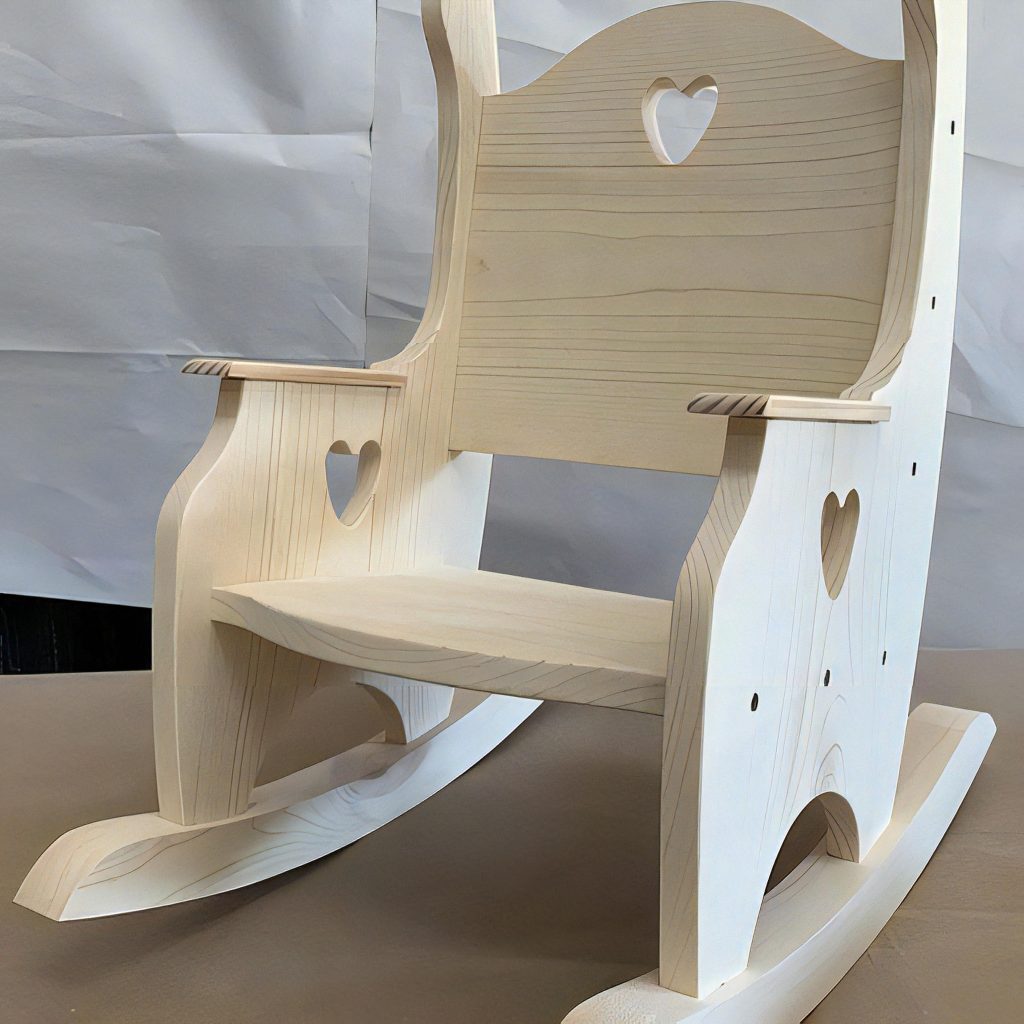
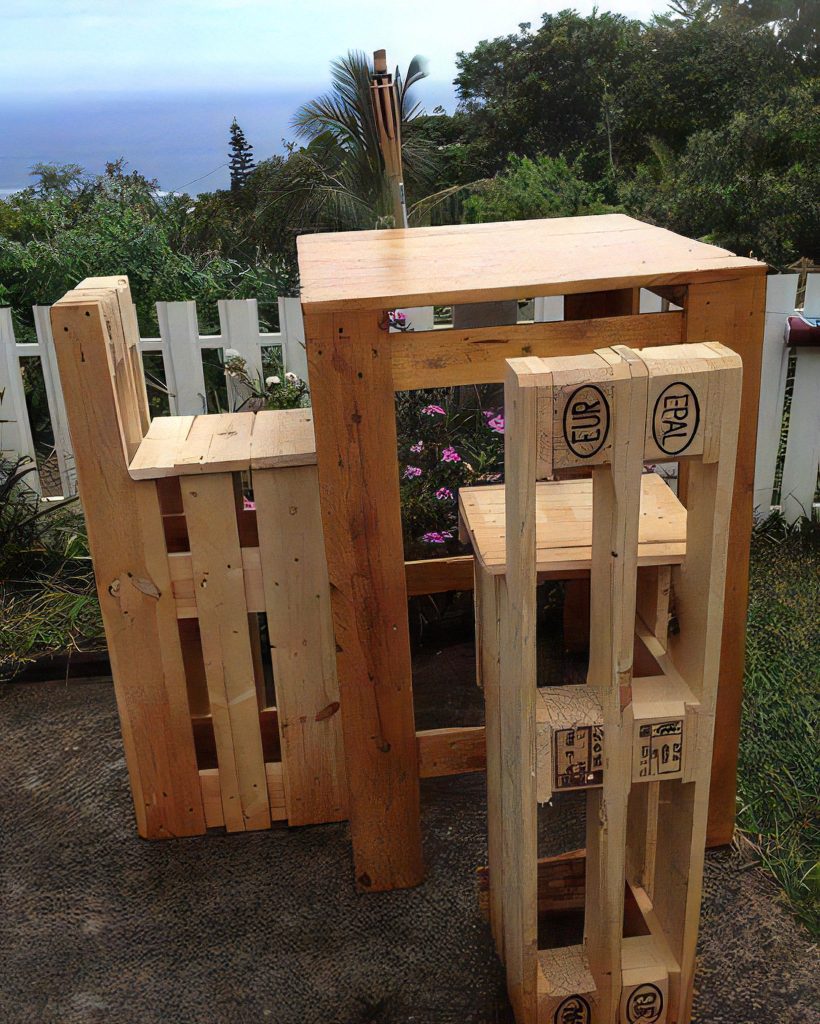
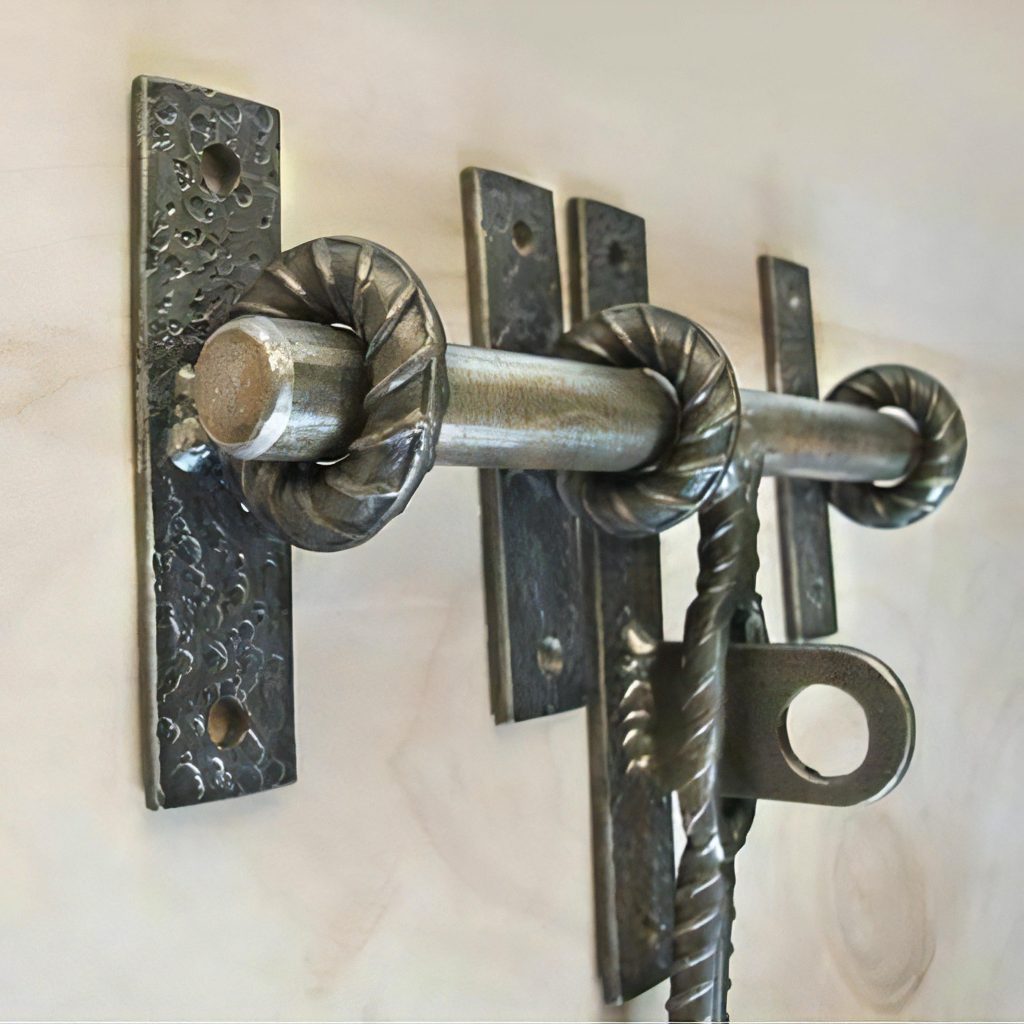
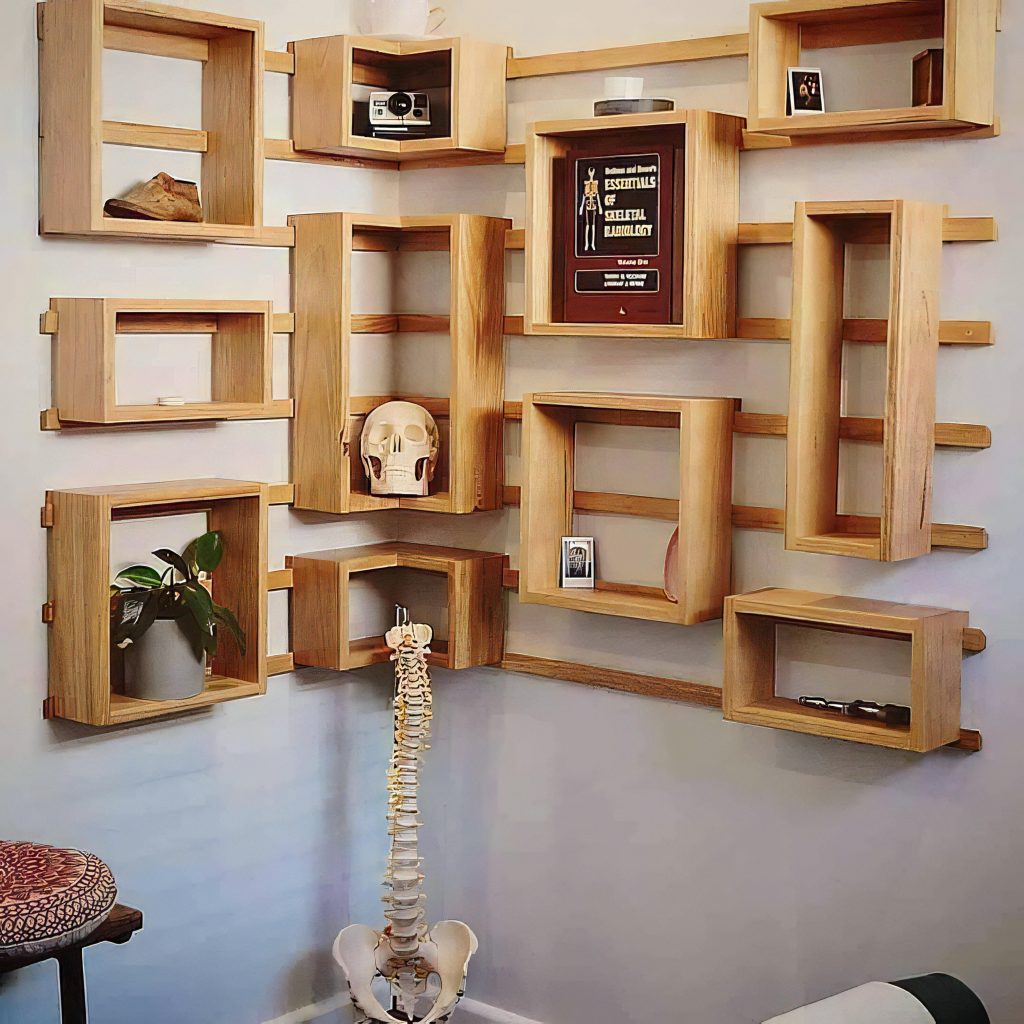
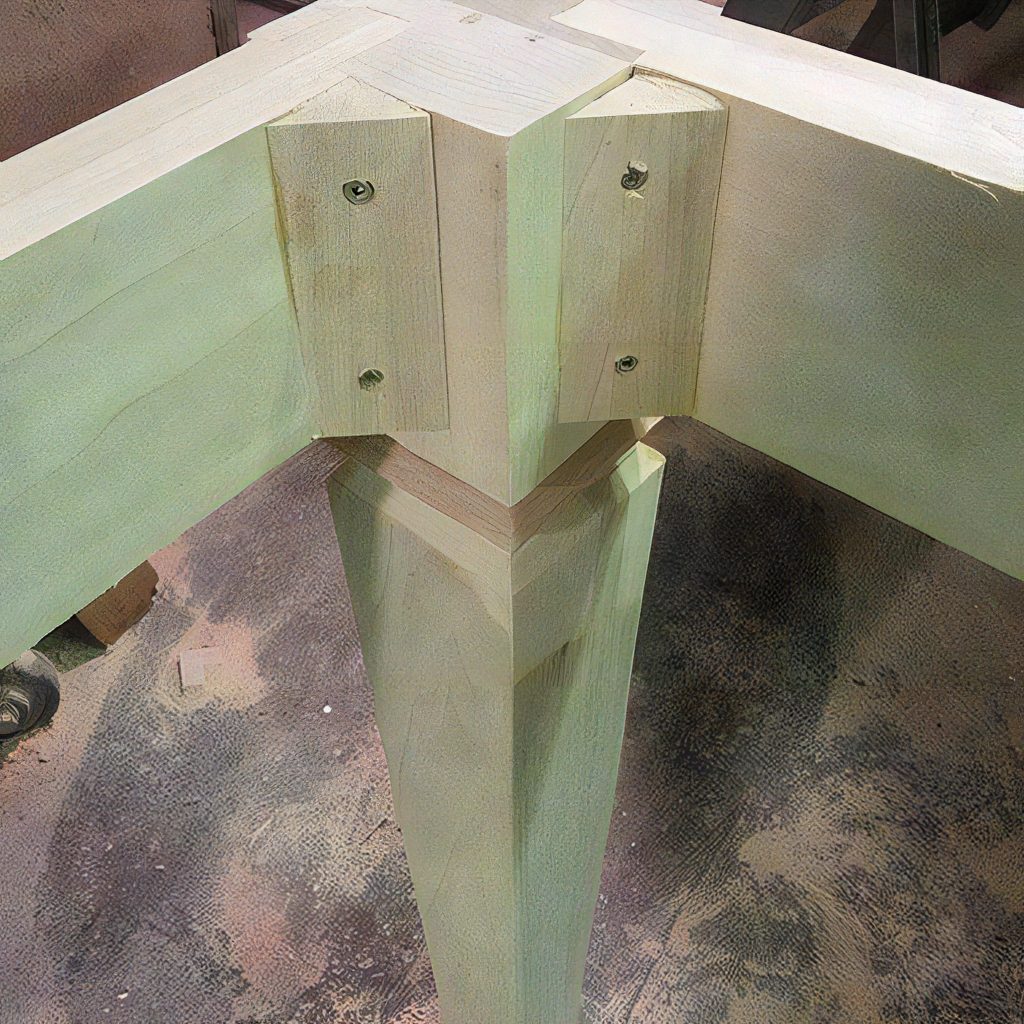
A successful simple wooden peg rack for an organized entry should store coats and bags with a clean form that is easy to customize. This guide focuses on decisions that improve function, durability, and long-term maintenance.
Plan before cutting
Lay out peg spacing around bulky coats and the locations of wall studs. Record final dimensions and verify the project fits its site, users, and surrounding clearances before buying material.
Build for dependable use
Angle or shoulder the pegs, then fasten the backboard directly into framing. Select straight, dry material and make a test piece whenever joinery or hardware is unfamiliar.
Finishing details
Ease exposed edges, prepare surfaces methodically, and choose a finish appropriate to moisture, sunlight, heat, and wear. Inspect fasteners and moving parts after initial use.
Safety and adaptation
Adapt dimensions and structural details to local conditions. Use suitable protective equipment and consult a qualified professional for structural, electrical, plumbing, or code-related work.