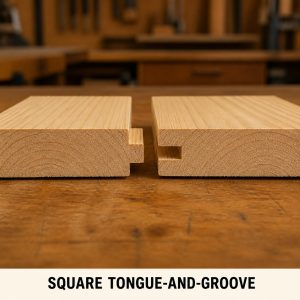
Project planning guide
Before you build
Use the reference image and planning notes as a starting point. Confirm dimensions, loads, materials, local codes, and site conditions before purchasing or cutting.
- Type of Wood Joints
- 10 reference images
- Print-friendly guide
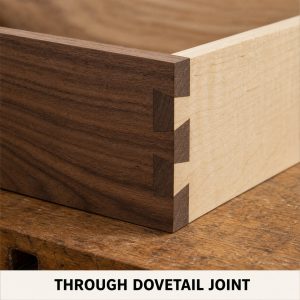
Dovetails use angled tails and complementary pins or an undercut sliding profile to resist separation. These ten examples focus on two visually verifiable forms—through dovetails and sliding dovetails—across common furniture and cabinet applications.
Quick answer: This guide shows ten separate, labeled examples related to dovetail joint uses. Study the mating faces, shoulders, grooves, fasteners, and direction of assembly before choosing a joint for a real project.
10 examples in this guide
- Through Dovetail Box Corner
- Through Dovetail Drawer
- Through Dovetail Tool Chest
- Through Dovetail Tray
- Through Dovetail Cabinet Carcass
- Sliding Dovetail Shelf
- Sliding Dovetail Divider
- Sliding Dovetail Batten
- Sliding Dovetail Rail
- Sliding Dovetail Drawer Front
1. Through Dovetail Box Corner
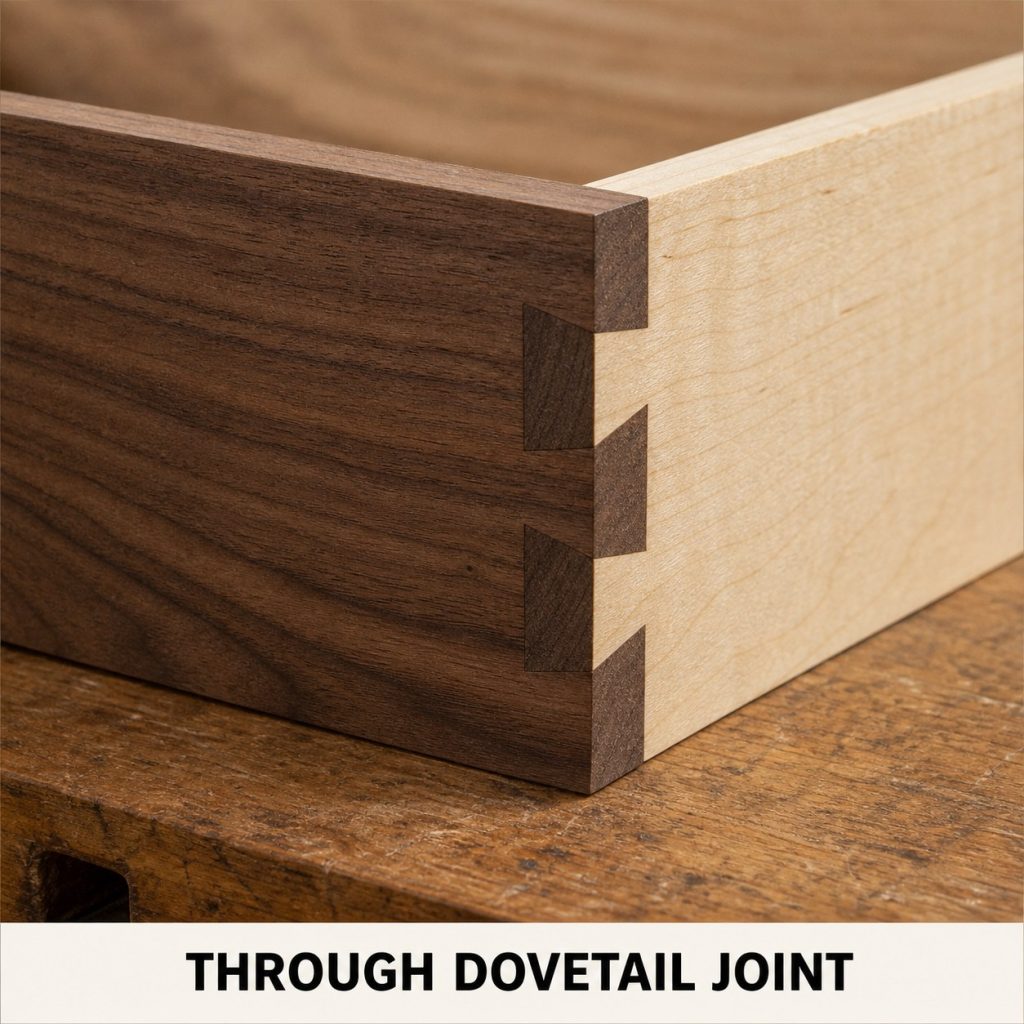
What to notice: Through dovetails mechanically lock a box corner while exposing the complete pattern.
Typical uses: keepsake boxes and small cases.
Dry-fit check: Confirm that mating parts are complementary, shoulders close evenly, and the parts assemble in the intended direction without forcing.
2. Through Dovetail Drawer
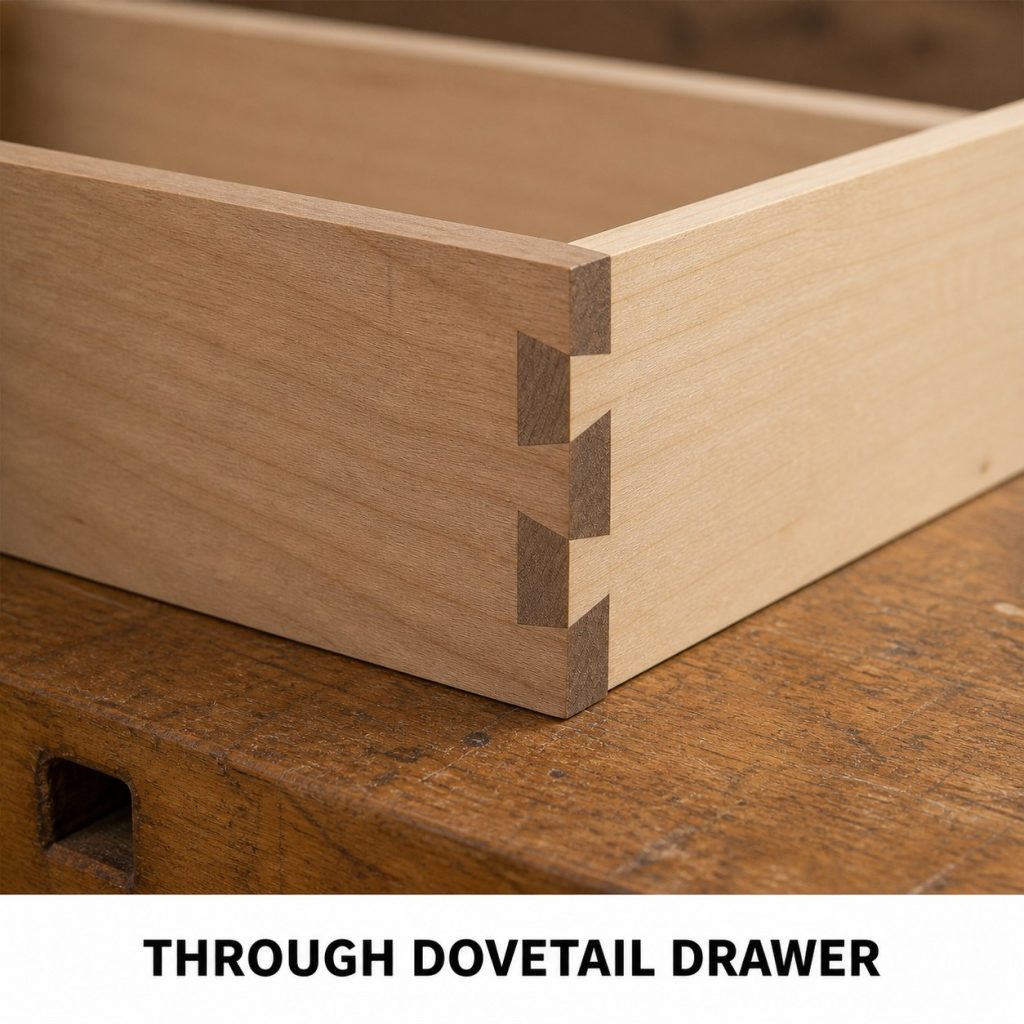
What to notice: A through-dovetailed drawer back resists separation under repeated opening and closing.
Typical uses: drawers and pull-out trays.
Dry-fit check: Confirm that mating parts are complementary, shoulders close evenly, and the parts assemble in the intended direction without forcing.
3. Through Dovetail Tool Chest
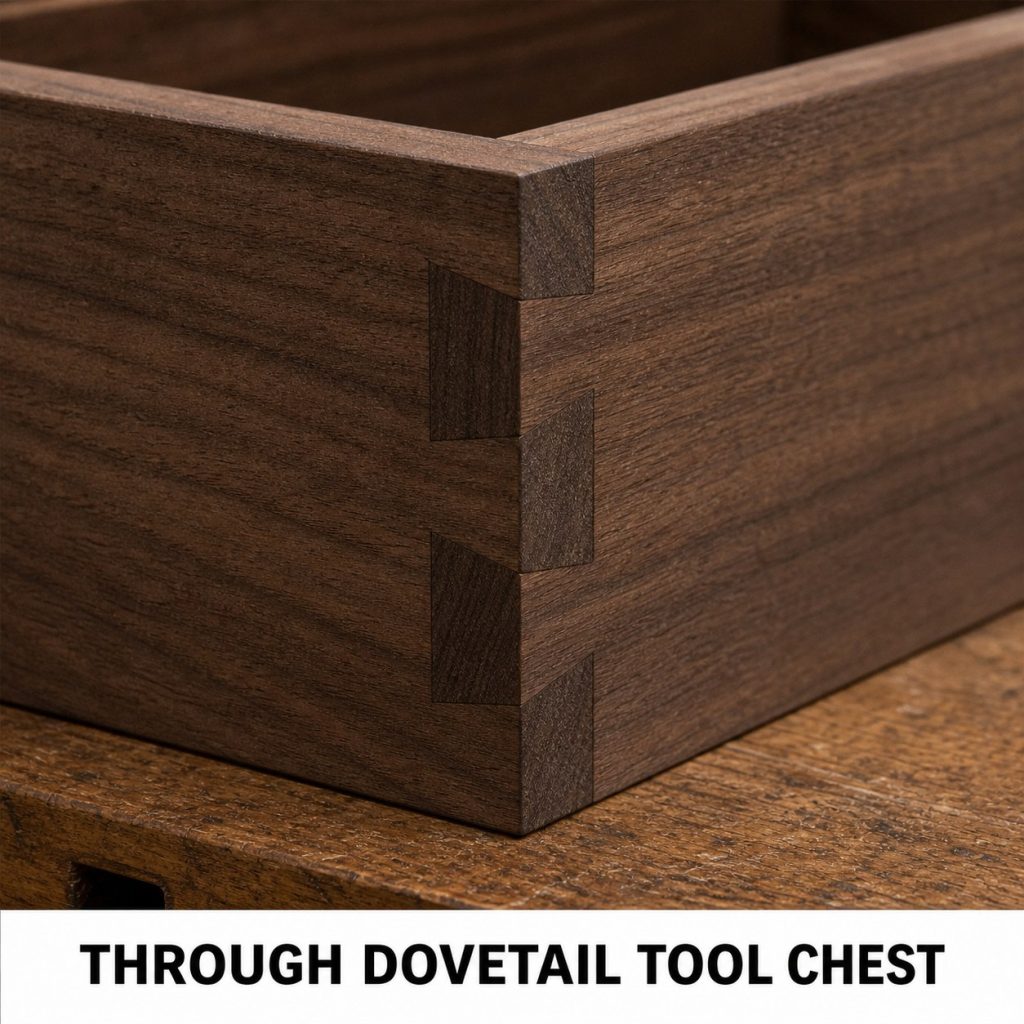
What to notice: Broad through dovetails suit thick stock and high-use storage.
Typical uses: tool chests and workshop boxes.
Dry-fit check: Confirm that mating parts are complementary, shoulders close evenly, and the parts assemble in the intended direction without forcing.
4. Through Dovetail Tray
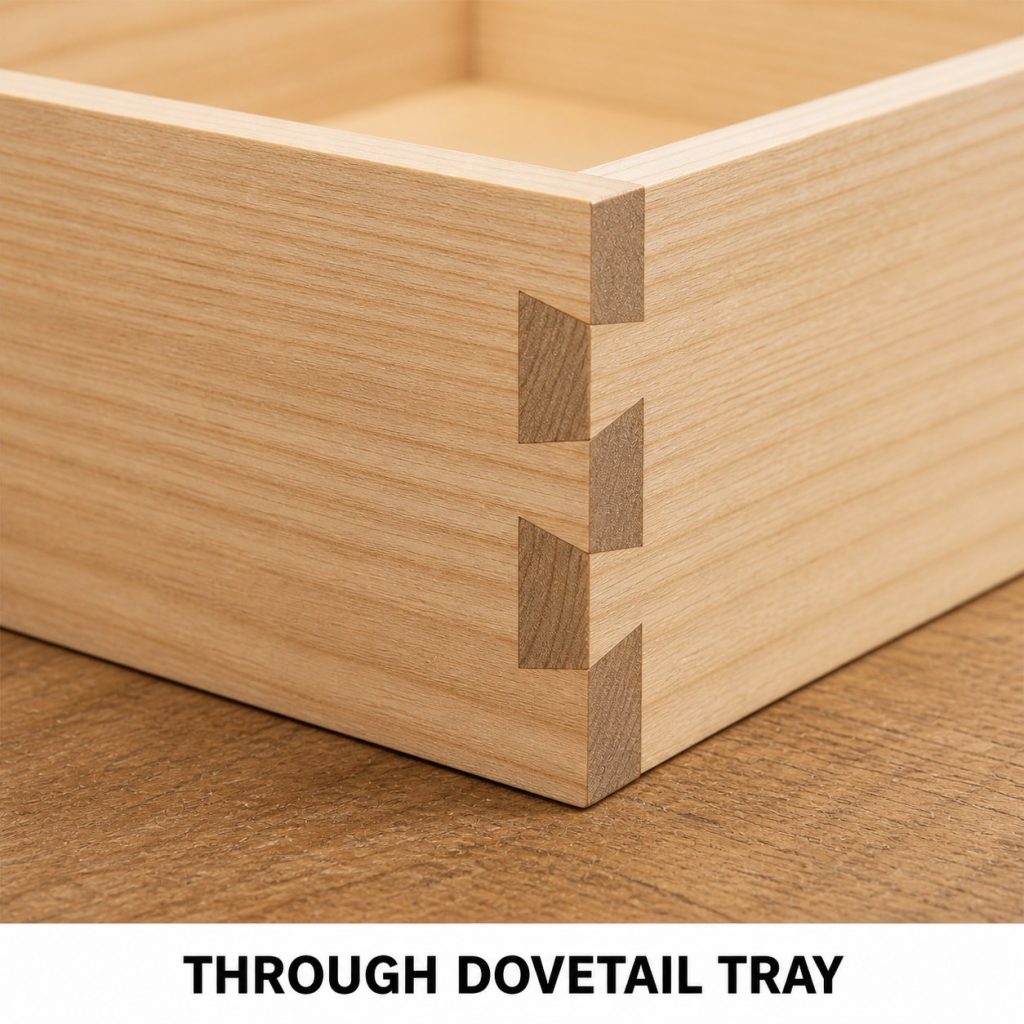
What to notice: Fine tails give a low tray ample glue area without bulky fasteners.
Typical uses: serving trays and organizers.
Dry-fit check: Confirm that mating parts are complementary, shoulders close evenly, and the parts assemble in the intended direction without forcing.
5. Through Dovetail Cabinet Carcass
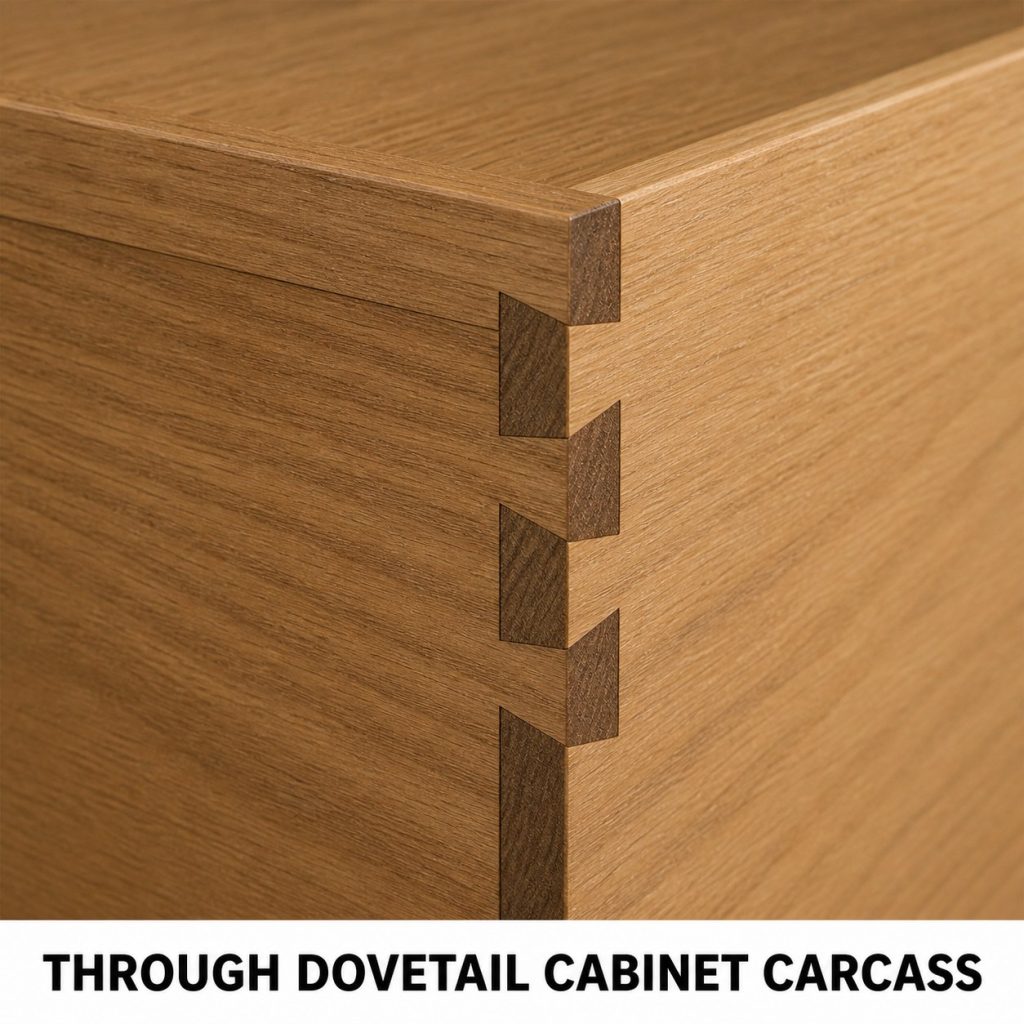
What to notice: Carcass dovetails resist the side pulling away from the cabinet top.
Typical uses: cabinets, bookcases, and carcasses.
Dry-fit check: Confirm that mating parts are complementary, shoulders close evenly, and the parts assemble in the intended direction without forcing.
6. Sliding Dovetail Shelf
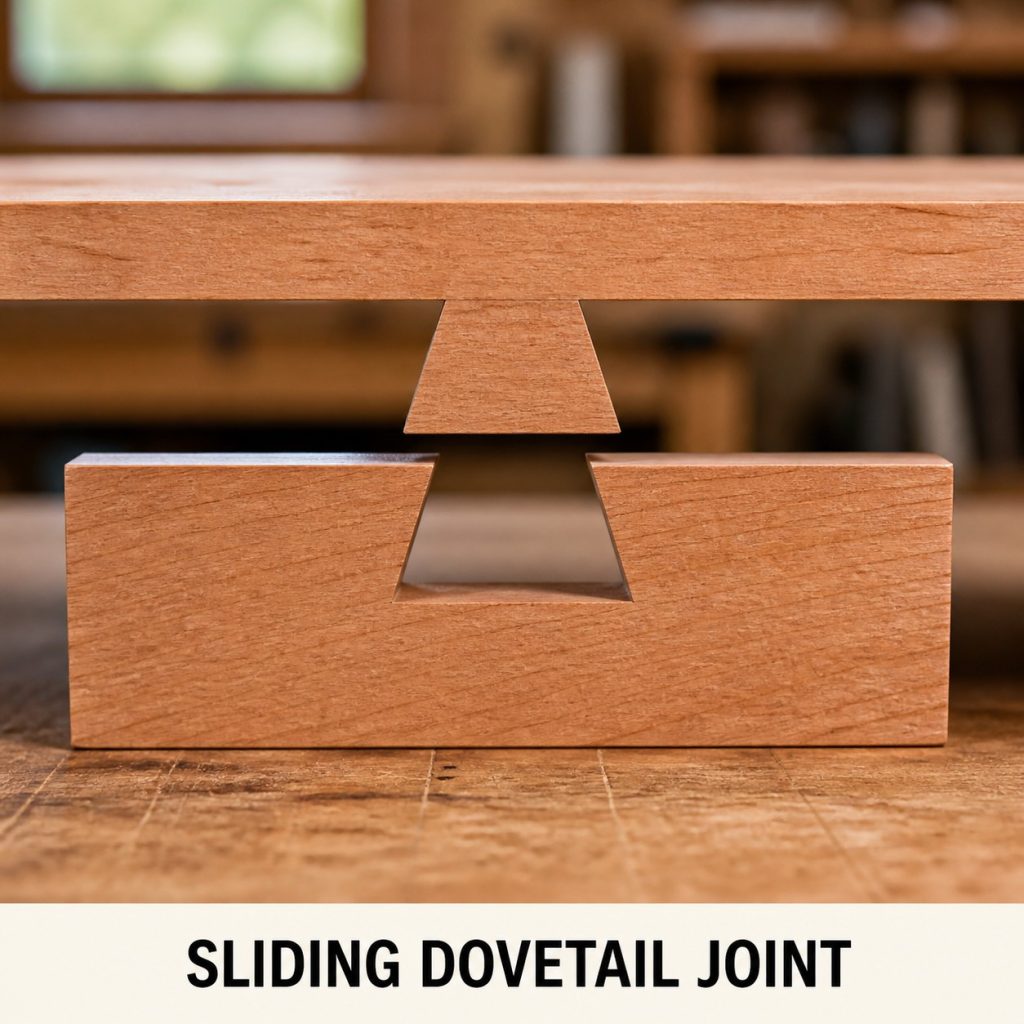
What to notice: The sliding profile supports the shelf and resists straight pullout.
Typical uses: fixed cabinet shelves.
Dry-fit check: Confirm that mating parts are complementary, shoulders close evenly, and the parts assemble in the intended direction without forcing.
7. Sliding Dovetail Divider
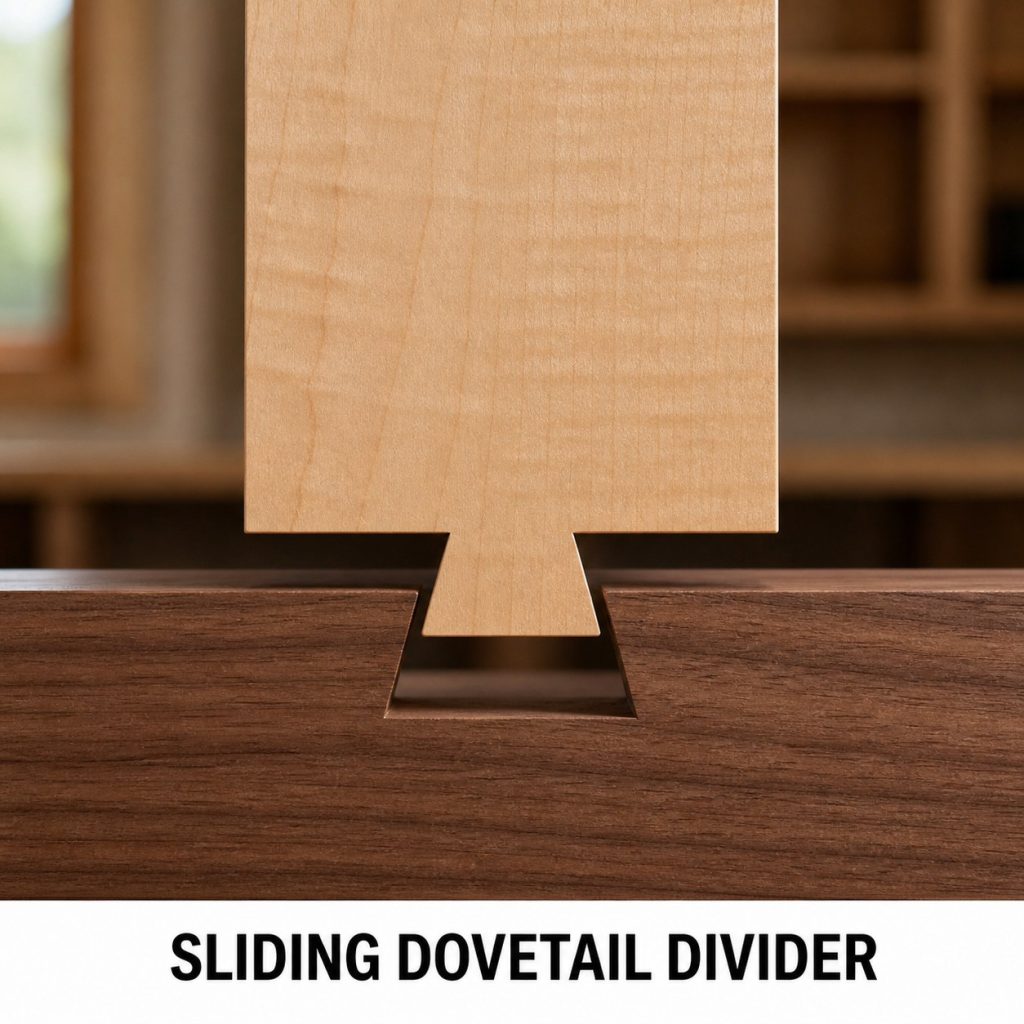
What to notice: Sliding dovetails register dividers and hold them square without visible hardware.
Typical uses: cabinet dividers and cubbies.
Dry-fit check: Confirm that mating parts are complementary, shoulders close evenly, and the parts assemble in the intended direction without forcing.
8. Sliding Dovetail Batten
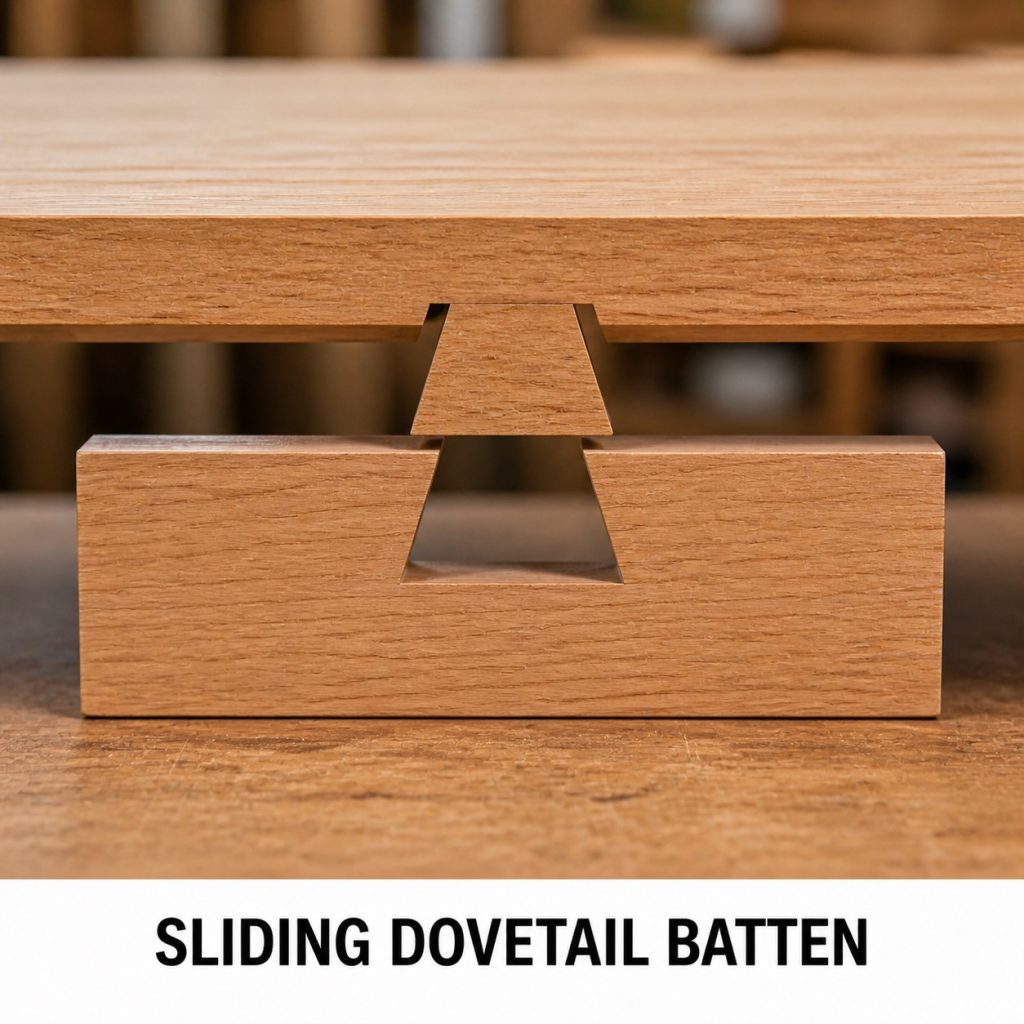
What to notice: A sliding dovetail batten can keep a panel flat while allowing controlled movement.
Typical uses: tabletops and wide panels.
Dry-fit check: Confirm that mating parts are complementary, shoulders close evenly, and the parts assemble in the intended direction without forcing.
9. Sliding Dovetail Rail
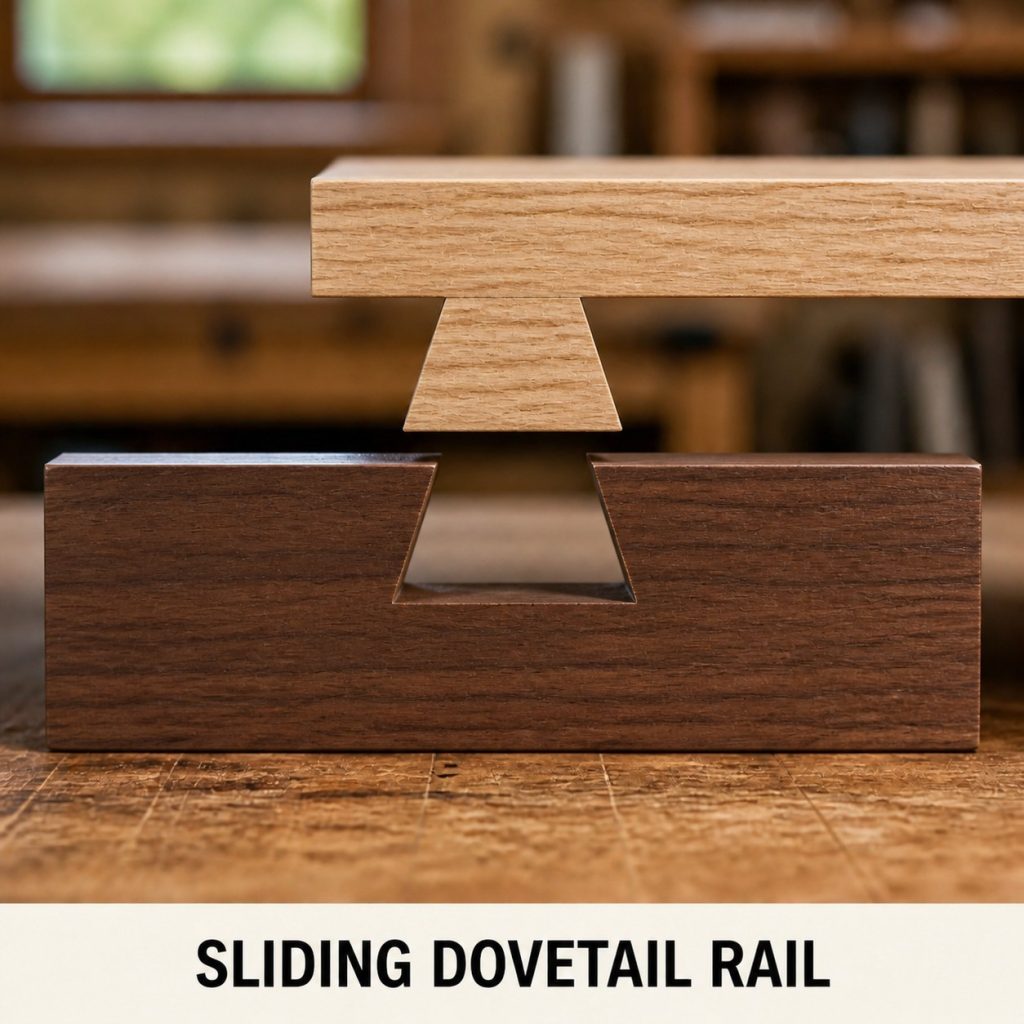
What to notice: A dovetailed rail resists pullout perpendicular to the direction of assembly.
Typical uses: cabinet rails and structural dividers.
Dry-fit check: Confirm that mating parts are complementary, shoulders close evenly, and the parts assemble in the intended direction without forcing.
10. Sliding Dovetail Drawer Front
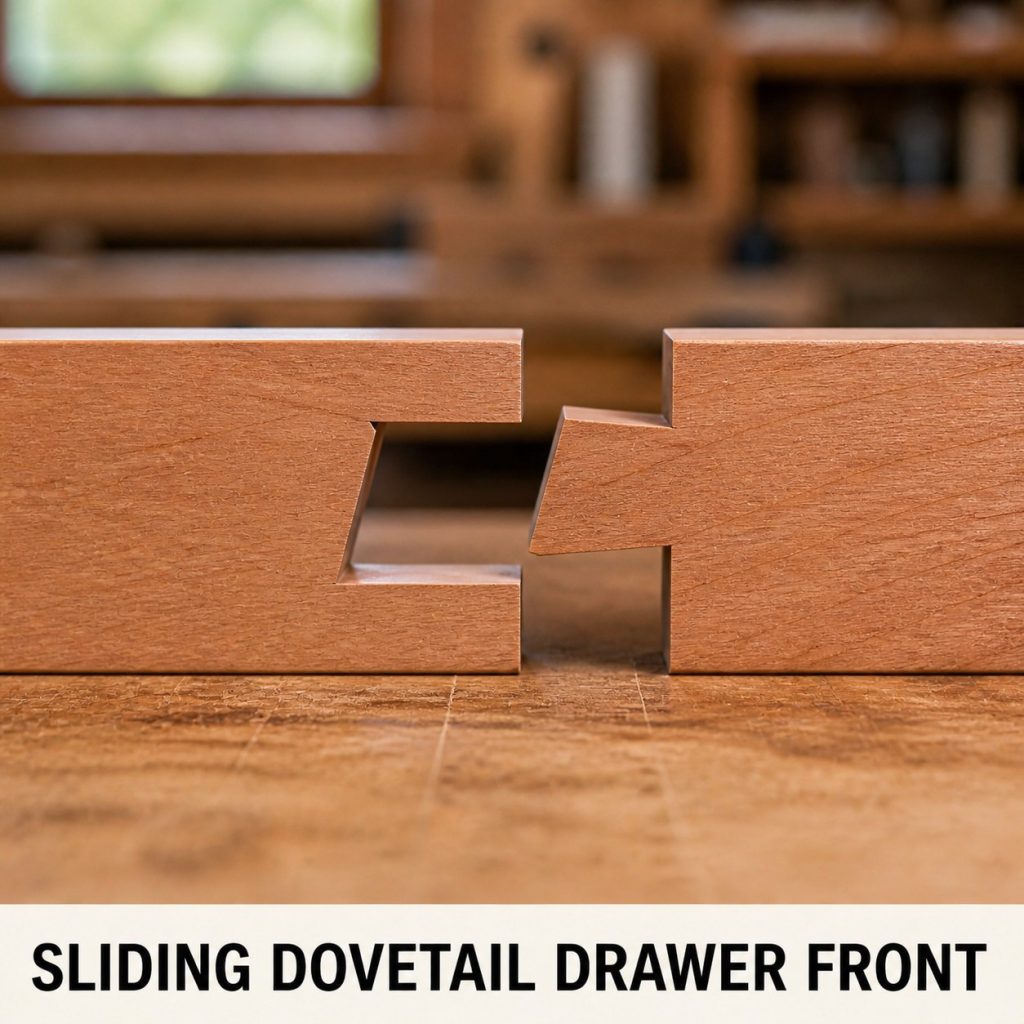
What to notice: A sliding dovetail gives a drawer front a long mechanically locked glue surface.
Typical uses: drawers and machine-cut furniture.
Dry-fit check: Confirm that mating parts are complementary, shoulders close evenly, and the parts assemble in the intended direction without forcing.
Before you cut the joint
- Mark a reference face and edge on every workpiece.
- Make a full-size sample from scrap of the same species and thickness.
- Dry-fit before glue and inspect cheeks, shoulders, end grain, and movement clearance.
- Use guards, hold-downs, eye protection, dust control, and the tool manufacturer’s instructions.
- Use engineered drawings for load-bearing timber, roof, stair, deck, or structural connections.
Frequently asked questions
Can I copy dimensions from these photos?
No. The images explain orientation and connection type only. Size the joint from the real stock, load, species, and verified plan.
Why make a test joint?
A scrap test reveals cutter width, setup error, grain behavior, and fit before the final component is damaged.
Should a dry joint need heavy force?
No. It should close with controlled hand pressure or light tapping appropriate to the design. Excessive force can split cheeks, pins, tails, or shoulders.
More wood-joint guides
Browse the Type of Wood Joints hub, or continue with 10 Tongue-and-Groove Profiles and Project Uses, 10 Box Joint Variations and Project Uses, 10 Ways to Reinforce a Butt Joint.