Project planning guide
Before you build
Use the reference image and planning notes as a starting point. Confirm dimensions, loads, materials, local codes, and site conditions before purchasing or cutting.
- Type of Wood Joints
- 10 reference images
- Print-friendly guide
A plain butt joint places the end of one piece against the face or edge of another without interlocking geometry. These ten examples show common reinforcement choices and make the hidden or visible connector clear.
Quick answer: This guide shows ten separate, labeled examples related to butt joint. Study the mating faces, shoulders, grooves, fasteners, and direction of assembly before choosing a joint for a real project.
10 examples in this guide
- Plain Glued Butt Joint
- Screwed Butt Joint
- Nailed Butt Joint
- Doweled Butt Joint
- Biscuit-Reinforced Butt Joint
- Pocket-Screw Butt Joint
- Spline-Reinforced Butt Joint
- Loose-Tenon Butt Joint
- Corner-Block Butt Joint
- Metal-Bracket Butt Joint
1. Plain Glued Butt Joint
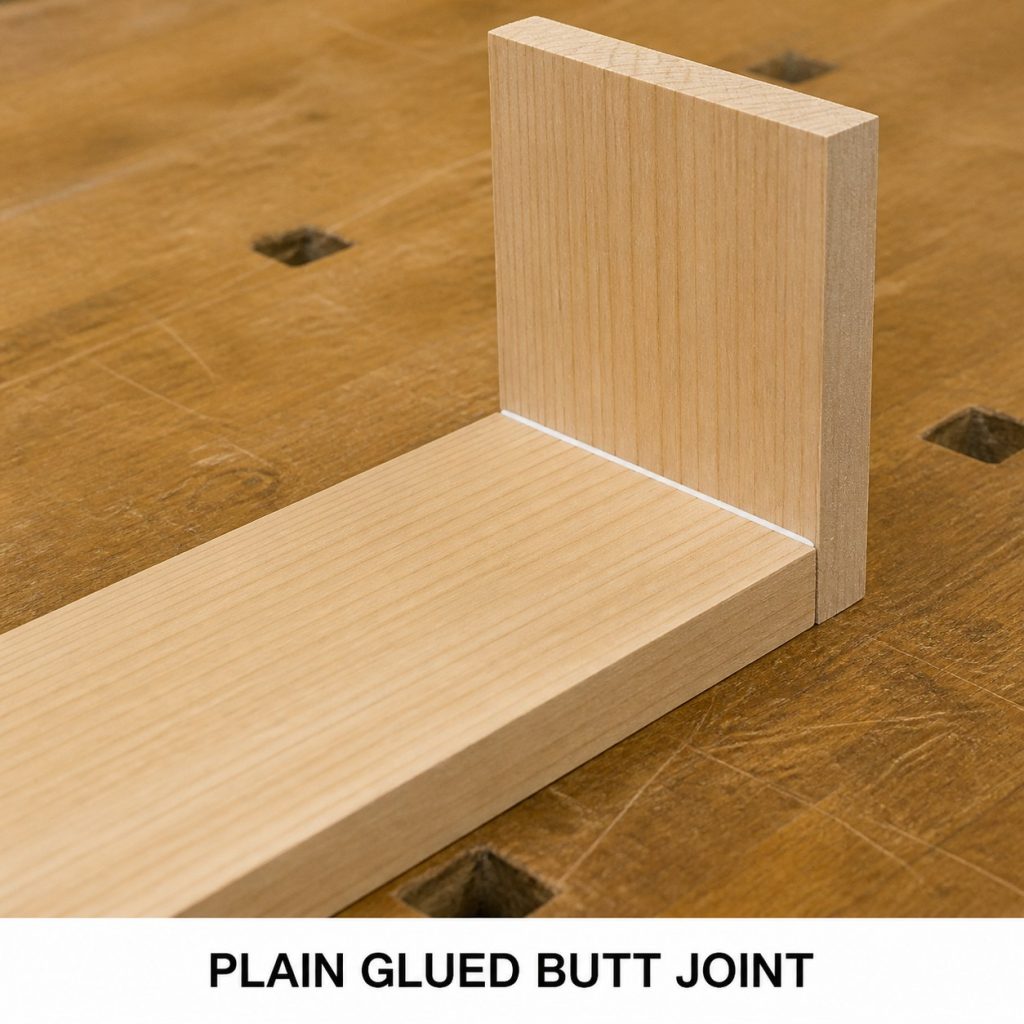
What to notice: A plain butt joint depends on glue area and good surface contact.
Typical uses: light-duty assemblies and temporary layouts.
Dry-fit check: Confirm that mating parts are complementary, shoulders close evenly, and the parts assemble in the intended direction without forcing.
2. Screwed Butt Joint
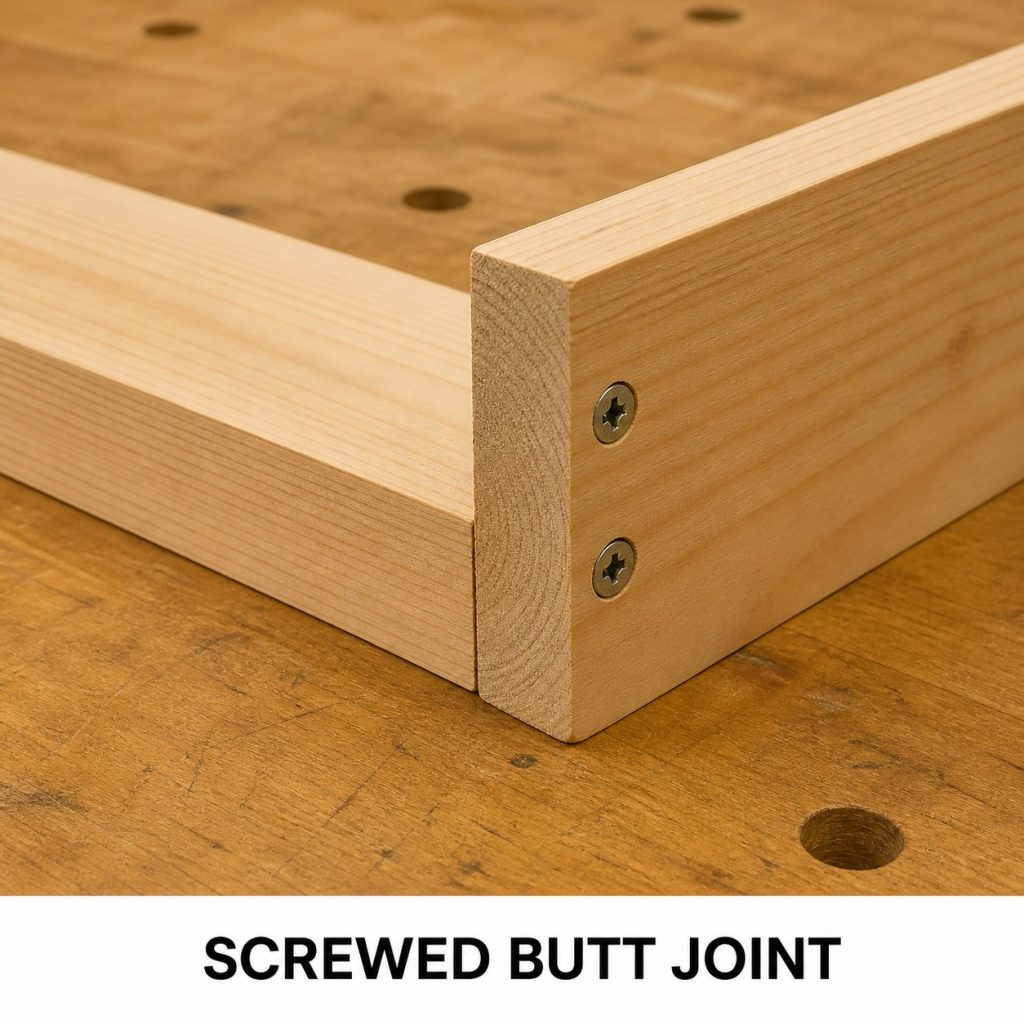
What to notice: Screws add clamping and withdrawal resistance but still require sensible grain direction and pilot holes.
Typical uses: utility cabinets and shop fixtures.
Dry-fit check: Confirm that mating parts are complementary, shoulders close evenly, and the parts assemble in the intended direction without forcing.
3. Nailed Butt Joint
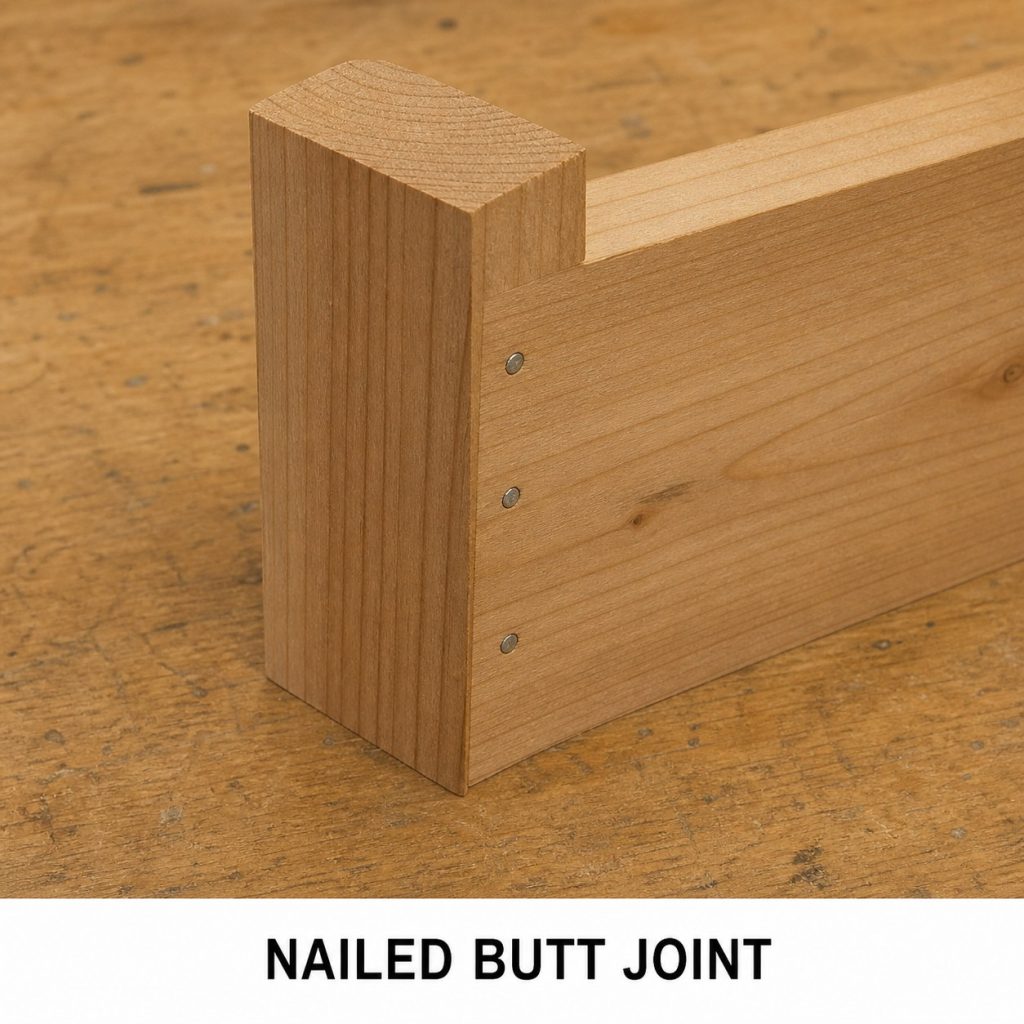
What to notice: Nails provide quick mechanical reinforcement for light work.
Typical uses: trim, jigs, temporary assemblies.
Dry-fit check: Confirm that mating parts are complementary, shoulders close evenly, and the parts assemble in the intended direction without forcing.
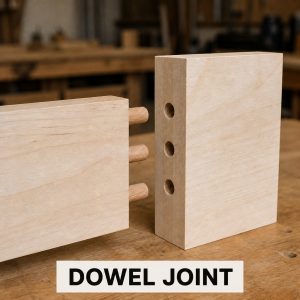
4. Doweled Butt Joint
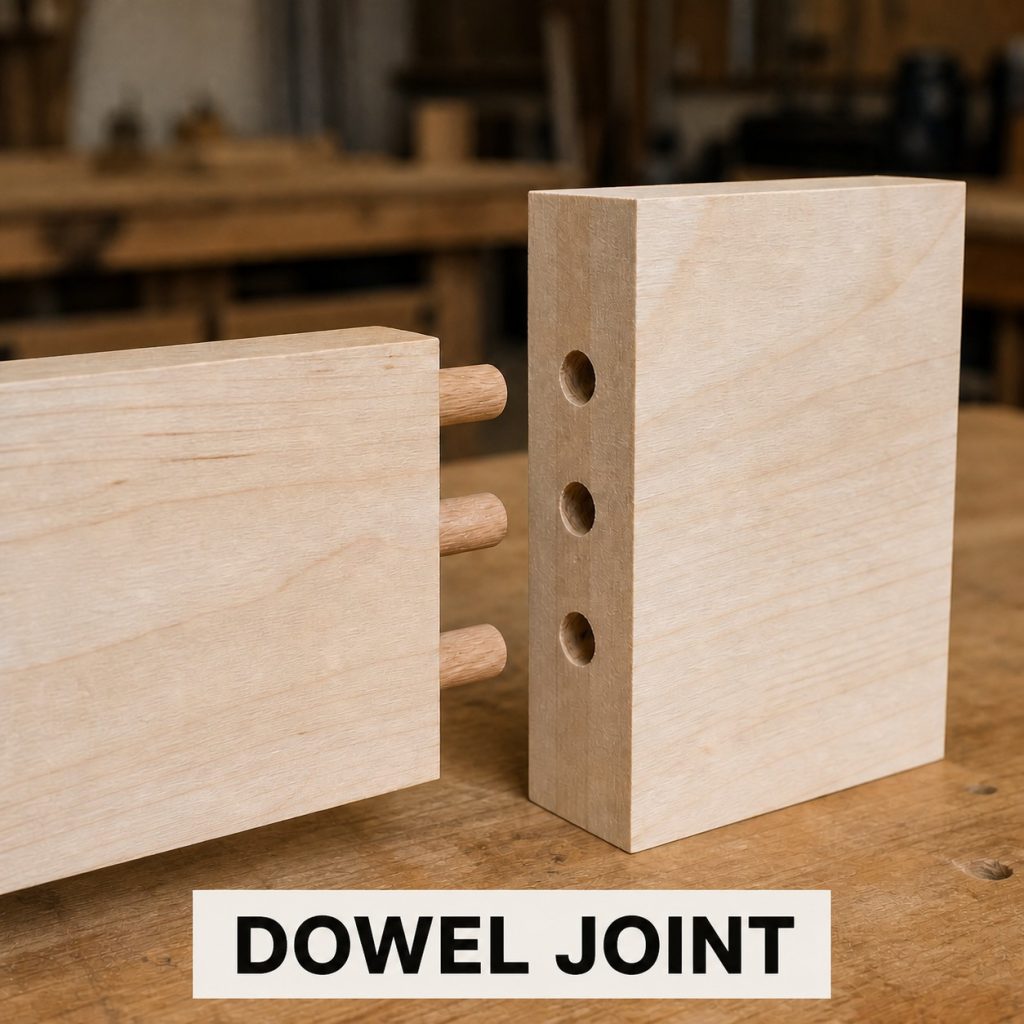
What to notice: Dowels add long-grain glue surface and alignment across a butt seam.
Typical uses: panels, frames, cabinet parts.
Dry-fit check: Confirm that mating parts are complementary, shoulders close evenly, and the parts assemble in the intended direction without forcing.
5. Biscuit-Reinforced Butt Joint
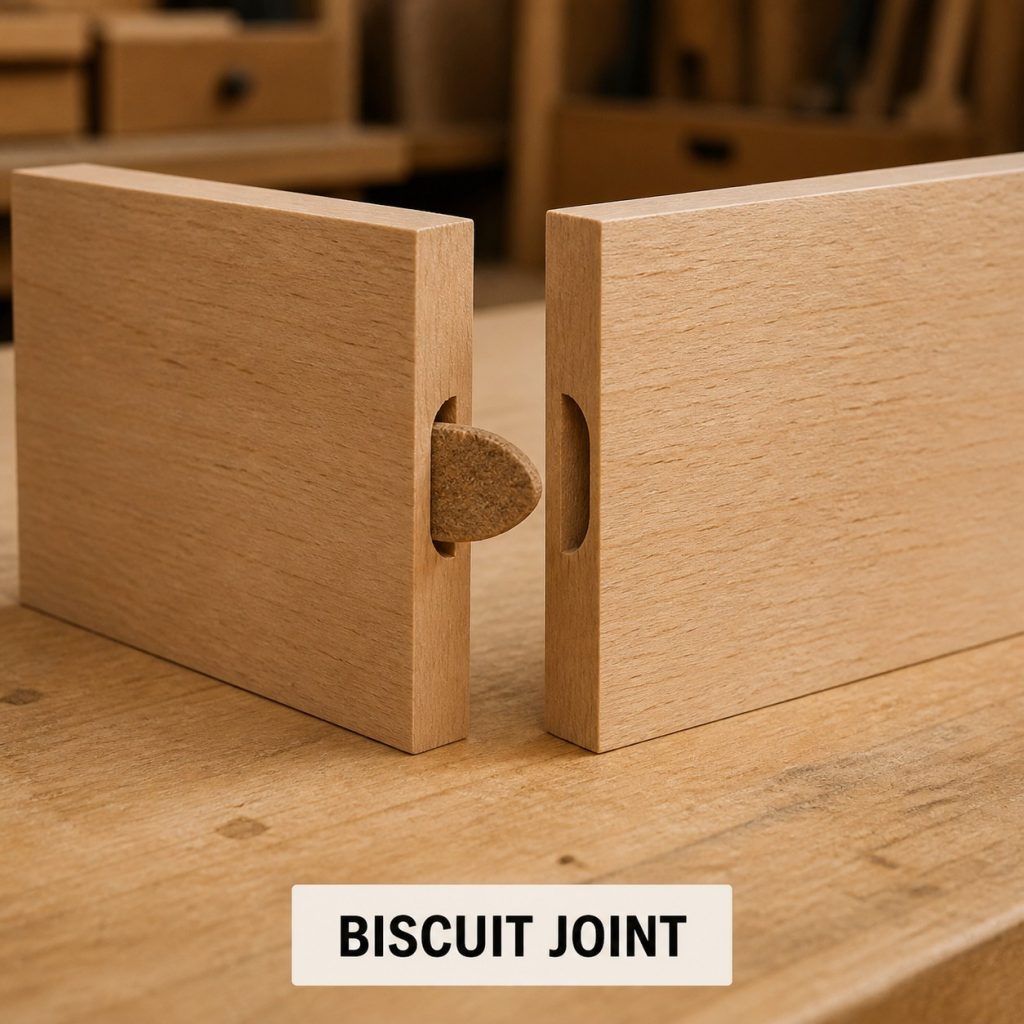
What to notice: Biscuits help register surfaces and reinforce the glued connection.
Typical uses: casework, frames, panel alignment.
Dry-fit check: Confirm that mating parts are complementary, shoulders close evenly, and the parts assemble in the intended direction without forcing.
6. Pocket-Screw Butt Joint
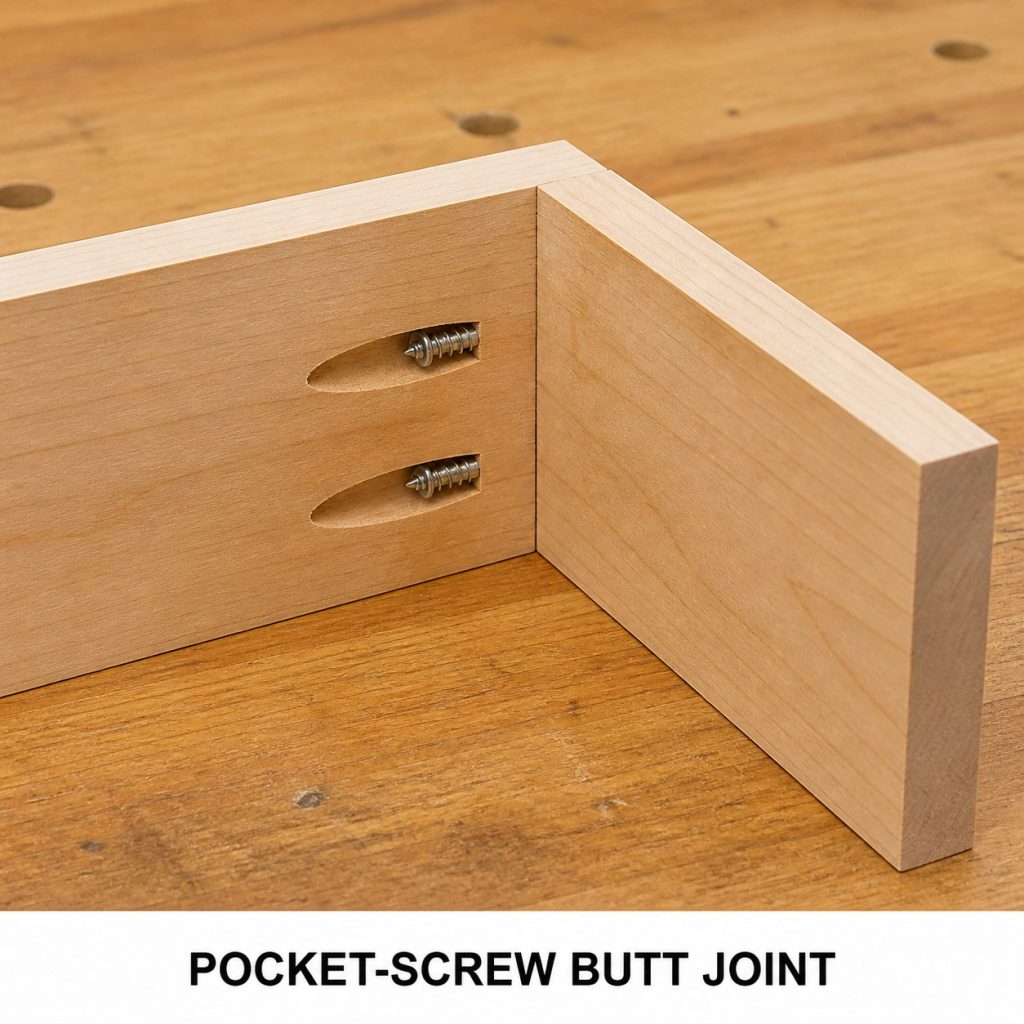
What to notice: Pocket screws pull the joint together from a concealed inside face.
Typical uses: face frames, cabinets, furniture frames.
Dry-fit check: Confirm that mating parts are complementary, shoulders close evenly, and the parts assemble in the intended direction without forcing.
7. Spline-Reinforced Butt Joint
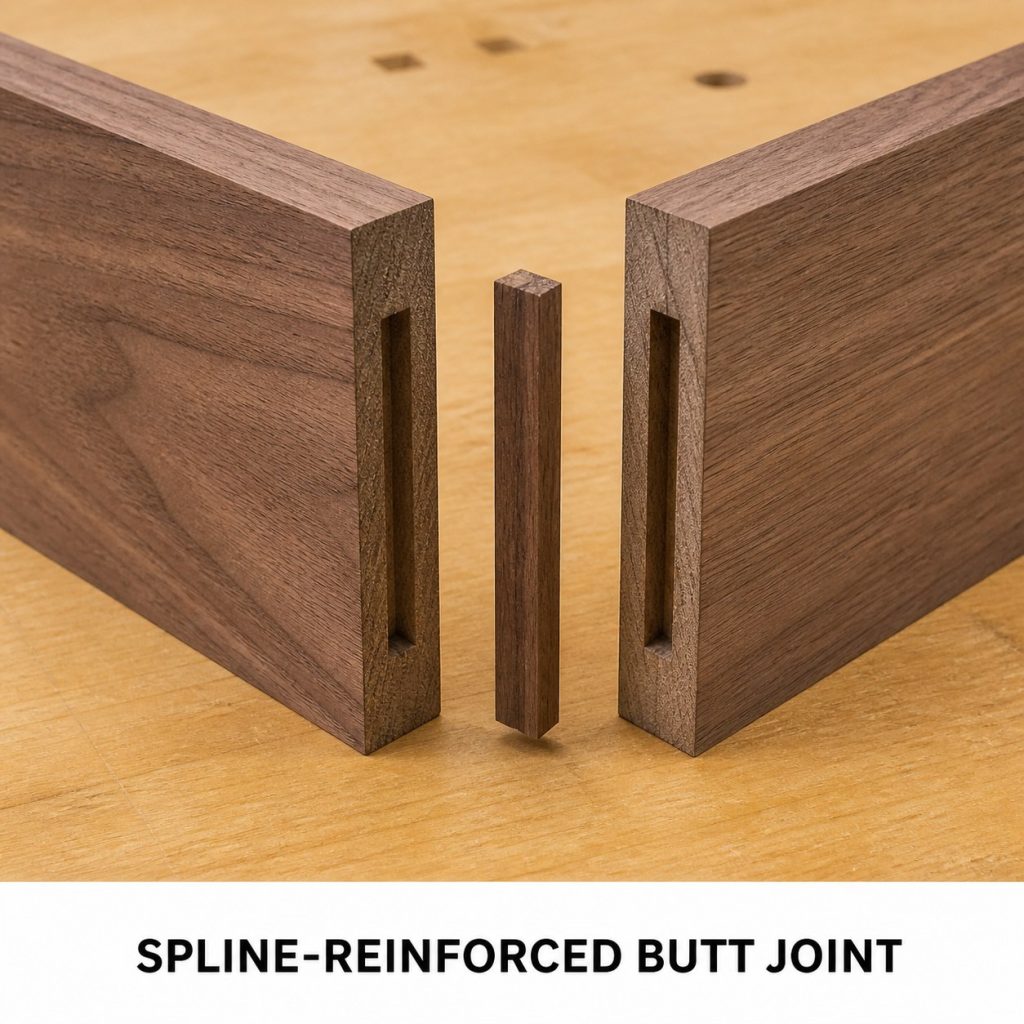
What to notice: A loose spline adds alignment and long-grain surface to an end-to-end butt seam.
Typical uses: long trim, panels, decorative splices.
Dry-fit check: Confirm that mating parts are complementary, shoulders close evenly, and the parts assemble in the intended direction without forcing.
8. Loose-Tenon Butt Joint
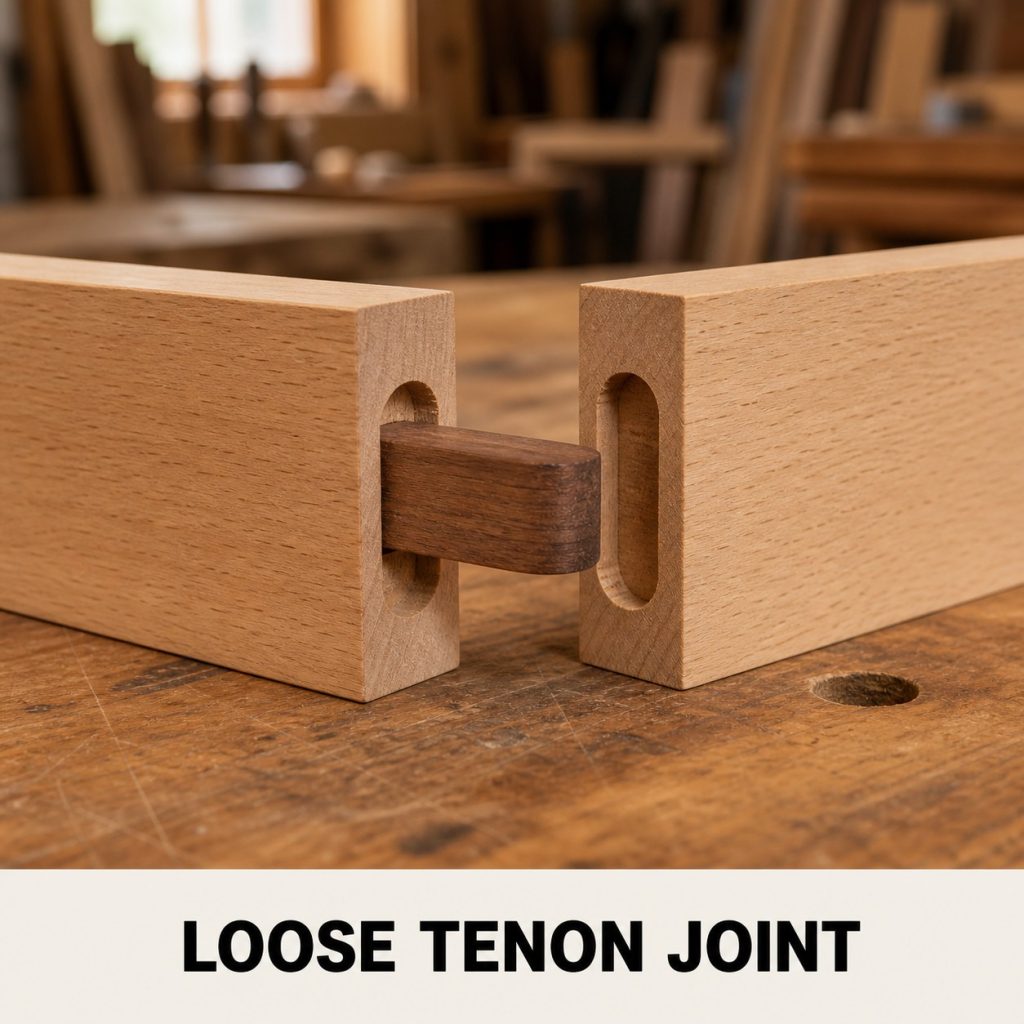
What to notice: A loose tenon provides a stronger internal bridge than the plain seam alone.
Typical uses: rails, frames, furniture parts.
Dry-fit check: Confirm that mating parts are complementary, shoulders close evenly, and the parts assemble in the intended direction without forcing.
9. Corner-Block Butt Joint
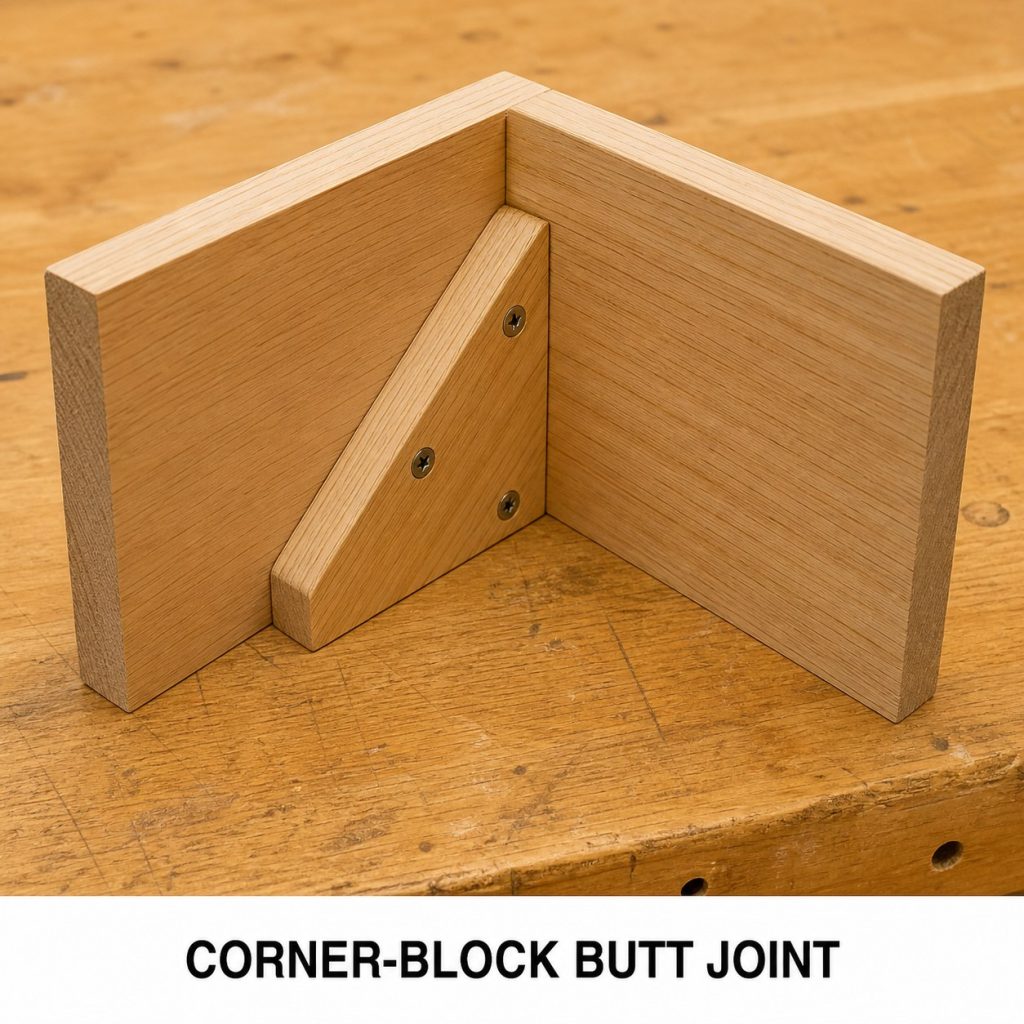
What to notice: A corner block increases bearing area and braces the right angle.
Typical uses: tables, cabinets, upholstered furniture.
Dry-fit check: Confirm that mating parts are complementary, shoulders close evenly, and the parts assemble in the intended direction without forcing.
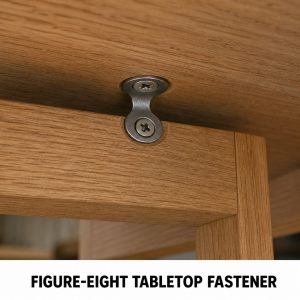
10. Metal-Bracket Butt Joint
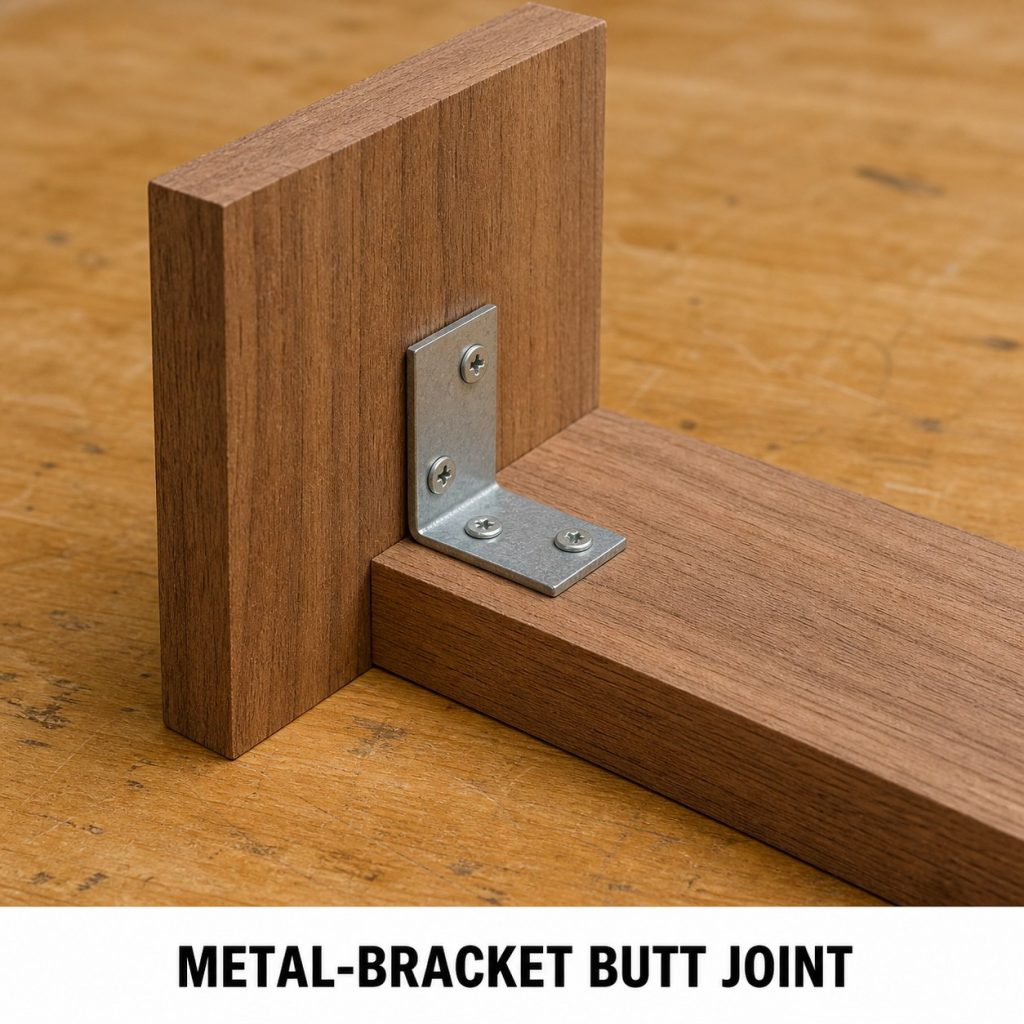
What to notice: A surface bracket transfers load without cutting interlocking wood geometry.
Typical uses: utility construction and repair.
Dry-fit check: Confirm that mating parts are complementary, shoulders close evenly, and the parts assemble in the intended direction without forcing.
Before you cut the joint
- Mark a reference face and edge on every workpiece.
- Make a full-size sample from scrap of the same species and thickness.
- Dry-fit before glue and inspect cheeks, shoulders, end grain, and movement clearance.
- Use guards, hold-downs, eye protection, dust control, and the tool manufacturer’s instructions.
- Use engineered drawings for load-bearing timber, roof, stair, deck, or structural connections.
Frequently asked questions
Can I copy dimensions from these photos?
No. The images explain orientation and connection type only. Size the joint from the real stock, load, species, and verified plan.
Why make a test joint?
A scrap test reveals cutter width, setup error, grain behavior, and fit before the final component is damaged.
Should a dry joint need heavy force?
No. It should close with controlled hand pressure or light tapping appropriate to the design. Excessive force can split cheeks, pins, tails, or shoulders.
More wood-joint guides
Browse the Type of Wood Joints hub, or continue with 10 Tongue-and-Groove Profiles and Project Uses, 10 Box Joint Variations and Project Uses, 10 Mortise-and-Tenon Joint Types Explained.