Project planning guide
Before you build
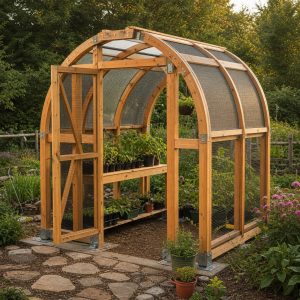
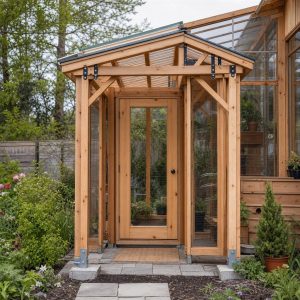
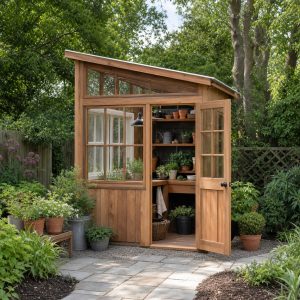
Use the reference image and planning notes as a starting point. Confirm dimensions, loads, materials, local codes, and site conditions before purchasing or cutting.
- Garden Projects
- 1 reference image
- Print-friendly guide
Quick answer: A 6-by-8-foot hobby greenhouse can fit two narrow side benches and a central aisle, but the correct structure depends on local wind, snow, frost, permits, glazing, and temperature goals. Choose the site and environmental-control strategy before buying a kit or cutting a frame.
Define what the greenhouse must do
Starting spring transplants, overwintering tender plants, and harvesting through winter require different light, heat, and insulation. Write down the lowest outdoor temperature, desired indoor temperature, crop area, and months of operation. An unheated greenhouse is a season extender, not a promise of frost-free conditions.
Choose the site for winter light and access
University of Georgia Extension identifies a sunny south or southeast location as desirable for many hobby greenhouses, with east as another useful exposure. Observe winter shadows, not only summer sun. Avoid falling limbs, roof snow zones, standing water, and locations where a hose or extension cord would cross a walkway.
Check approvals and structural loads
Ask about permits, setbacks, anchoring, electrical work, water lines, and accessory-building rules. Use a structure rated for local wind and snow. Do not copy generic rafter spacing or foundation details from a warm climate into a high-snow region. Attached lean-to greenhouses also affect the house envelope and may require professional design.
Plan a durable base
A level perimeter foundation or anchored base keeps doors square and transfers wind loads. The interior should drain without becoming muddy; compacted gravel with stable pavers in the aisle is common where allowed. Keep wood framing away from persistent ground moisture and follow the kit or engineered plan.
Choose glazing and ventilation together
| Component | Planning concern |
|---|---|
| Twin-wall polycarbonate | UV orientation, edge sealing, thermal expansion |
| Roof vent | Hot air exhaust and wind-secure hardware |
| Low intake louver | Replacement air without pest opening |
| Shade cloth | Seasonal heat control without blocking winter light |
Even a cool sunny day can overheat a closed greenhouse. Provide operable high vents and low intake area; automatic openers are helpful but still need inspection. Fans, heaters, and buried power require outdoor-rated equipment and code-compliant electrical work.
Lay out the interior before building
Keep a clear central aisle from the door, with benches narrow enough to reach from one side. Reserve floor area for taller pots and a safe water container. Do not crowd heaters, fans, or vents with foliage. Capture drainage without creating algae-covered walkways.
Operate and maintain
- Monitor maximum and minimum temperatures.
- Vent and shade before heat becomes damaging.
- Inspect anchors, glazing clips, seals, and door alignment.
- Remove snow only with methods approved for the glazing.
- Clean algae and plant debris to reduce slips and pests.
For simpler passive protection, use the existing DIY cold frame. A nearby self-watering planter can reduce container drying but still needs monitoring.
Common questions
Is 6×8 feet large enough?
It can support two narrow benches and an aisle, but plants and supplies fill the space quickly. Draw the interior at scale before choosing the footprint.
Does a small greenhouse need electricity?
Not necessarily for unheated seasonal use. Fans, heaters, lights, or pumps introduce electrical and fire-safety requirements that should be professionally installed where applicable.