Project planning guide
Before you build
Use the reference image and planning notes as a starting point. Confirm dimensions, loads, materials, local codes, and site conditions before purchasing or cutting.
- Garden Projects
- 8 reference images
- Print-friendly guide
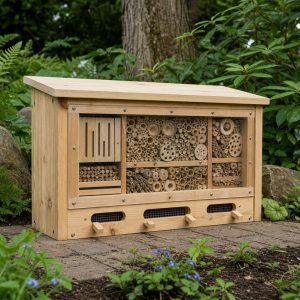
An insect hotel can concentrate cavity-nesting insects, parasites, moisture, and disease in one place, so more material is not automatically better habitat. Small, dry, well-researched modules with removable or replaceable nesting materials are easier to monitor and maintain than a large decorative box filled with random debris.
Small Removable-Tube Bee House
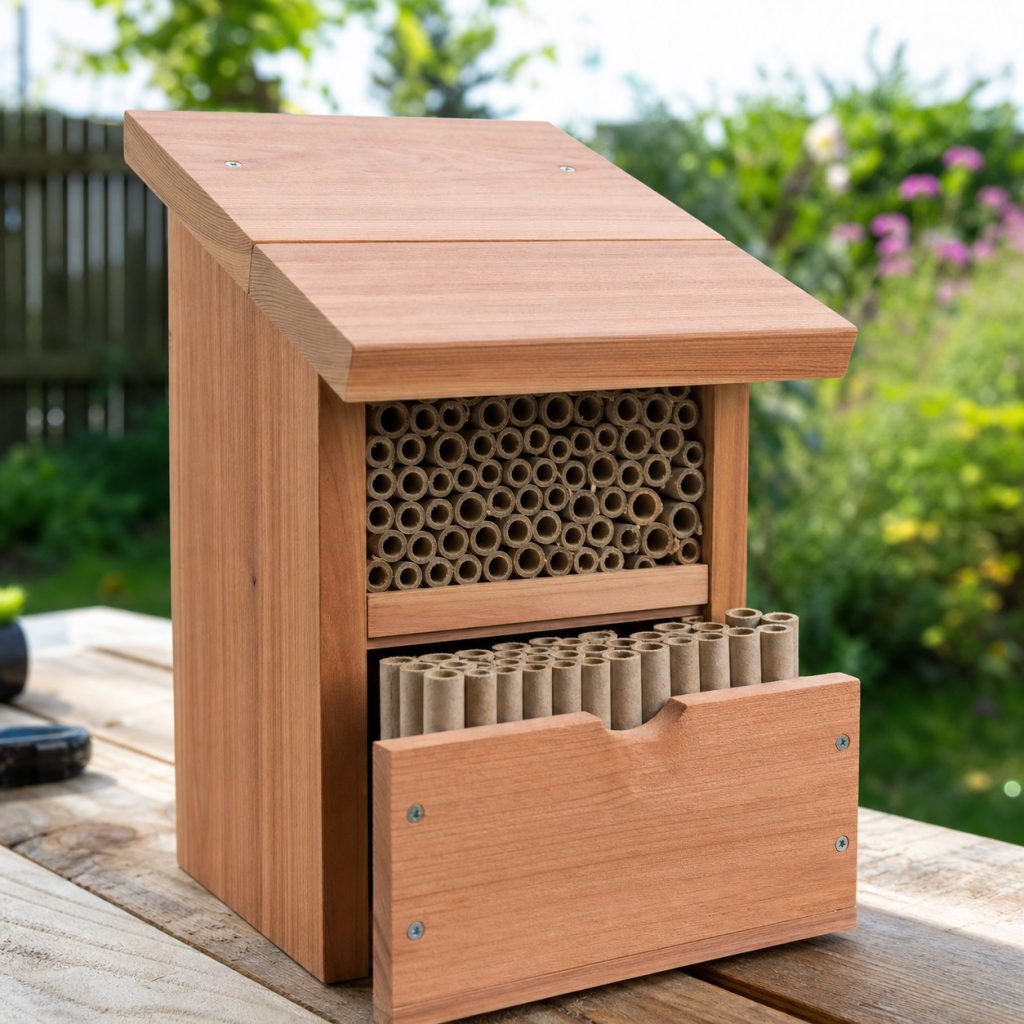
A small cavity-nesting bee module is easier to inspect than a crowded hotel. Use the tube diameter, depth, liner, closed rear, and seasonal management recommended by local extension guidance. Pack tubes firmly enough that birds and wind cannot pull them loose.
Bundle of Hollow Plant Stems
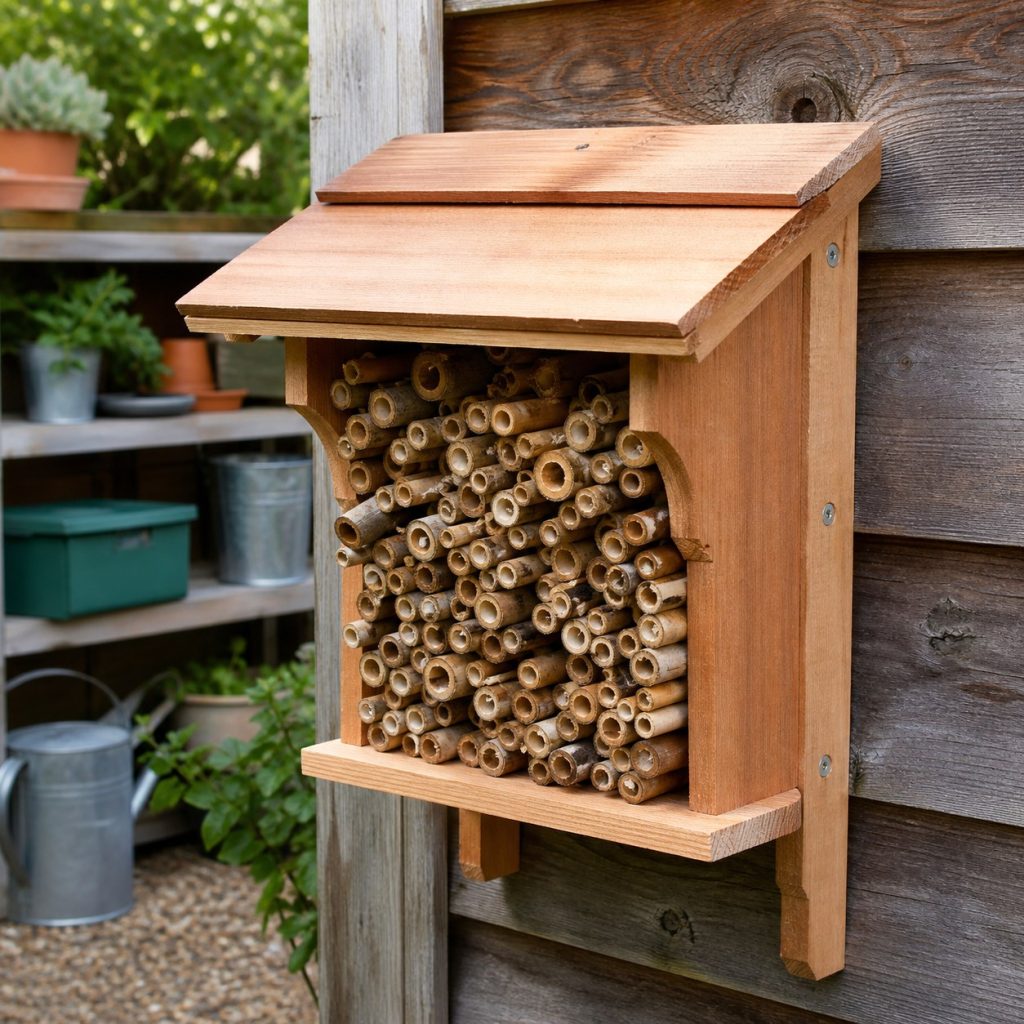
Appropriate hollow stems can provide simple nesting cavities when cut cleanly with a closed node at the back. Keep the bundle dry, firmly retained, and replaceable. Natural standing stems elsewhere in the garden may offer lower-maintenance habitat.
Removable Drilled-Wood Blocks
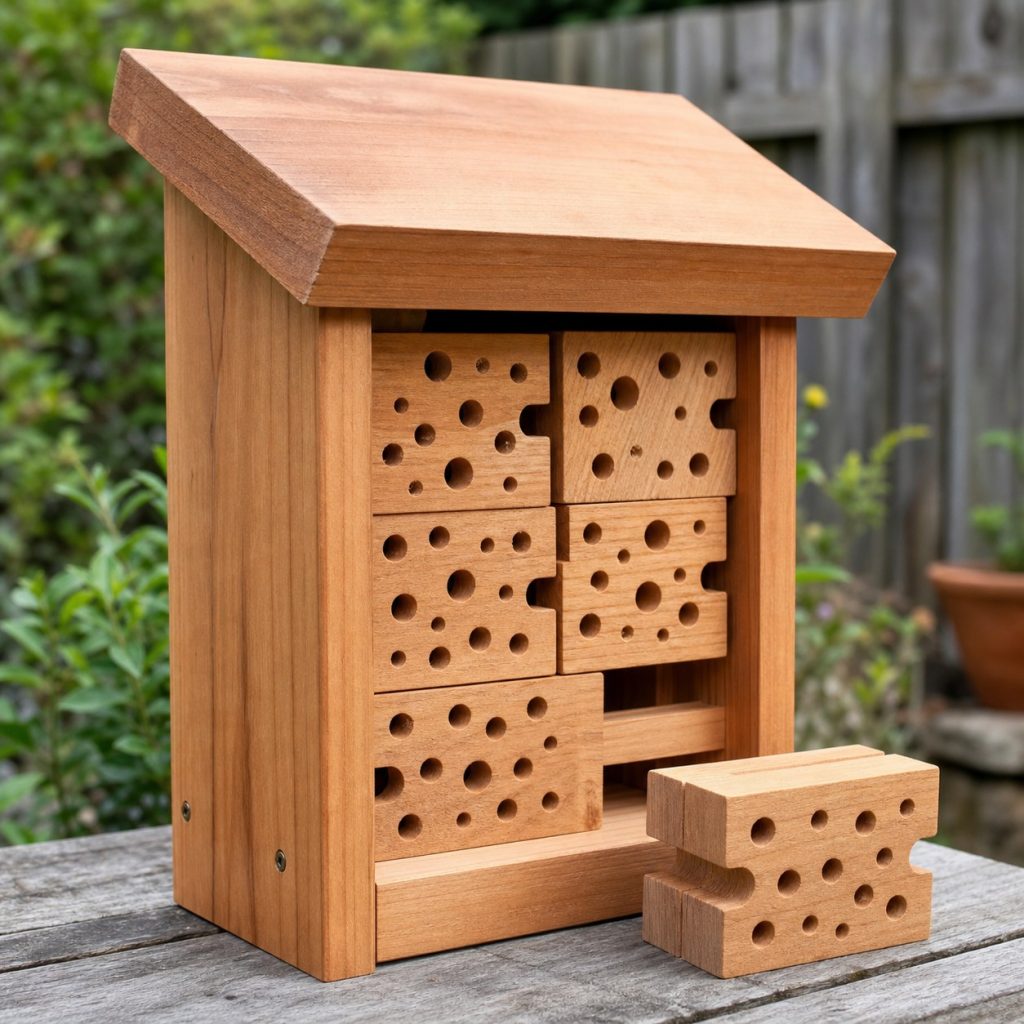
Drilled blocks should use sound untreated material, smooth holes, adequate depth, closed backs, and locally appropriate diameters. Removable blocks allow rotation or replacement. Do not use split, splintered, resinous, or chemically unsuitable wood.
Separate Modular Compartments
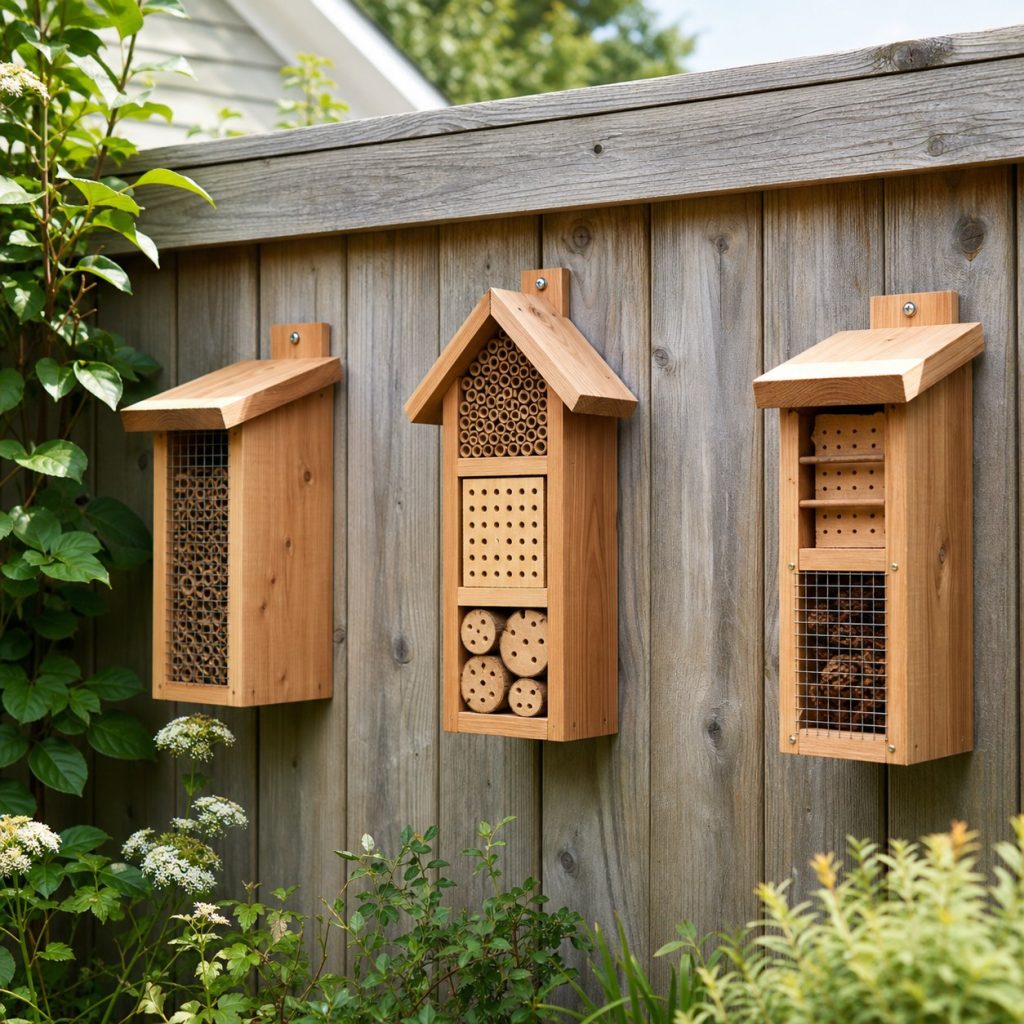
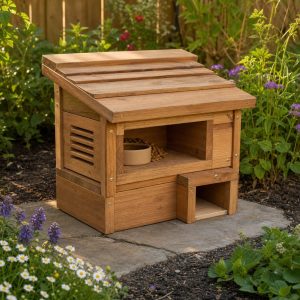
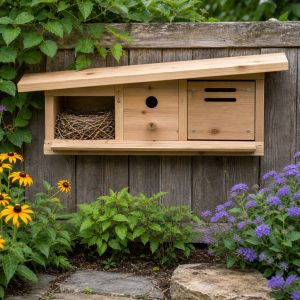
Several small modules reduce crowding and allow different materials to be managed independently. Label installation dates, keep each unit weather protected, and remove failed or contaminated material instead of letting a large display accumulate for years.
Natural Habitat Corner
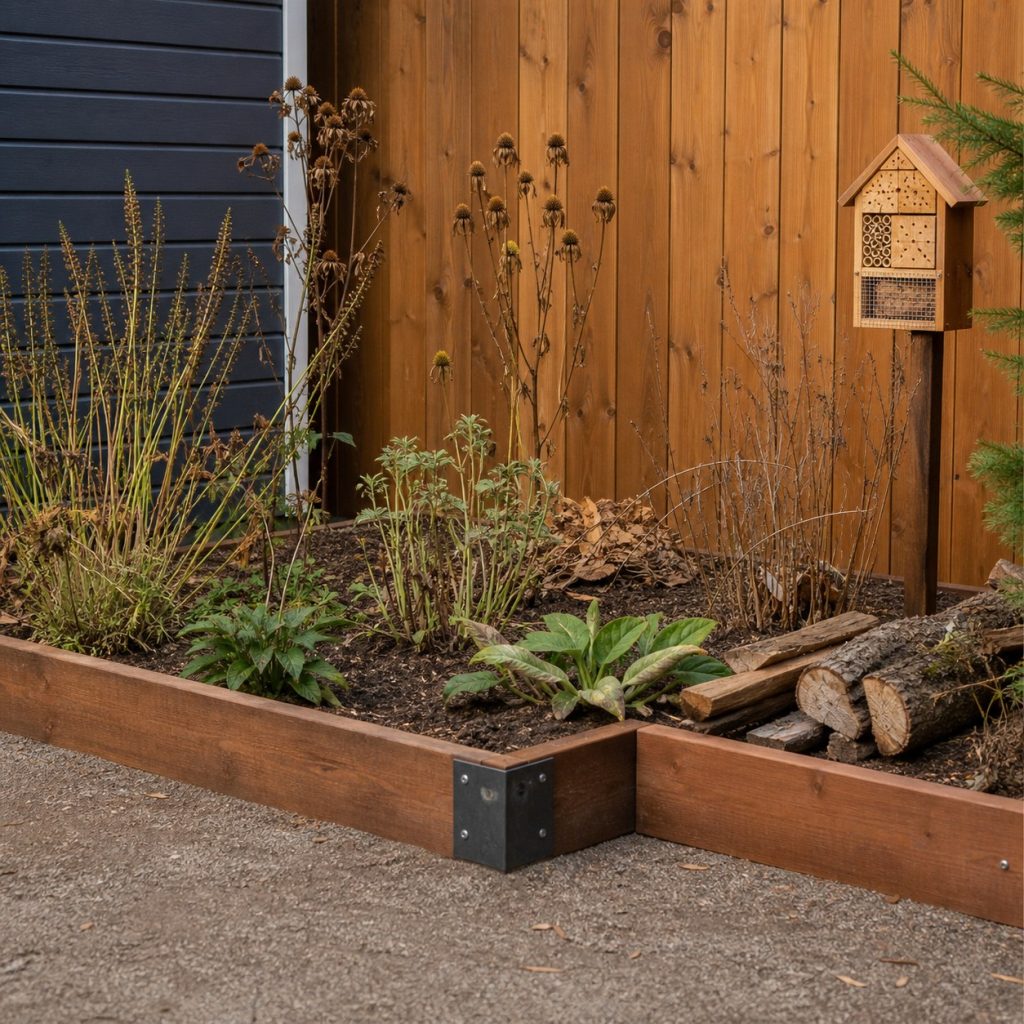
Most native bees nest in soil or natural cavities rather than hotels. Leave suitable bare ground, stems, leaves, and dead wood where site safety permits, reduce pesticide exposure, and grow regionally appropriate flowering plants across the season.
Build a Deep Rain-Shedding Roof
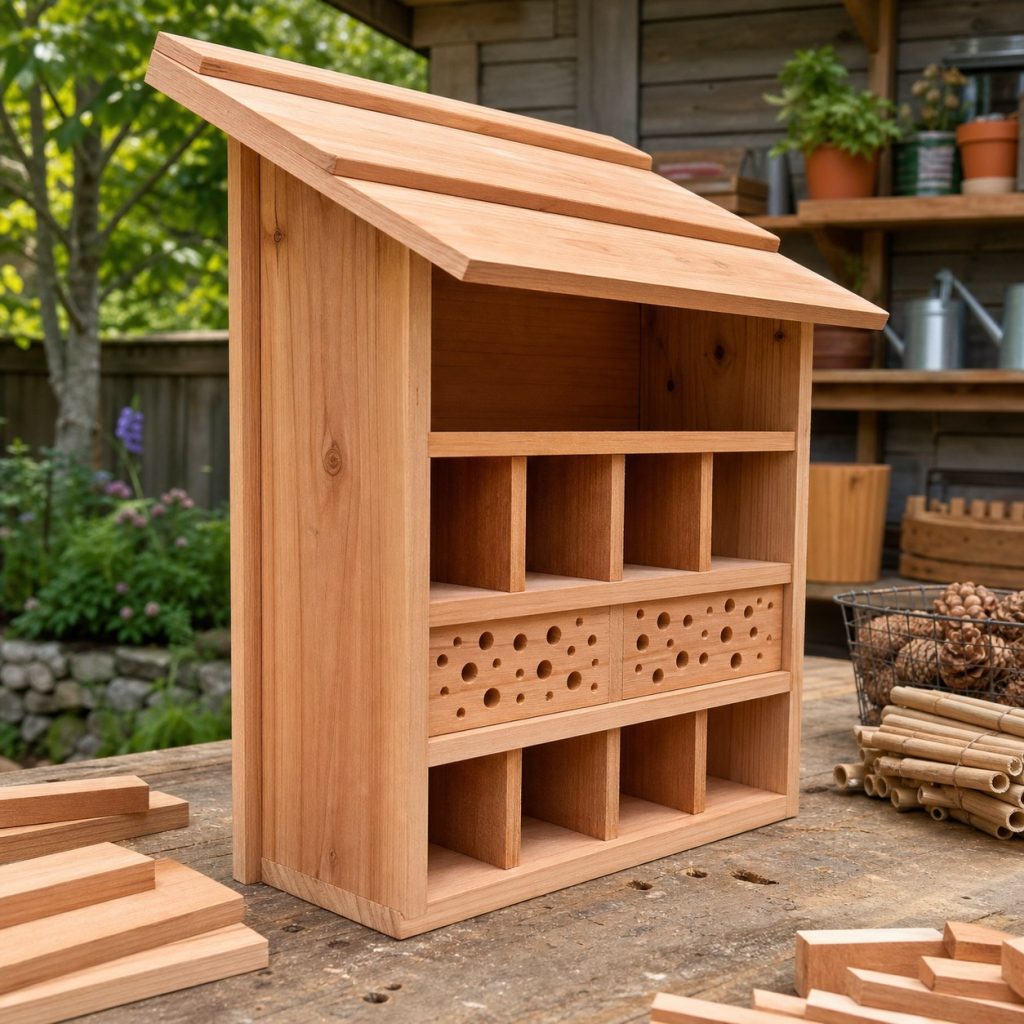
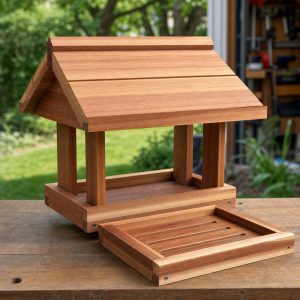
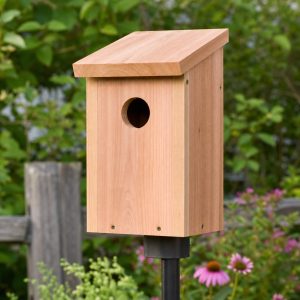
The shell should shed rain without trapping condensation. Use a deep overhang, sloped cap, closed weather-resistant back, drainage, and a rigid mount. Avoid decorative shelves that funnel water into nesting material or create inaccessible damp pockets.
Mount for Morning Sun
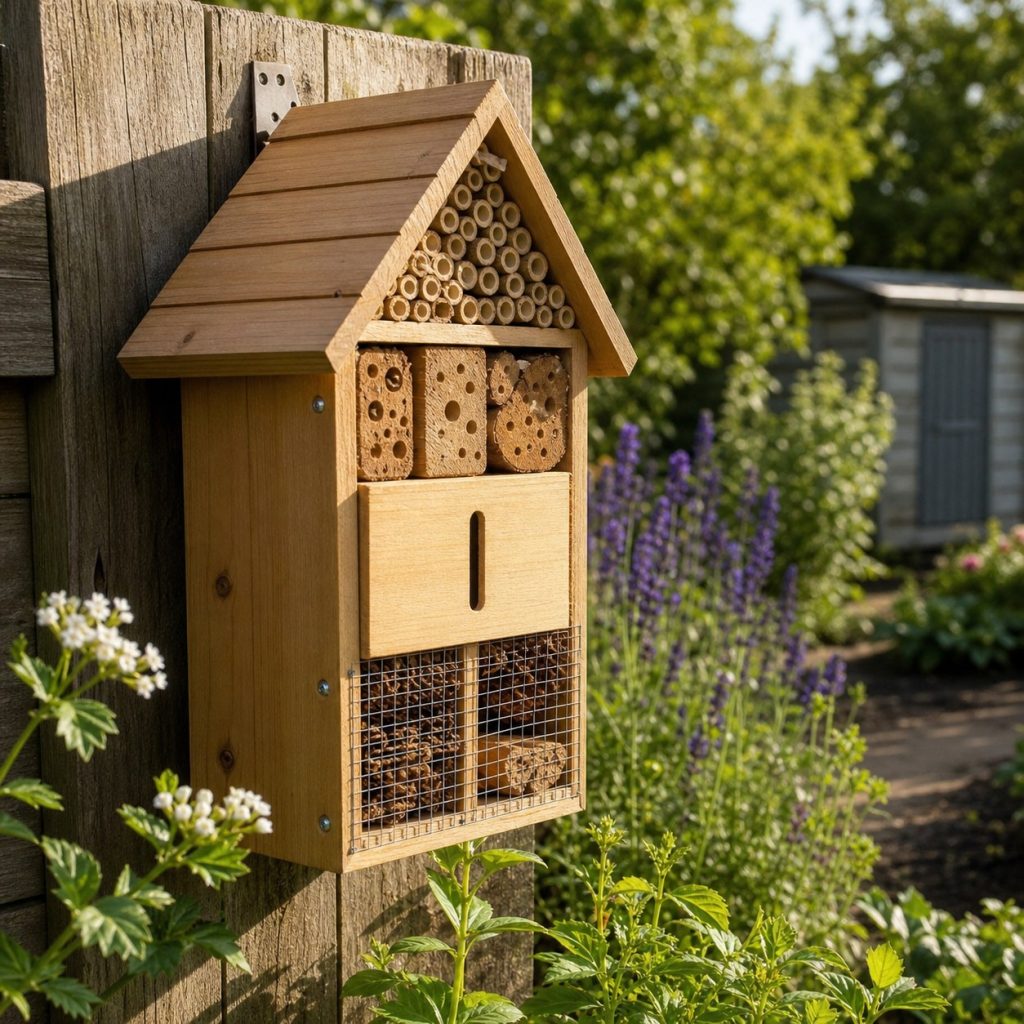
Many bee-house guides recommend morning sun and afternoon protection, but local climate matters. Mount the unit firmly rather than letting it swing, keep vegetation from blocking the entrance, and position it where maintenance can occur without disturbing occupants.
Record, Rotate, and Clean
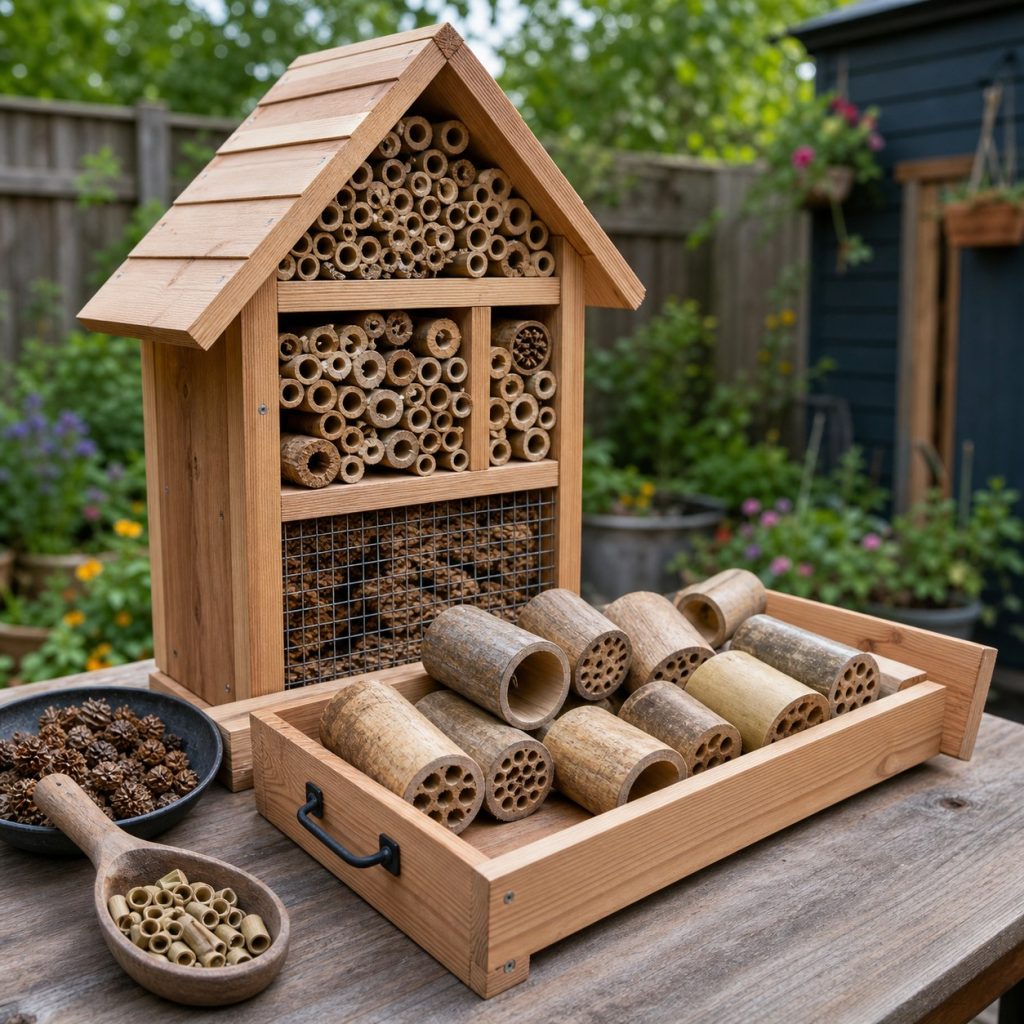
Document what was installed and when. Follow local expert guidance for emergence, storage, cleaning, replacement, and fallow periods; careless cleaning can destroy developing insects. Remove moldy, damaged, or parasite-heavy material at the appropriate time.
Planning checklist
- Preserve natural nesting and overwintering habitat first.
- Target local species with current extension guidance.
- Use small dry modules and removable nesting materials.
- Mount firmly with weather protection and clear entrances.
- Document occupancy and follow a careful maintenance cycle.
These concepts and generated images are general planning inspiration, not measured drawings, wildlife-box specifications, engineered plans, or tested load-rated designs. Verify dimensions, lumber grade and treatment, structural loads, fasteners, coatings, accessibility, utility locations, wildlife and public-health guidance, property rules, permits, and local building requirements for the actual project. Use current species- and region-specific plans for wildlife habitat, and qualified professionals where structural, electrical, plumbing, fall, or entrapment hazards apply.
Frequently asked questions
Are large insect hotels better?
Not necessarily. Large mixed hotels can concentrate moisture, predators, parasites, and maintenance problems. Small targeted modules are easier to manage.
What should fill an insect hotel?
Use only materials and dimensions recommended for target local species. Random pinecones, straw, and drilled scrap wood may add decoration without providing manageable habitat.
Does an insect hotel need cleaning?
Artificial nests require a species-appropriate emergence and maintenance plan. Seek local extension guidance before moving or cleaning occupied materials.