Project planning guide
Before you build
Use the reference image and planning notes as a starting point. Confirm dimensions, loads, materials, local codes, and site conditions before purchasing or cutting.
- Garden Projects
- 8 reference images
- Print-friendly guide
A functional birdhouse is a species-specific nest box, not a miniature decorated home. Interior floor area, entrance diameter and height, mounting location, habitat, ventilation, drainage, cleanout access, and predator protection must suit the intended native cavity-nesting bird in your region.
Simple Single-Chamber Nest Box
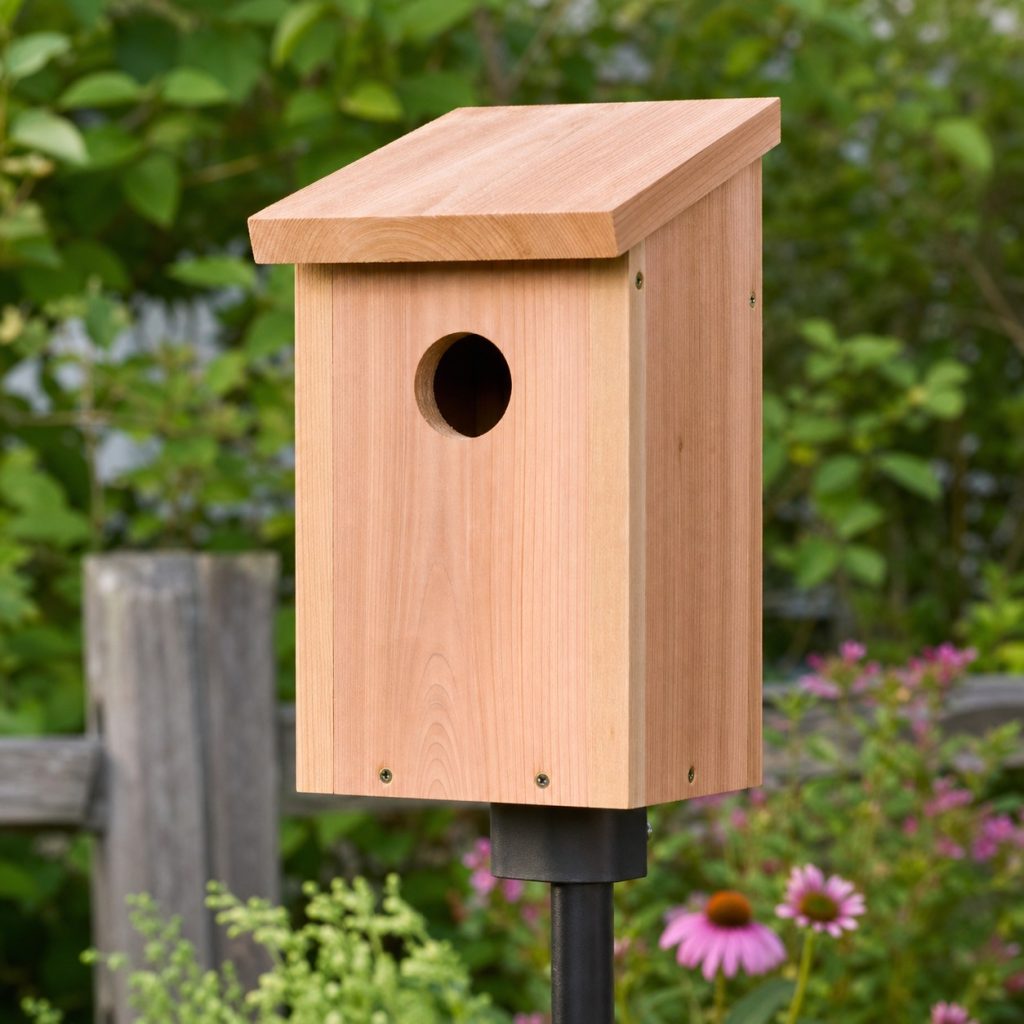
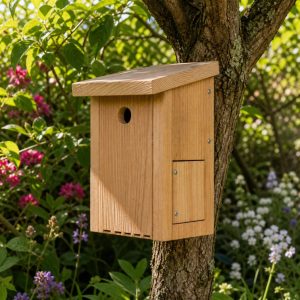
A plain rectangular chamber is easier to build, monitor, and clean than an ornamental multi-room house. Set every dimension from the target species plan, keep the roof larger than the body, and extend the back for mounting. Do not add an entrance perch.
Pivoting Cleanout Side
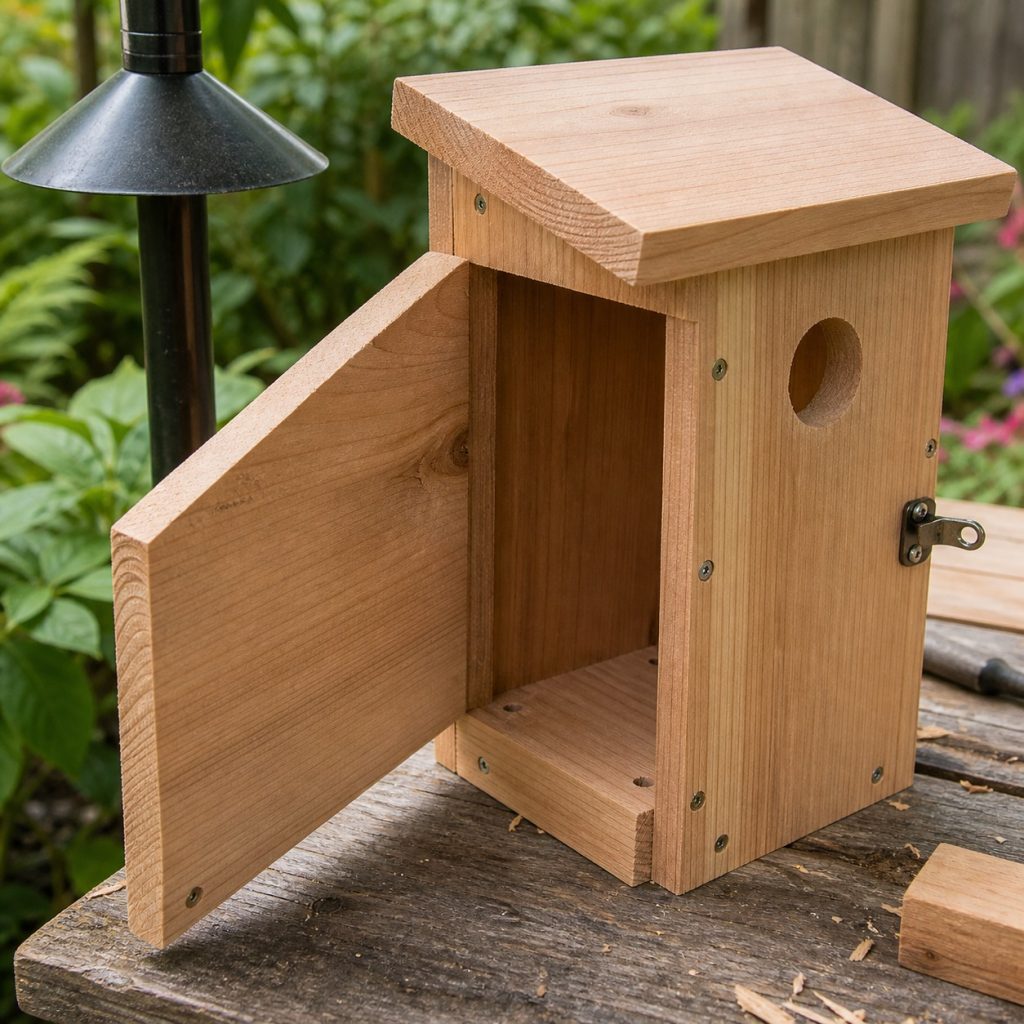
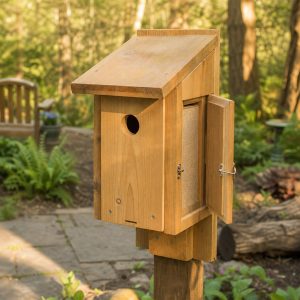
A side panel held by two pivot screws and a positive latch gives access without removing the roof. The opening should allow monitoring and complete end-of-season cleaning while staying secure during nesting. Smooth the outside edges but leave the interior below the entrance slightly rough.
Drainage and Ventilation
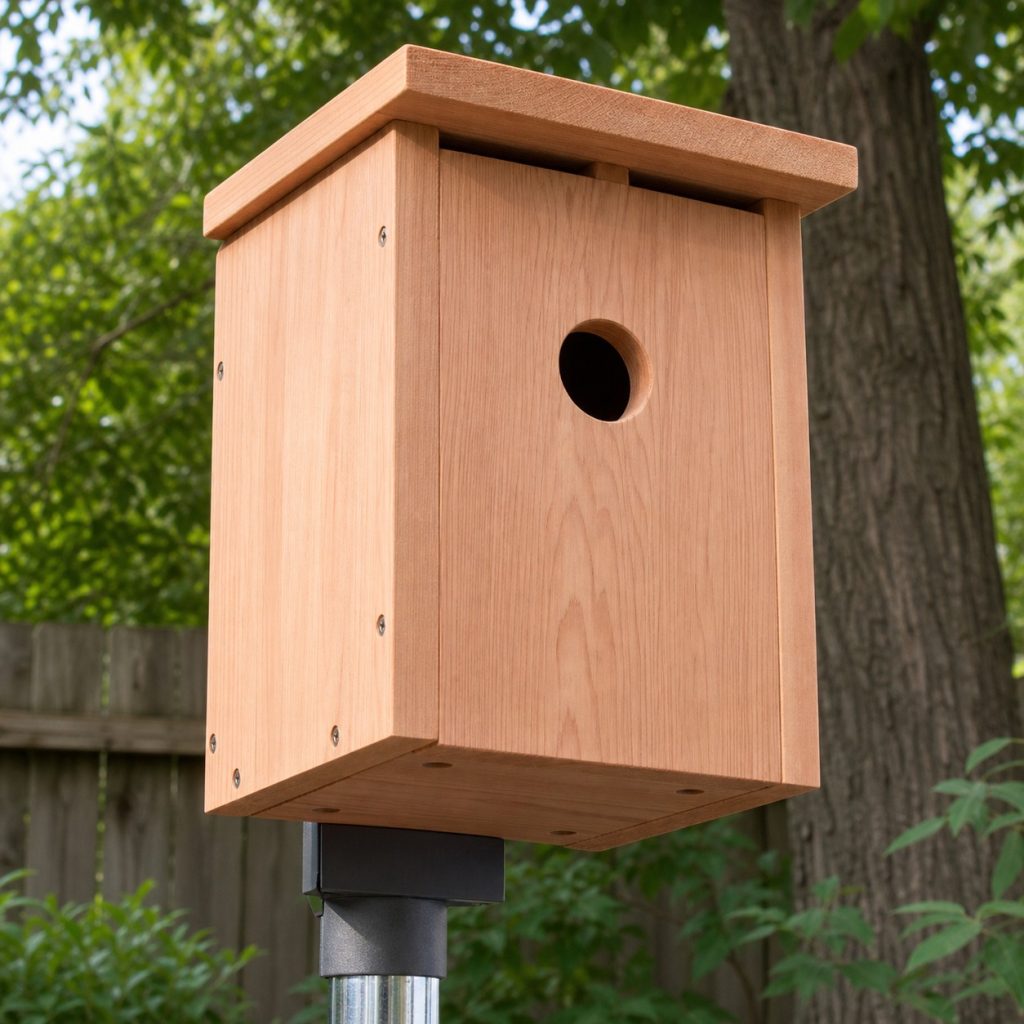
Small openings beneath the roof exchange hot air, while floor holes or clipped corners release rain. Keep vents below the roof overhang so they do not admit driving water. Avoid wire mesh floors or oversized gaps that create sharp edges and drafts.
Pole Mount and Predator Baffle
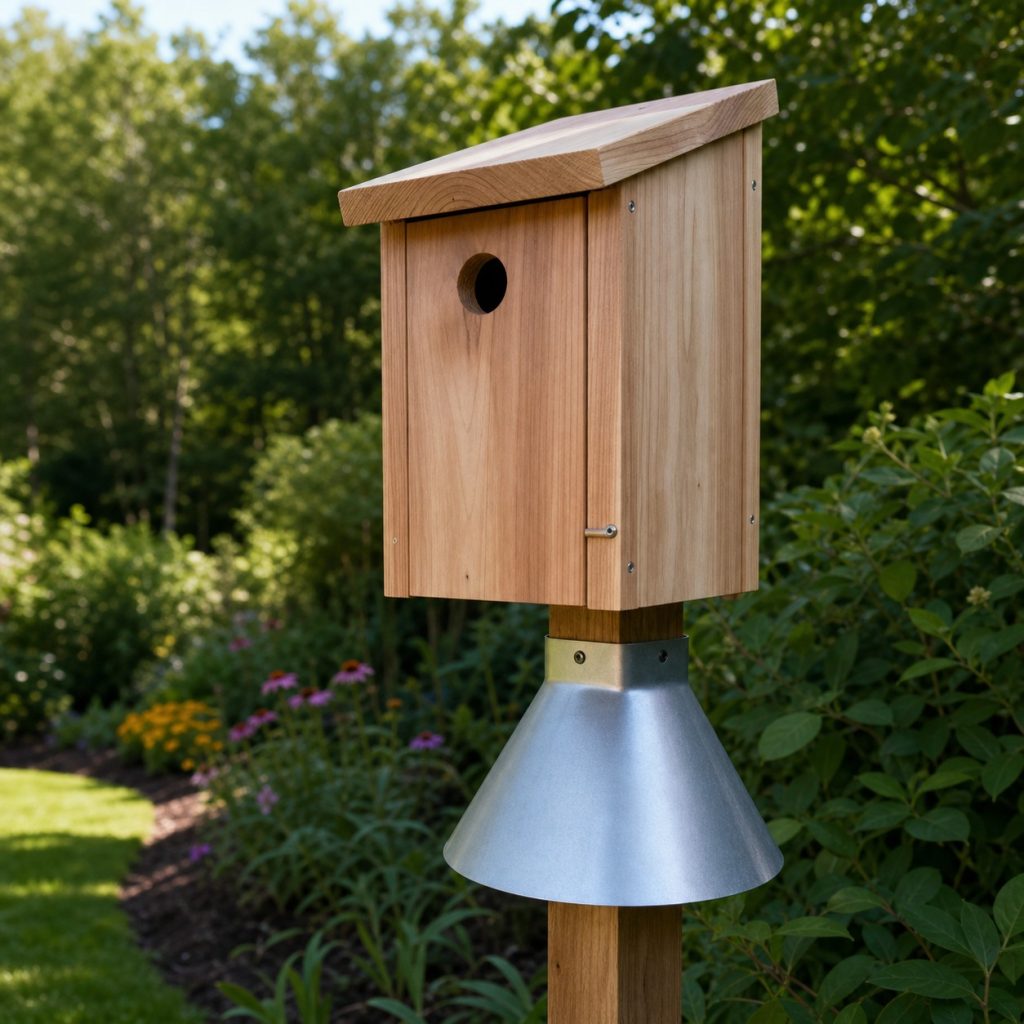
A dedicated metal pole in suitable open habitat often makes monitoring and predator protection easier than a tree mount. Install the baffle and height recommended for the target species, keep the box away from jumping points, and confirm that mowing or garden work cannot strike it.
Thick Entrance and Rough Interior
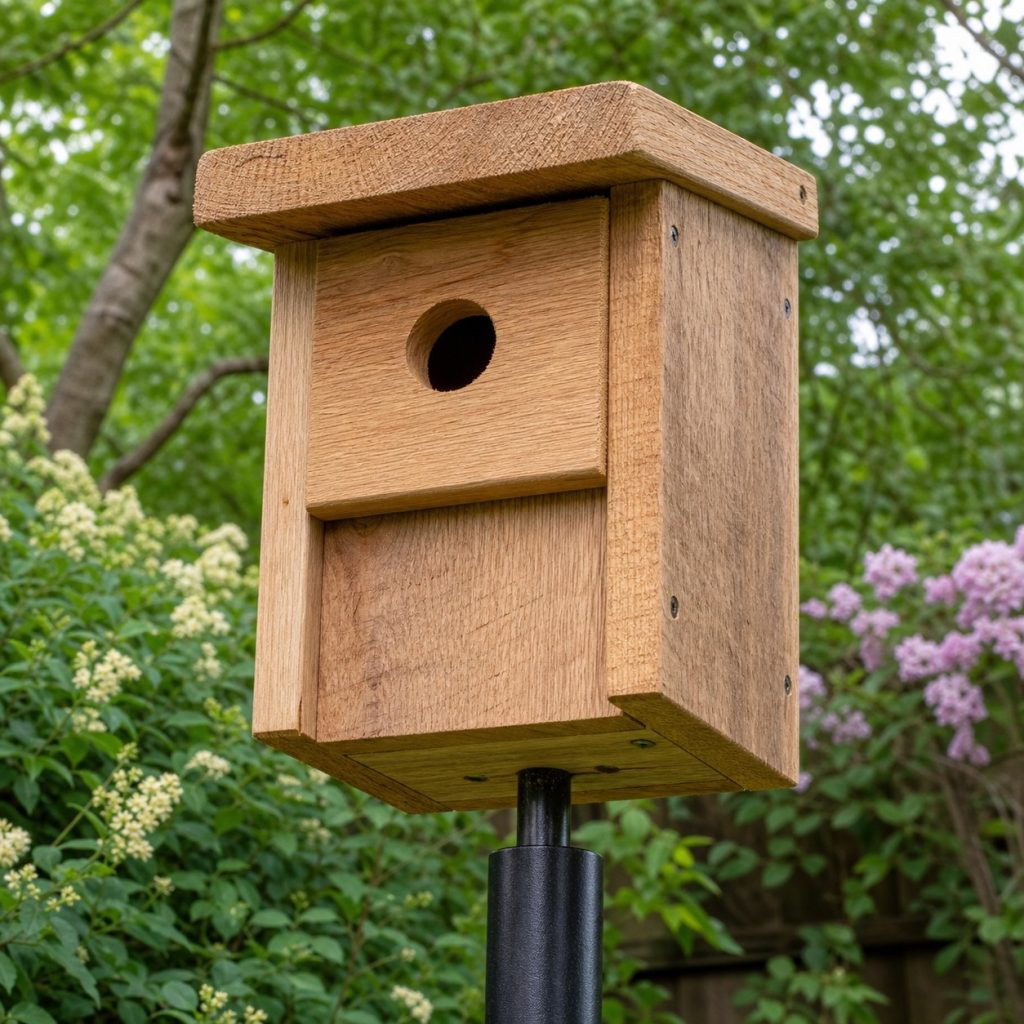
Adequate wall thickness moderates temperature and gives the entrance depth. Sand the hole edge so feathers are not damaged, but retain a rough interior surface or shallow grooves below the opening so fledglings can climb. Species requirements determine the hole diameter.
Single-Slope Weather Roof
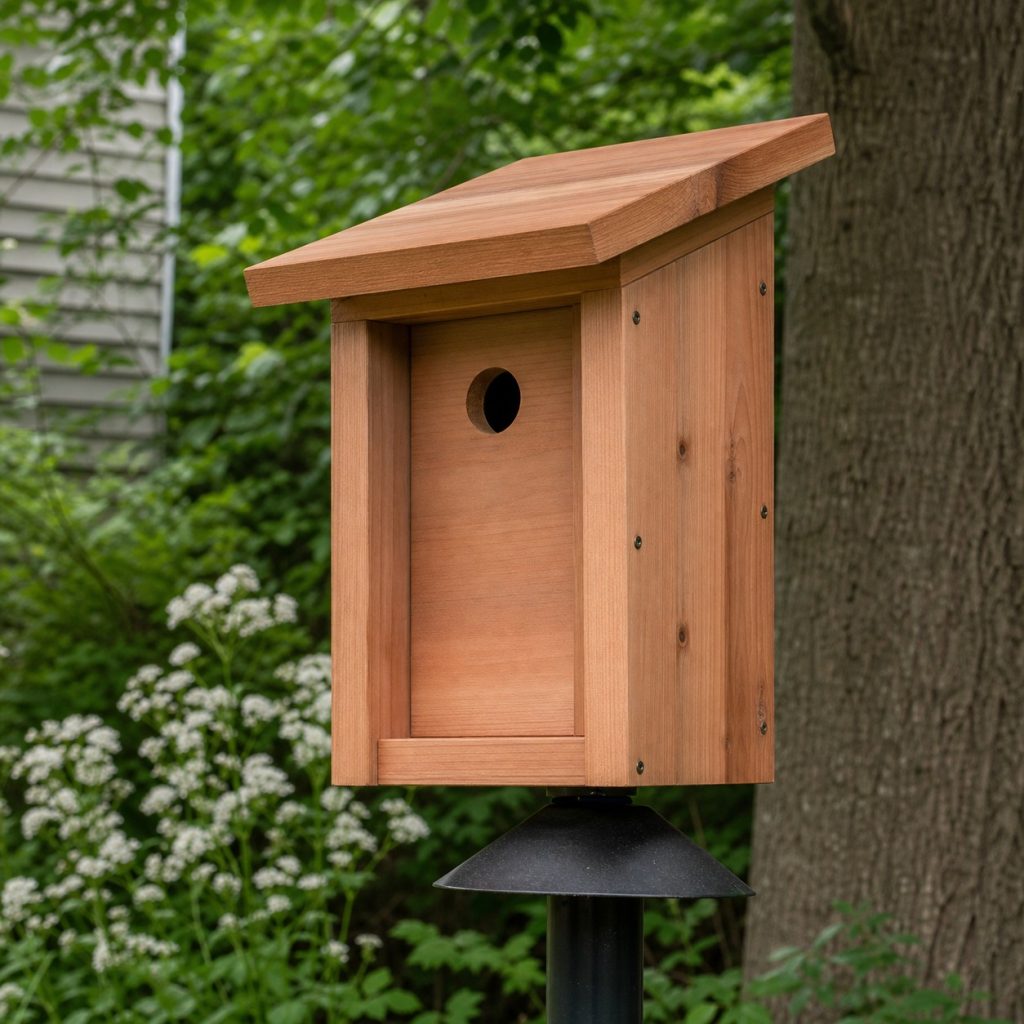
A single-pitch roof is simple to cut and sheds water when it slopes away from the front. Provide front and side overhangs, recess the floor, and avoid an exposed horizontal seam above the entrance. A removable roof is useful only if it locks securely.
Dry-Fit the Cut Parts
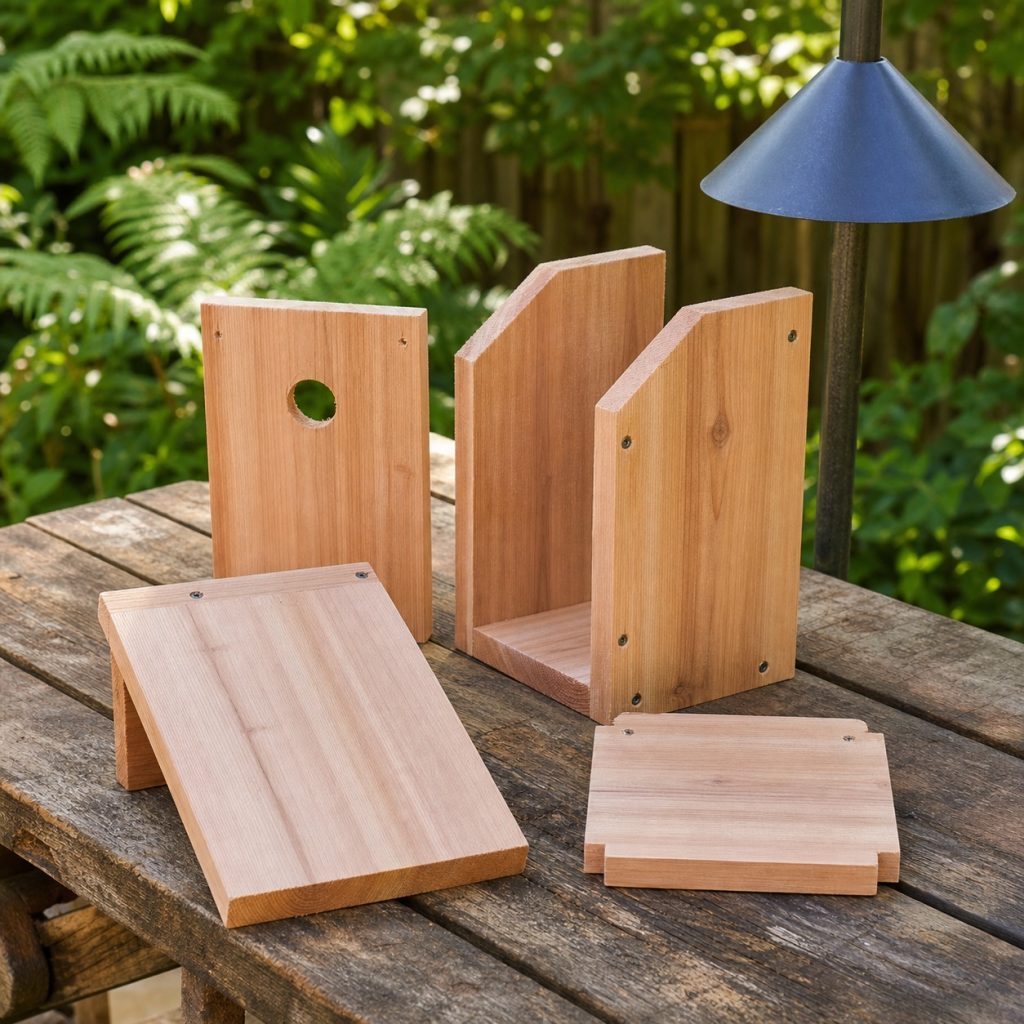
Cut the front, back, sides, floor, and roof from sound boards, then dry-fit before drilling. Match the entrance and chamber to a verified species plan. Use screws rather than staples, and avoid interior glue squeeze-out, pressure-treated lumber, or unknown reclaimed coatings.
Inspect After Weather
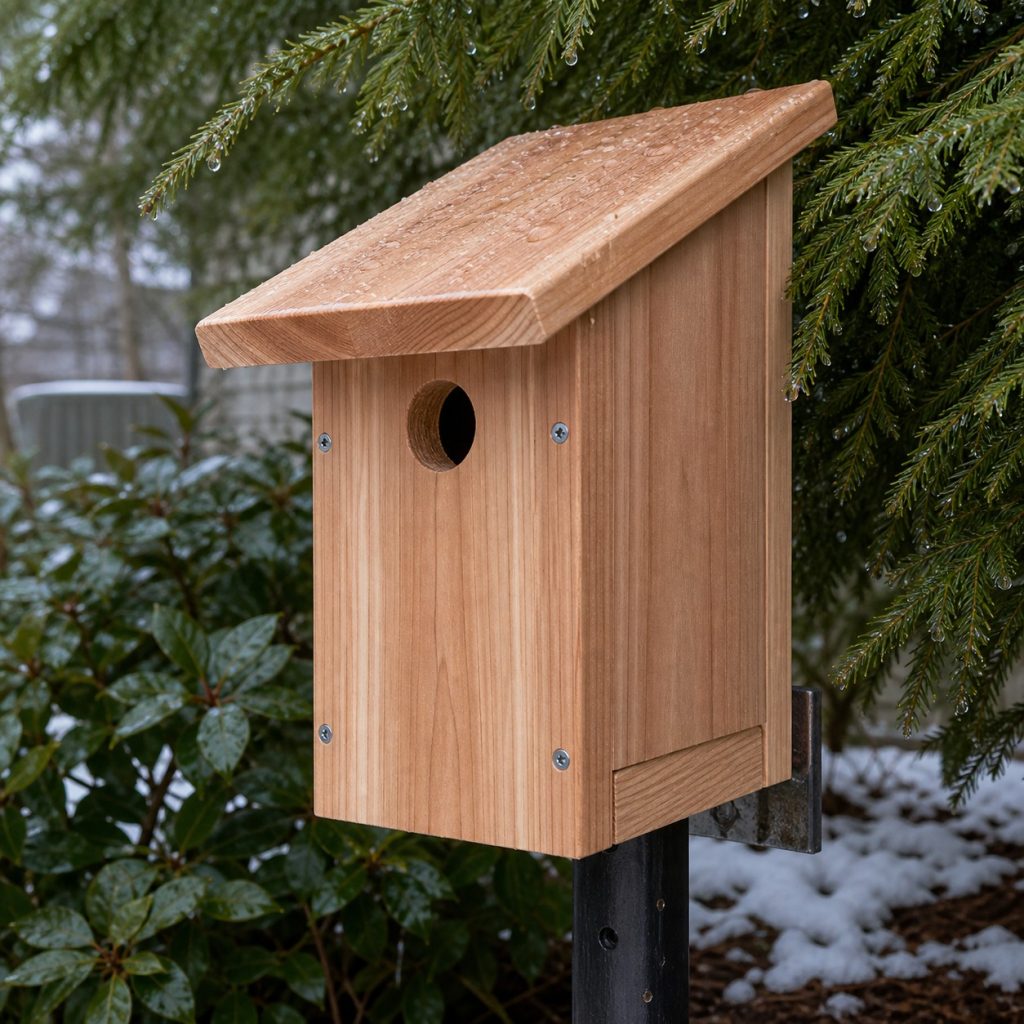
Check the mount, latch, roof, drainage, and predator guard before each nesting season and monitor only under appropriate guidance. Clean the empty box at the recommended time. Replace split, moldy, or unsafe components rather than sealing a contaminated interior with paint.
Planning checklist
- Select a local native cavity-nesting species and verified box dimensions.
- Use untreated solid wood, a sloped overhanging roof, and exterior screws.
- Provide drainage, ventilation, rough interior, and easy cleanout access.
- Omit the perch and use suitable pole mounting and predator protection.
- Monitor and clean on a schedule appropriate to the species and region.
These concepts are general planning guidance, not engineering drawings or tested load-rated plans. Verify dimensions, lumber grade and treatment, structural loads, foundations, fasteners, coatings, utility locations, accessibility, wildlife guidance, property rules, permits, and local building requirements for the actual site. Use qualified local professionals for structural, fall, swing, bridge, retaining, electrical, plumbing, or water hazards.
Frequently asked questions
What size entrance hole should a birdhouse have?
The exact diameter and height depend on the target species. Use a current regional species plan rather than a universal hole size.
Should a birdhouse have a perch?
No. Cavity-nesting birds do not need an exterior perch, and it can make access easier for predators or competitors.
Should the inside of a birdhouse be painted?
Leave the interior untreated. If the exterior is finished, use a suitable low-toxicity product and allow it to cure fully before installation.