Project planning guide
Before you build
Use the reference image and planning notes as a starting point. Confirm dimensions, loads, materials, local codes, and site conditions before purchasing or cutting.
- Garden Projects
- 8 reference images
- Print-friendly guide
A hammock stand carries large inward and downward forces at tall end supports while the user moves above the ground. Beam bending, end-post leverage, base width, braces, connectors, hammock length, tipping, ground conditions, weather, and repeated inspection must be resolved as one system.
Curved-Beam Hammock Stand
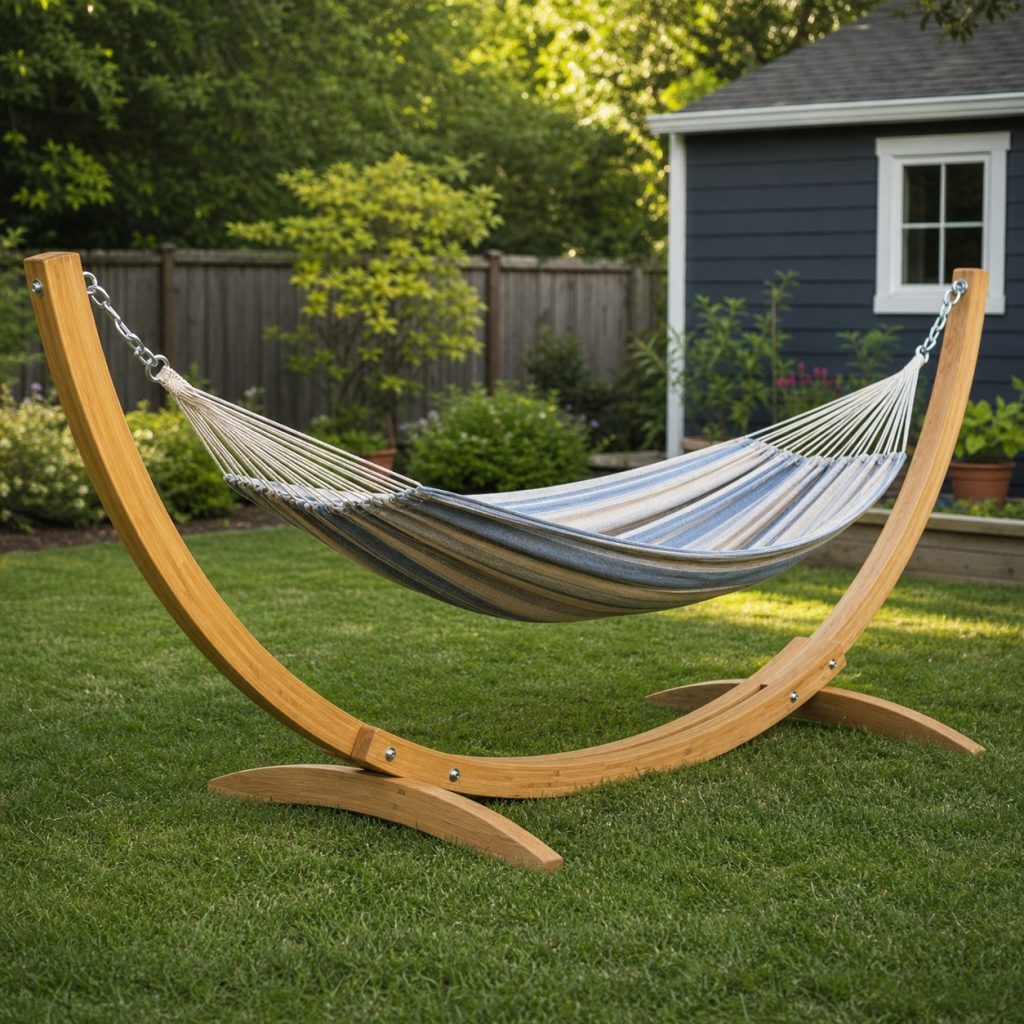
A curved laminated form can distribute load smoothly when lamination, adhesive, member size, and hardware follow a tested design. Cosmetic bent boards are not a substitute. Protect the beam from ground moisture and inspect glue lines and checks regularly.
Straight-Beam A-Frame Stand
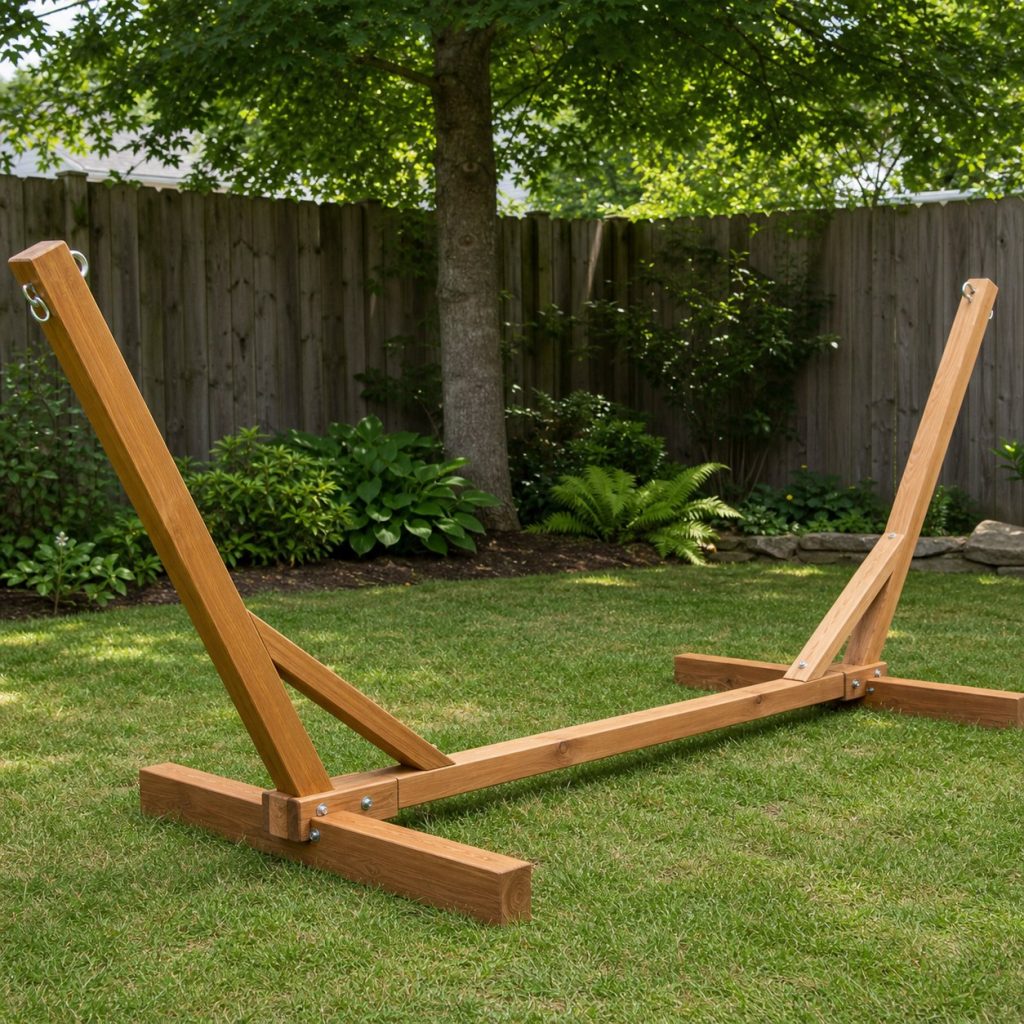
A straight base with angled end posts is easier to fabricate but puts high demand on post-to-base joints. Use long verified braces, through connections where specified, and a base wide enough to resist twisting and tipping on the actual site.
Wide Trestle Hammock Stand
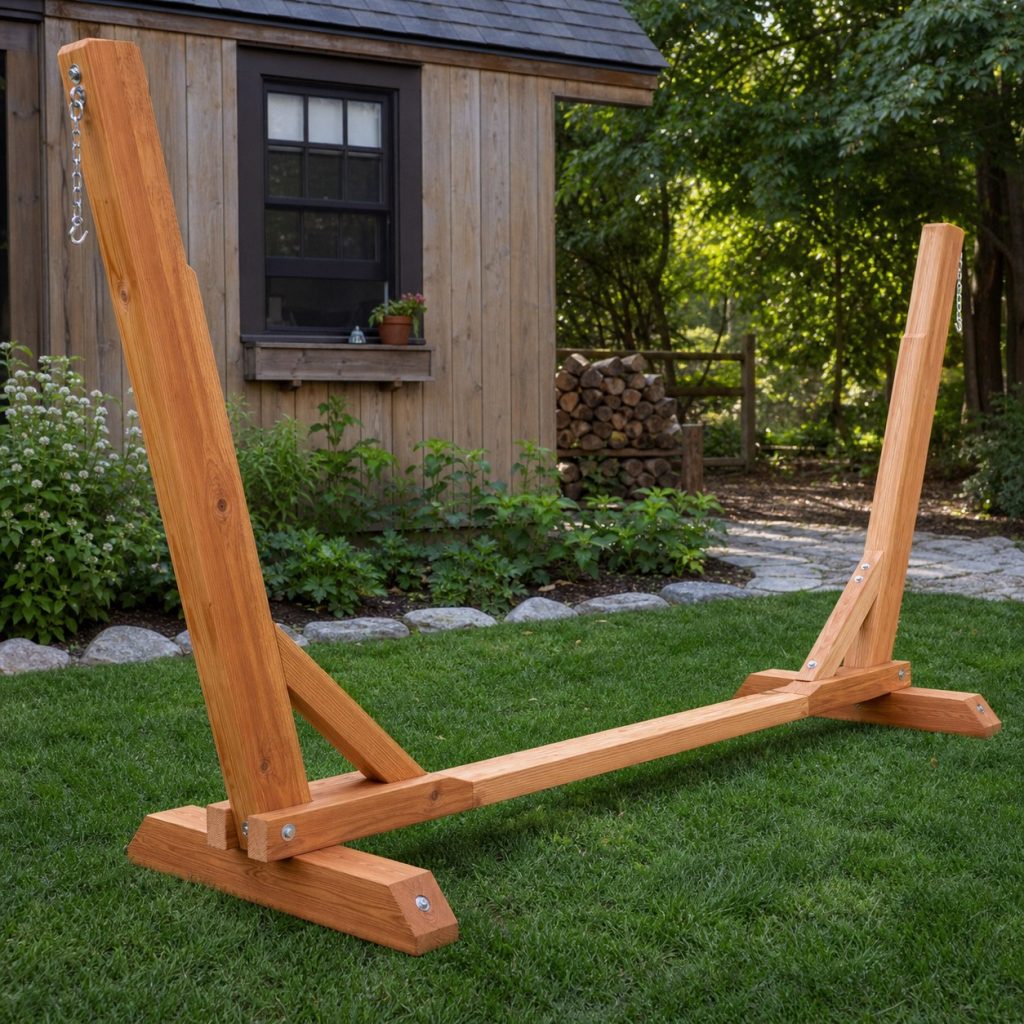
Broad trestle feet can improve lateral stability while leaving the center clear. Connect both feet through a continuous longitudinal member, brace tall uprights in more than one direction, and keep projecting feet visible to reduce trips.
Compact Hammock Chair Stand
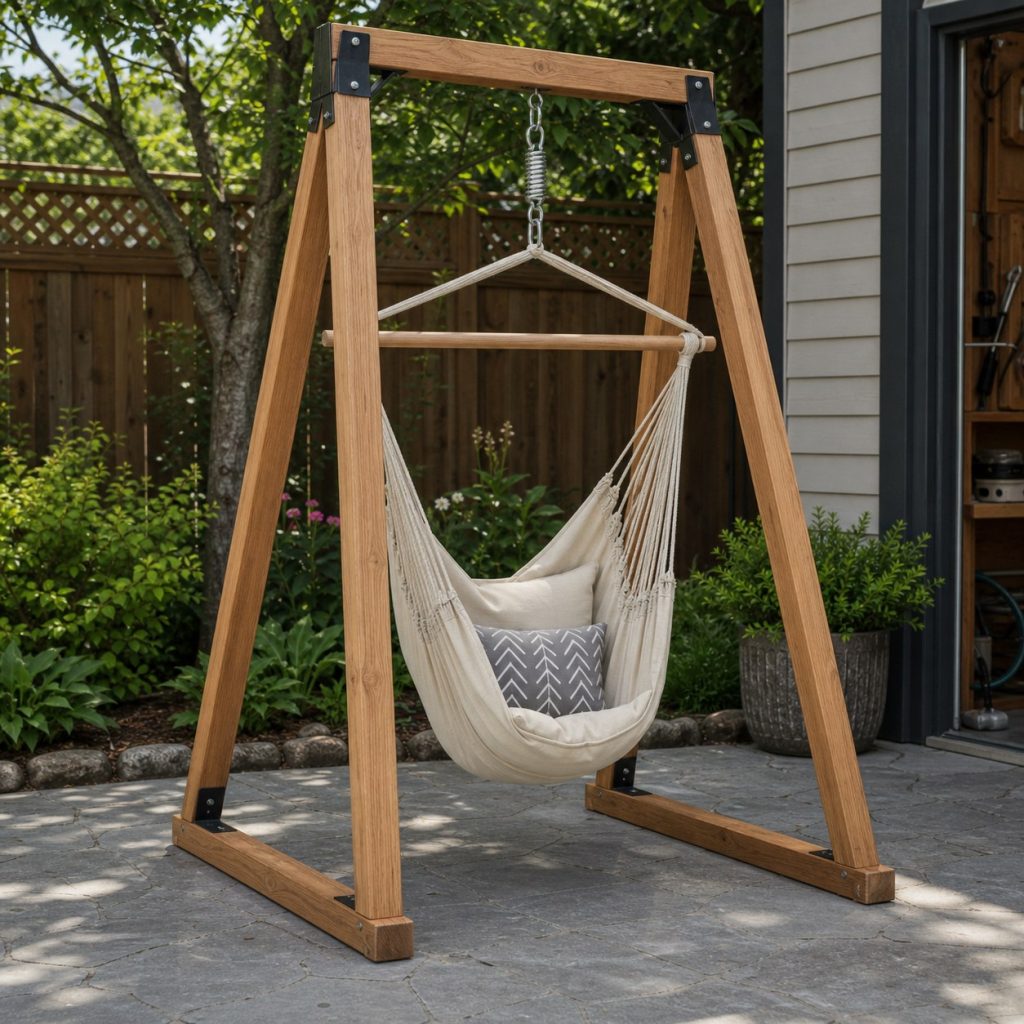
A hammock chair creates a concentrated overhead load and different motion from a bed hammock. Use a design specific to the chair, a rated swivel or connector if required, and a broad footprint with a clear low fall zone.
Canopy Hammock Stand
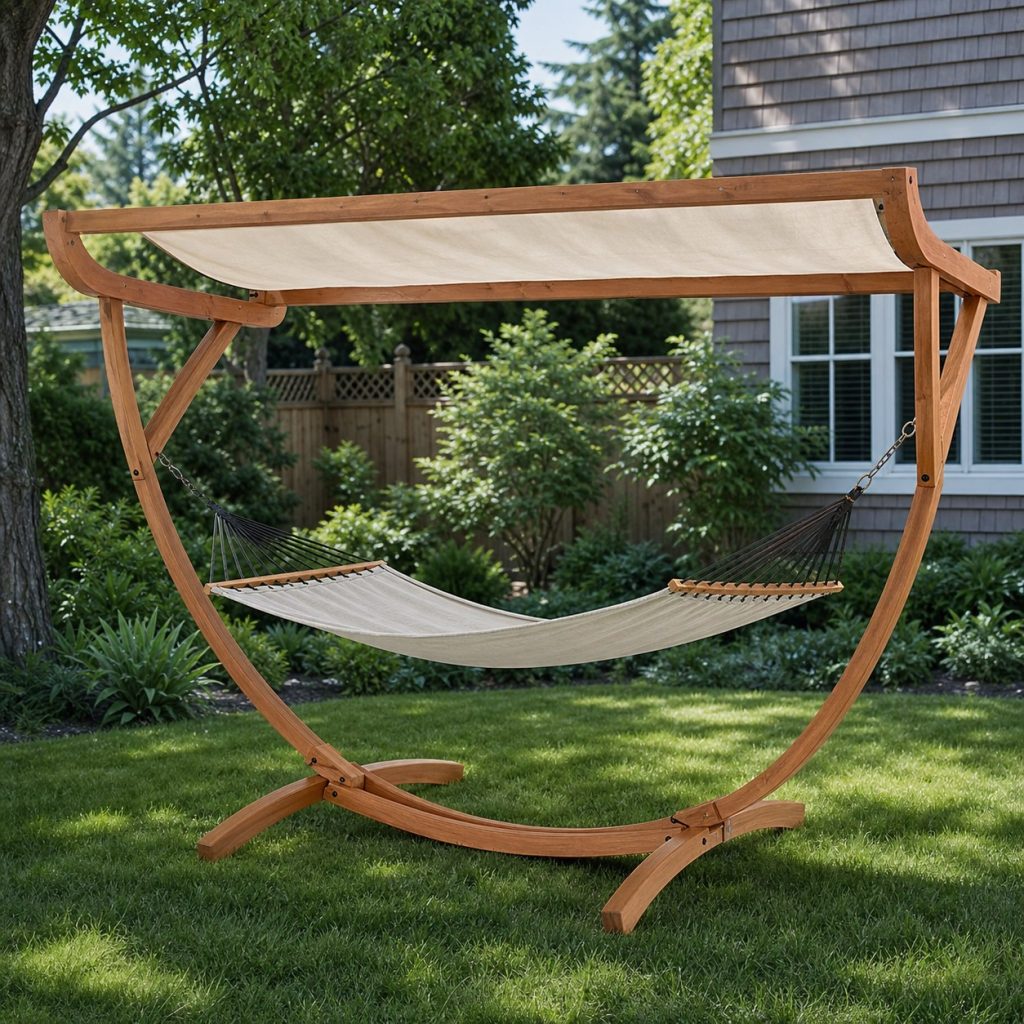
A canopy adds wind area and overhead members. Use only a removable lightweight shade designed for the stand, secure or remove it before wind, and keep canopy supports independent of hammock attachment points unless the engineering specifically combines them.
Build the Base and End Frames
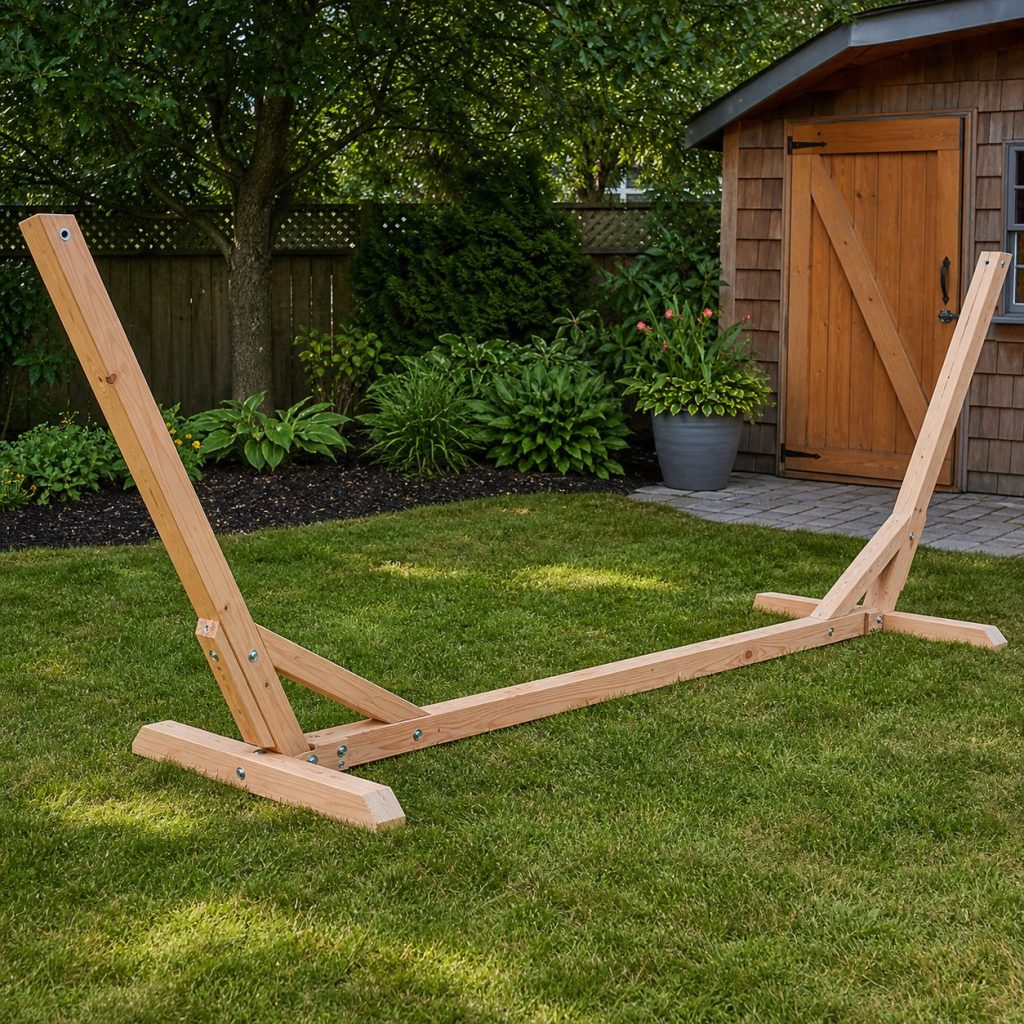
Lay out the frame on a flat surface, assemble matching ends, compare alignment, and install every brace before loading. Maintain bolt edge distances and washer bearing, and use member grades, treatment, and connections from the verified design.
Install Rated Attachment Points
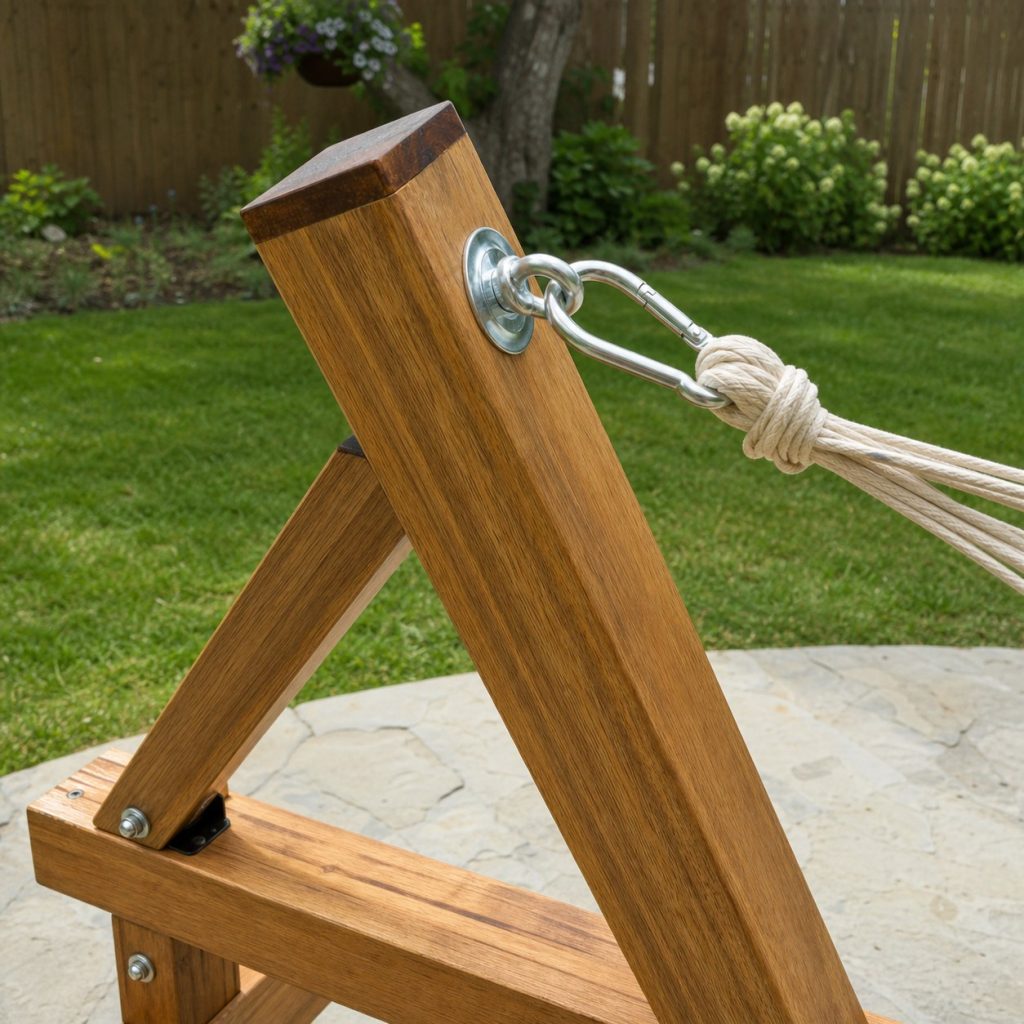
Use rated eyes, straps, shackles, or connectors compatible with the hammock and outdoor exposure. Install them exactly as directed into verified structure, keep sharp threads away from fabric, and never substitute decorative hooks.
Level, Test, and Inspect
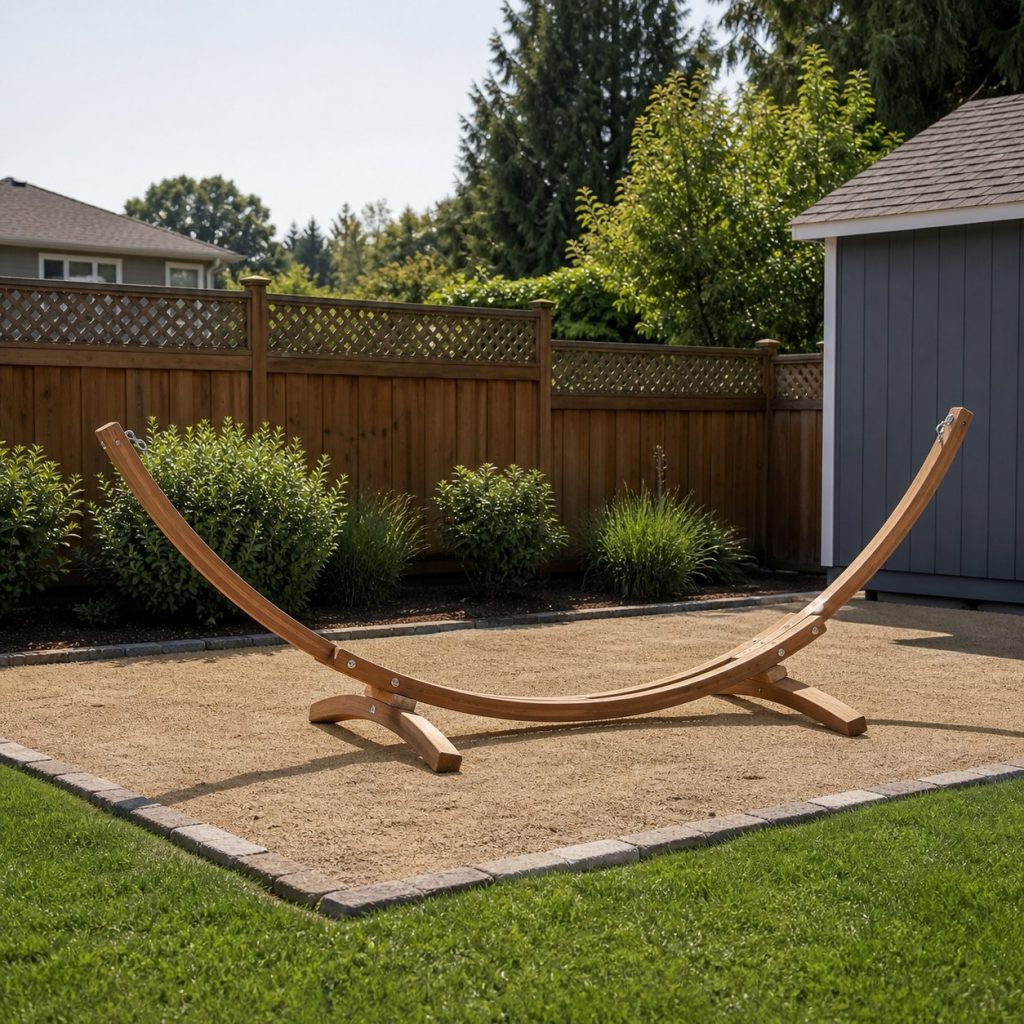
Place the stand on firm level ground, preserve a clear low fall area, and follow the design test and inspection procedure before use. Check rocking, settlement, loose bolts, split braces, corrosion, fabric wear, and wood decay every session.
Planning checklist
- Measure the actual hammock and loaded geometry first.
- Use an engineered, tested, or proven stand design.
- Provide broad footing, multidirectional braces, and verified joints.
- Use rated outdoor attachment hardware and a clear fall area.
- Inspect stand, hardware, and hammock before every use.
These concepts and generated images are general planning inspiration, not measured drawings, structural attachment details, pond or electrical designs, engineered plans, or tested load-rated designs. Verify dimensions, lumber grade and treatment, structural and dynamic loads, fasteners, coatings, accessibility, utility locations, water and wildlife guidance, property rules, permits, and local building requirements for the actual project. Use qualified professionals where structural, electrical, plumbing, drowning, fall, or entrapment hazards apply.
Frequently asked questions
How long should a hammock stand be?
It depends on the actual hammock, suspension geometry, stretch, height, and verified stand design. Measure before choosing plans.
Can pressure-treated lumber be used?
Use only material and compatible hardware allowed by the design, and follow product instructions for drying, cutting, handling, finishing, and exposure.
Can a hammock stand stay on grass?
Grass may remain wet and settle unevenly. Use firm level footing and keep wood out of standing water.