Project planning guide
Before you build
Use the reference image and planning notes as a starting point. Confirm dimensions, loads, materials, local codes, and site conditions before purchasing or cutting.
- Garden Projects
- 8 reference images
- Print-friendly guide
A garden bench must stay comfortable while its seat slats, legs, back posts, braces, and fasteners cycle through sun and rain. The most reliable design begins with the users and site, then builds a rigid frame that drains freely, keeps end grain above wet soil, and can be inspected without removing plants.
Classic Slatted Garden Bench
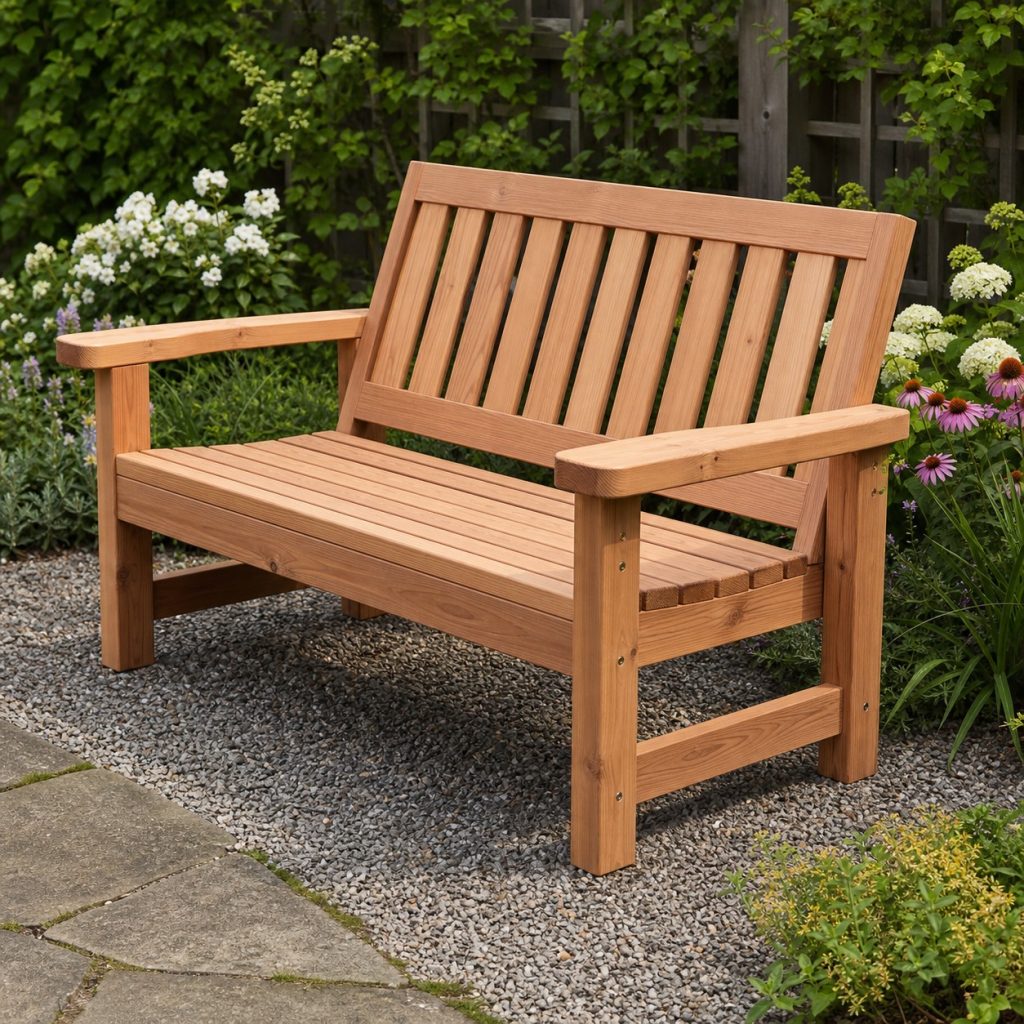
A familiar backed bench uses two complete side frames joined by strong front and rear seat rails. Keep the back gently reclined rather than extreme, add a lower stretcher to resist racking, and space slats for drainage without creating uncomfortable gaps. Test the proportions with a temporary plywood seat.
Simple Backless Bench
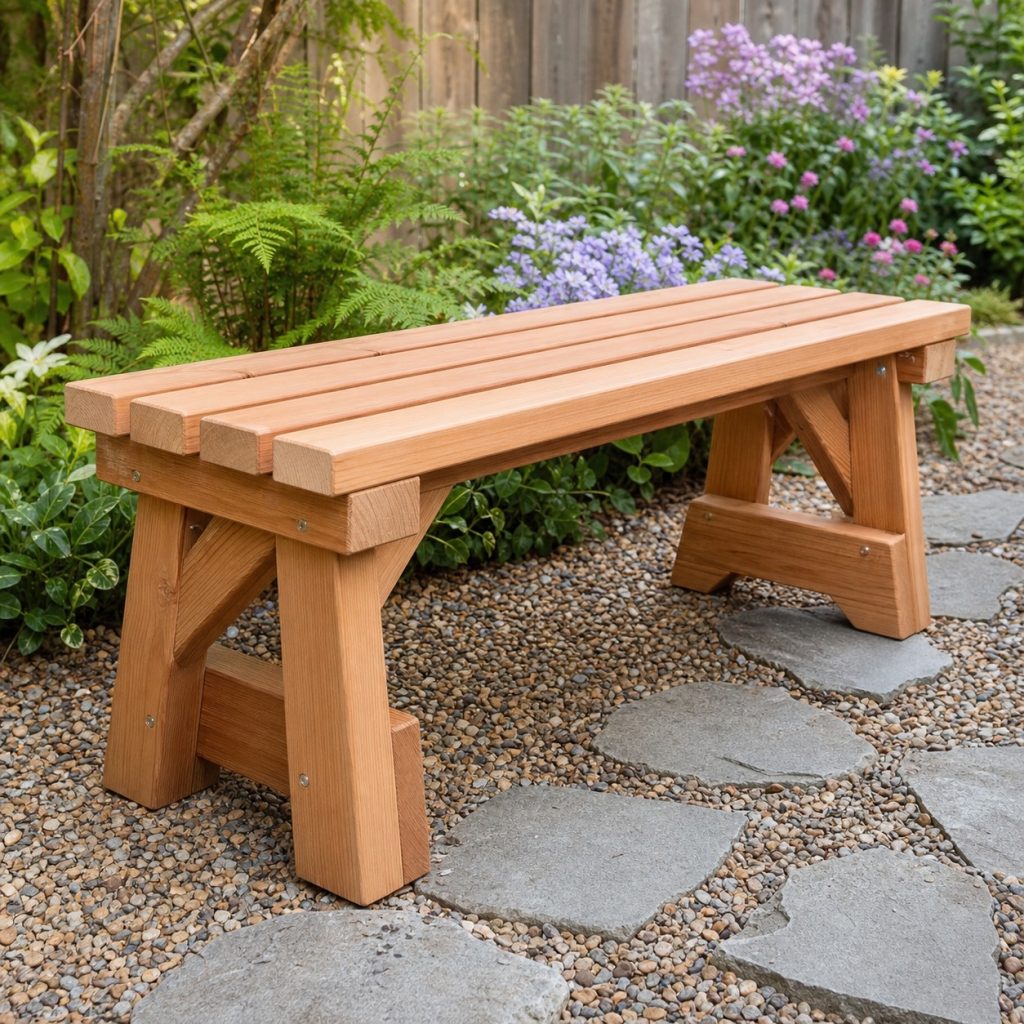
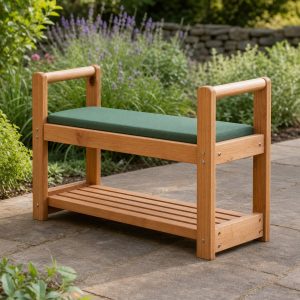
A backless bench fits paths and narrow beds because users can sit from either side. Wide trestle feet improve stability on gravel, while corner braces shorten the unsupported rail span. Keep the top narrow enough to discourage lying or climbing and broad enough for comfortable seating.
Compact Two-Person Bench
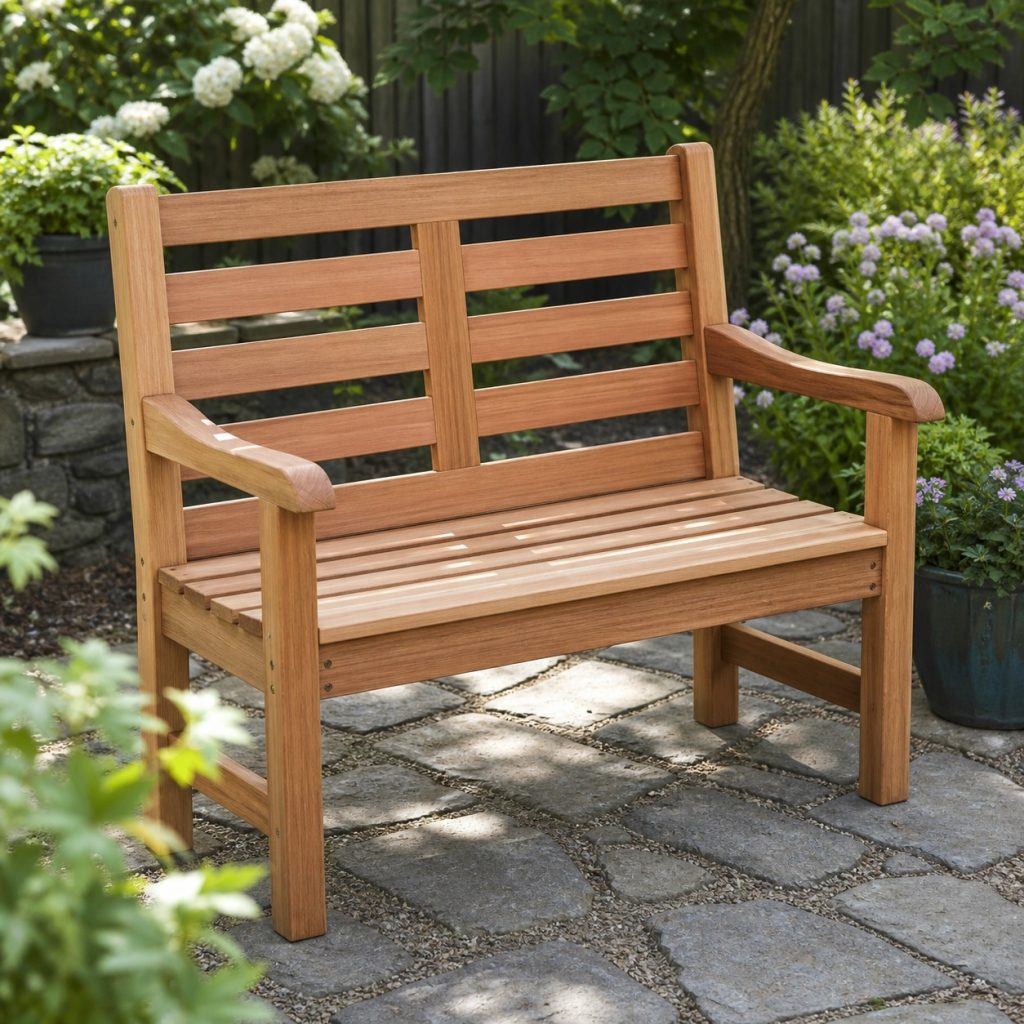
A short bench still needs full-size joinery and a stable footprint. Use straight ladder-back slats for simpler cuts, reinforce the seat rails at both ends, and keep arm supports tied into the leg frames. Confirm that the finished width suits the intended users without crowding a small patio.
Curved Bench From Straight Modules
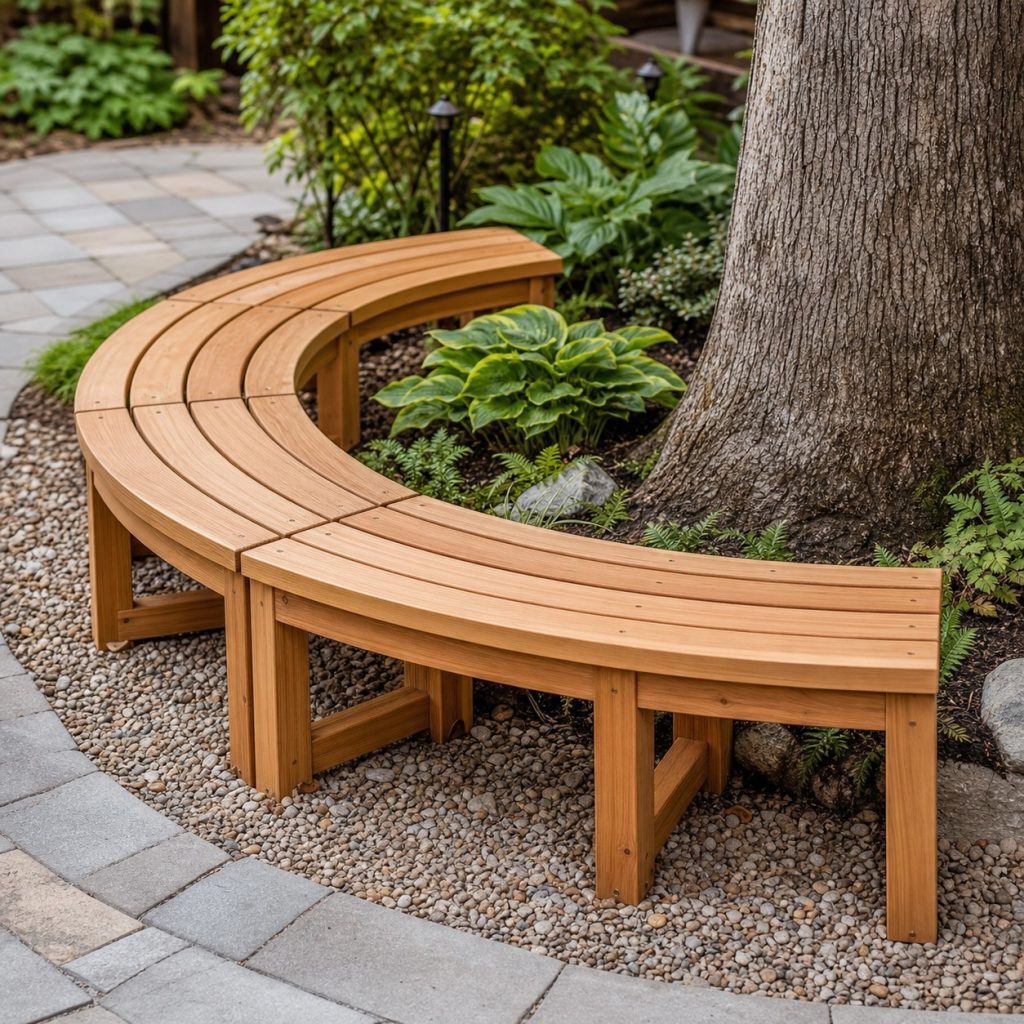
Several short straight framed sections can approximate a curve without bending structural rails. Set them on a stable perimeter outside the root flare, connect modules only where appropriate, and leave inspection gaps. Never fasten a bench to the living tree or bury roots beneath a solid foundation.
Freestanding Arbor Bench
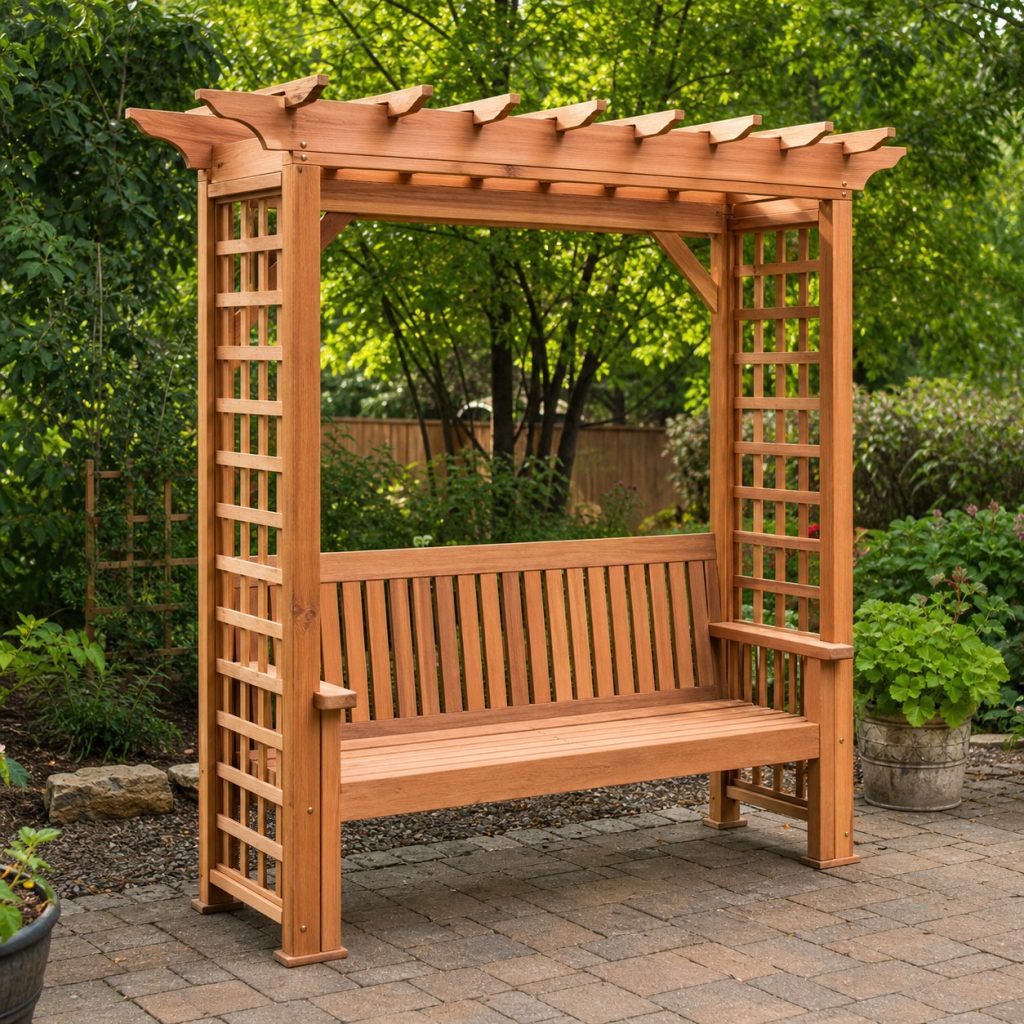
An arbor frame can create shade and support light vines, but it adds wind area and overhead loads. Give each side a complete braced frame and let those frames support the seat and canopy. Keep vines, rafters, and lattice away from heads, shoulders, and hidden connection points.
Assemble a Square Bench Frame
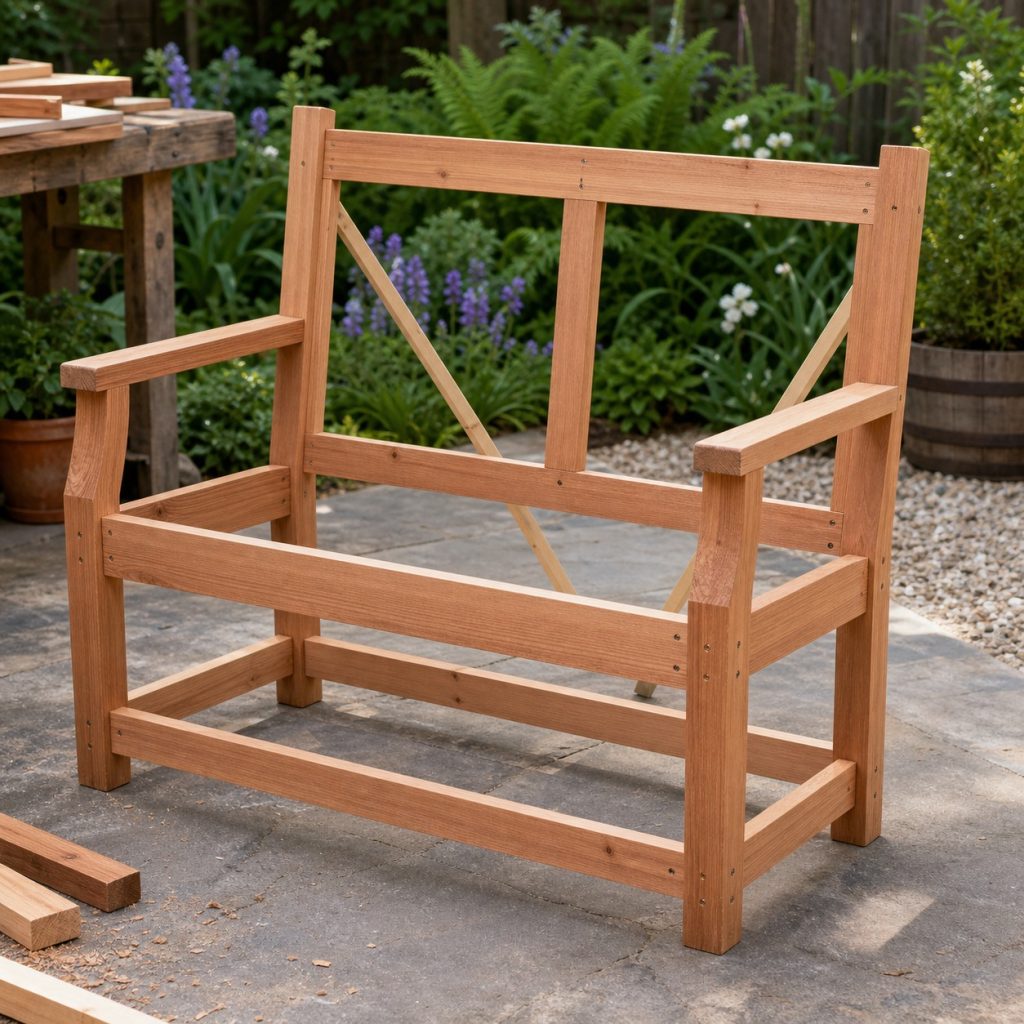
Build two identical side assemblies on a flat surface, then join them with the seat rails and stretchers. Temporary diagonal bracing holds the frame square while fasteners are installed. Dry-fit the back posts and seat slats before finishing so repairs do not expose fresh cuts immediately.
Seat, Arm, and Back Joinery
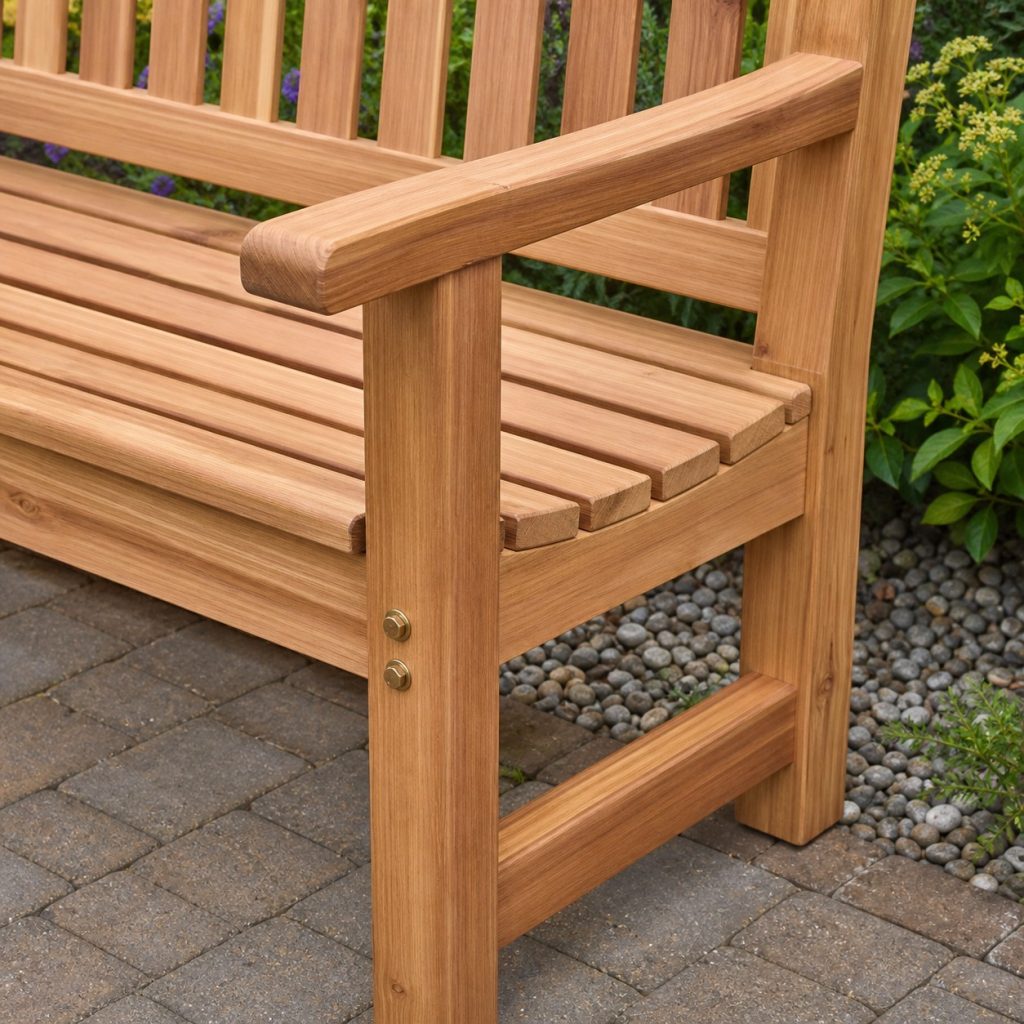
Round over the front seat edge and every hand-contact surface. Support slats at each end and at intermediate rails when spans require it, predrill near ends, and use bolts or other verified connections at high-stress arm and back joints. Keep hardware compatible with the lumber treatment.
Wet-Weather Inspection
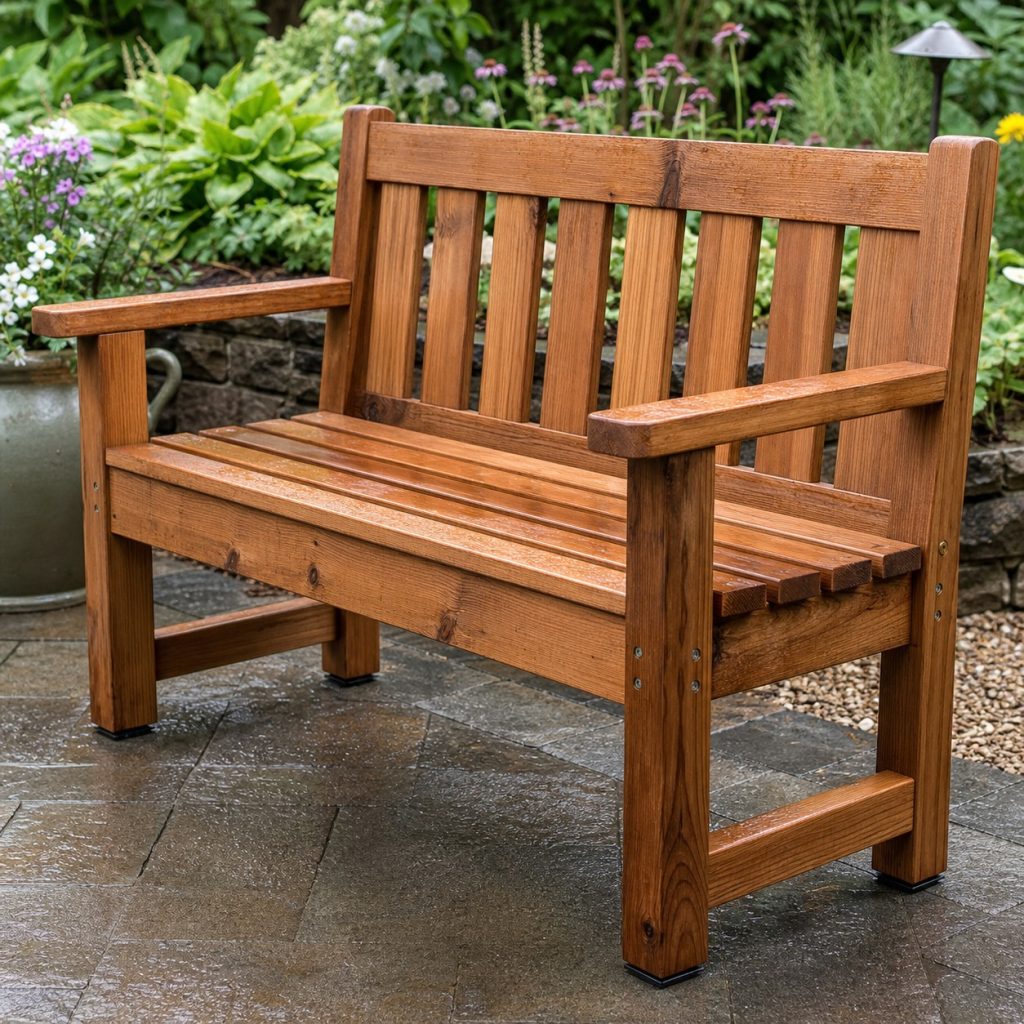
After rain, water should leave the seat and feet rather than pool at joints. Check fasteners, braces, splits, rocking, finish loss, and contact with soil or mulch. Stop use when the frame moves or cracks; a cosmetic coat is not a structural repair.
Planning checklist
- Mock up seating proportions for the intended users and location.
- Build complete side frames with full seat rails, braces, and stretchers.
- Provide smooth edges, free drainage, and feet above standing water.
- Use exterior-compatible lumber, fasteners, glue, and finish.
- Inspect movement and decay and avoid unverified load claims.
These concepts are general planning guidance, not engineering drawings or tested load-rated plans. Verify dimensions, ergonomics, lumber grade and treatment, structural loads, fasteners, coatings, food-contact use, wildlife and compost guidance, accessibility, utility locations, property rules, permits, and local building requirements for the actual project. Use qualified professionals where structural, electrical, plumbing, refrigeration, fall, or entrapment hazards apply.
Frequently asked questions
What is a comfortable garden bench depth?
Comfort depends on seat height, depth, back angle, cushion use, and the users. Build a full-size mock-up before finalizing dimensions.
Should bench slats have gaps?
Small consistent gaps help drainage and wood movement. They should not be wide enough to feel uncomfortable or trap fingers.
Can a garden bench sit directly on soil?
Direct contact holds moisture and encourages settlement. Use a drained stable footing and material suited to the exposure.