Project planning guide
Before you build
Use the reference image and planning notes as a starting point. Confirm dimensions, loads, materials, local codes, and site conditions before purchasing or cutting.
- Garden Projects
- 8 reference images
- Print-friendly guide
A wooden harvest basket should carry vegetables and herbs without bruising them or becoming heavy before it is filled. Smooth interior surfaces, a balanced handle, ventilated slats, shallow reachable sides, and easy cleaning matter more than decorative complexity.
Traditional Garden Trug
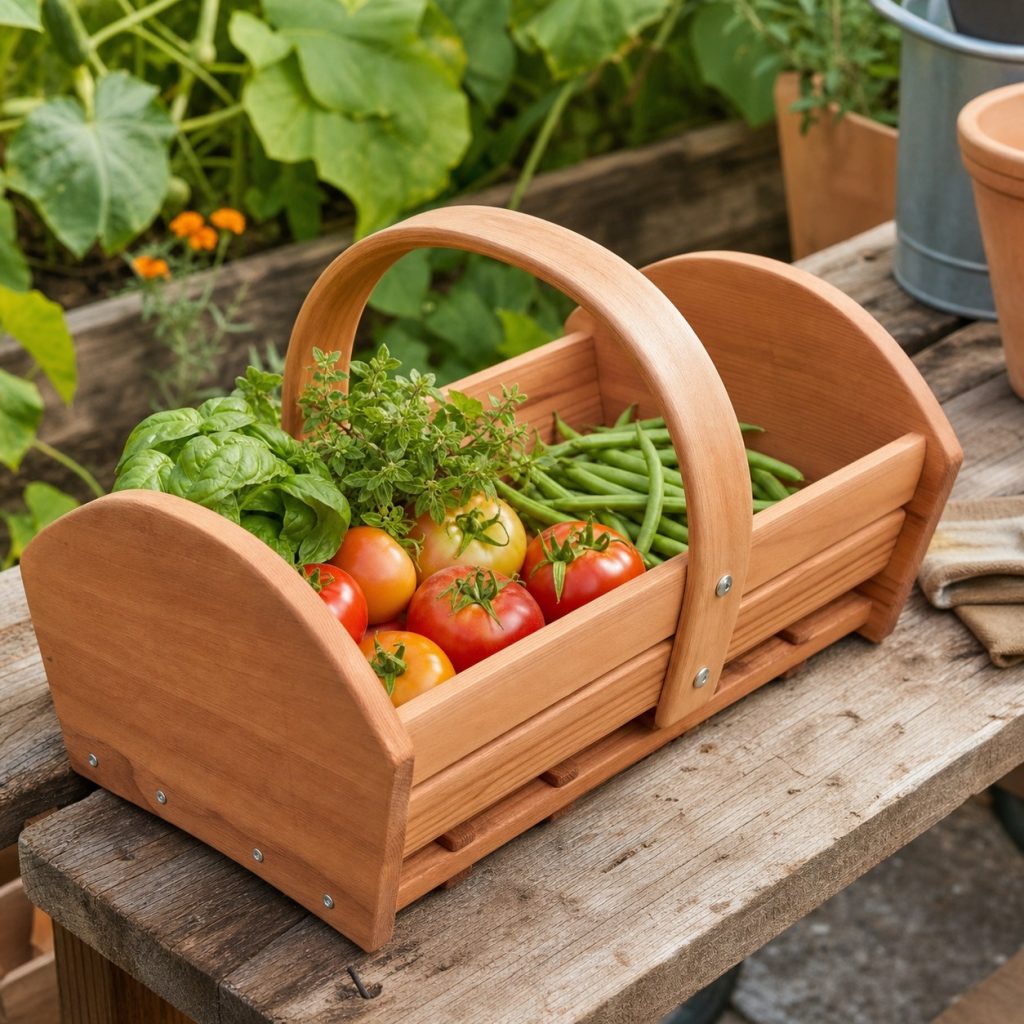
A classic trug uses solid shaped end panels, low side rails, a slatted bottom, and a high fixed handle. Keep the load shallow so produce is visible, support each bottom slat, and balance the handle over the center. Curved appearance can come from shaped ends without steam bending.
Rectangular Slatted Basket
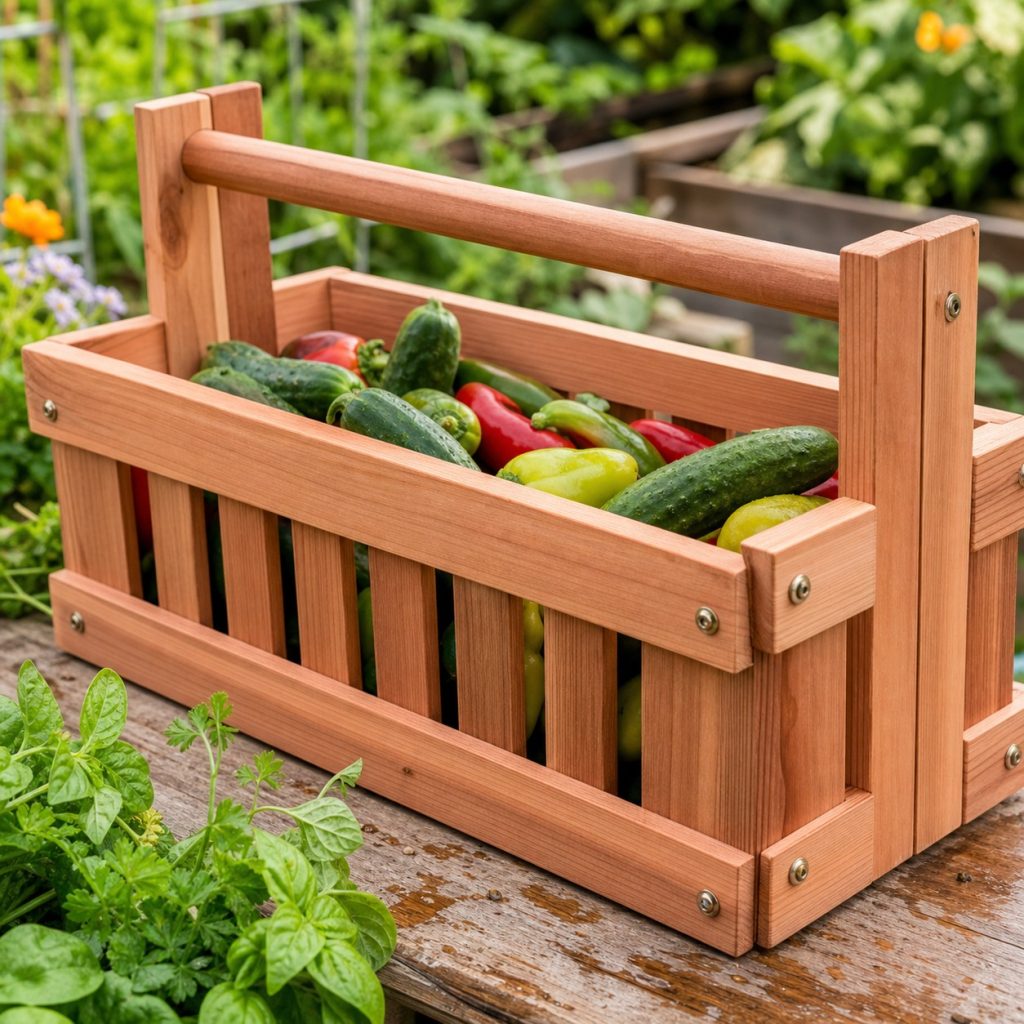
Straight slats simplify cutting and improve airflow around peppers and cucumbers. Reinforce the corners, capture the handle ends securely, and space bottom boards narrowly enough that small produce cannot fall through. Keep the box light by avoiding oversized rails.
Divided Harvest Caddy
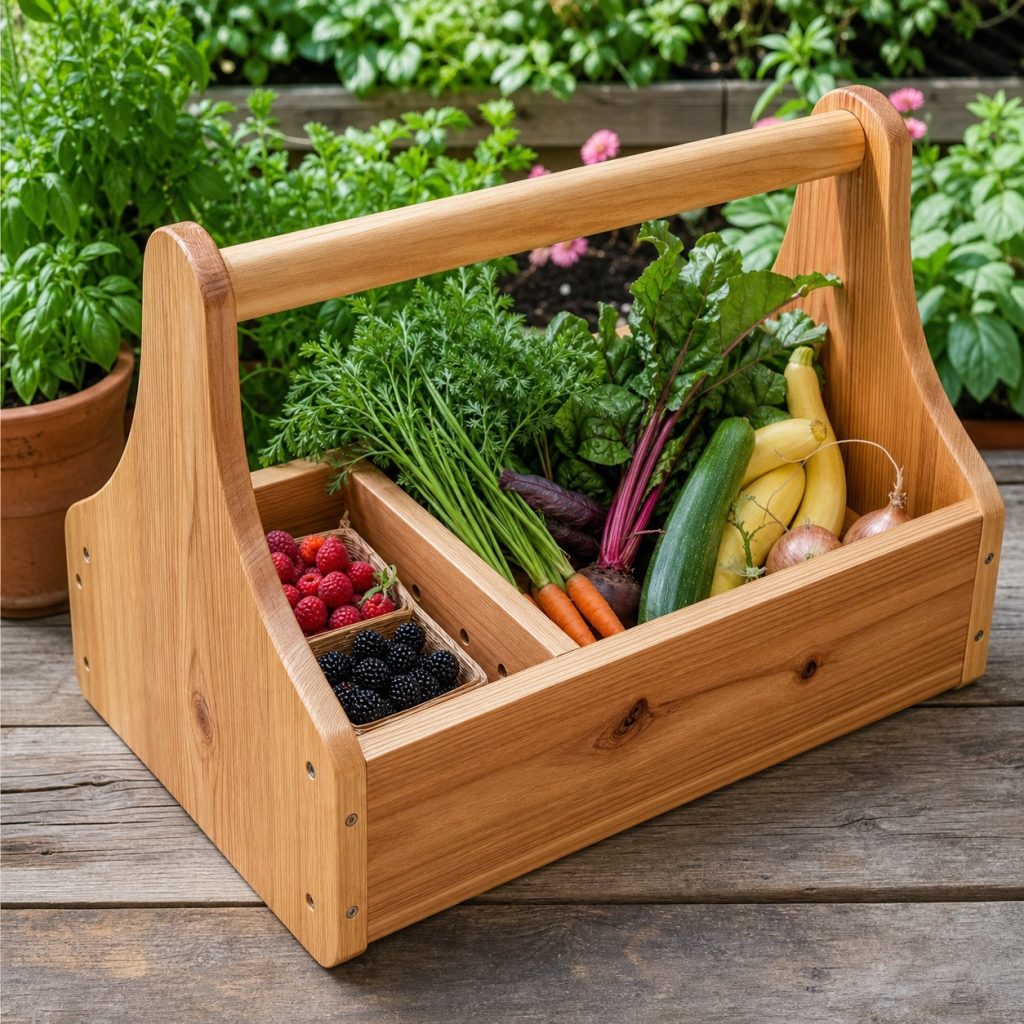
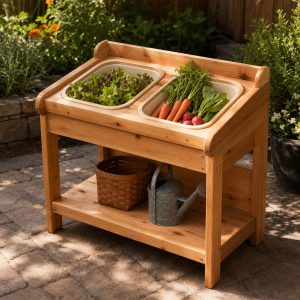
A removable divider can protect delicate berries from squash and roots. Give the berry side a shallow smooth floor or separate suitable liner, and make the divider easy to wash. The handle still needs to balance when compartments carry different loads.
Broad Greens Trug
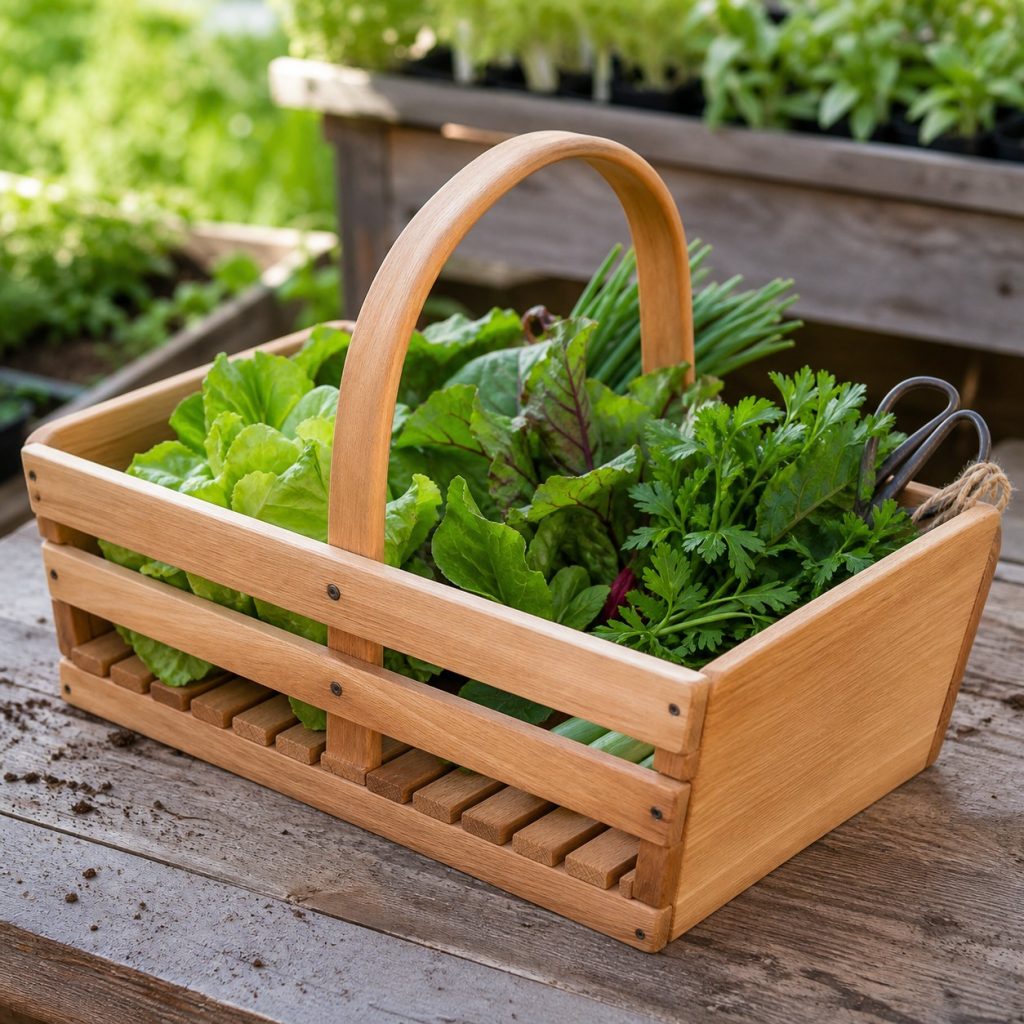
Leafy greens benefit from a broad shallow basket that prevents crushing. Use thin smooth slats and low rails, avoid sharp knots, and keep the total width comfortable through gates. Move harvested greens promptly to appropriate washing and cooling.
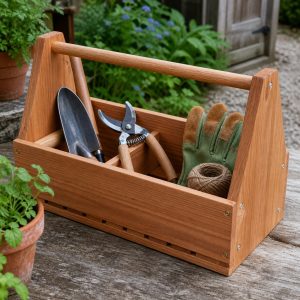
Compact Herb Basket
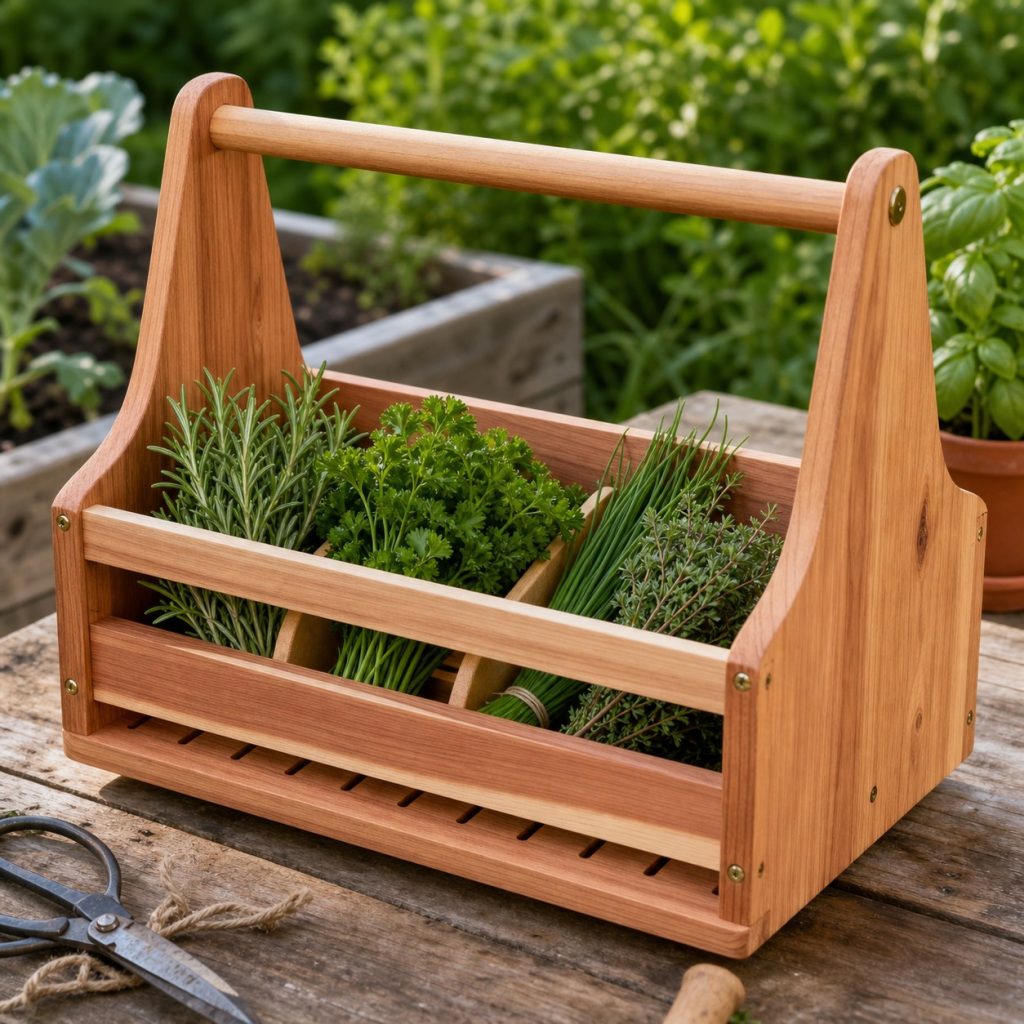
A compact tray suits herbs and small daily harvests. The tall central handle keeps both hands free for cutting, while drainage slots release field debris. Use a divider for delicate stems and avoid leaving moist herbs against wood for extended periods.
Stackable Empty Baskets
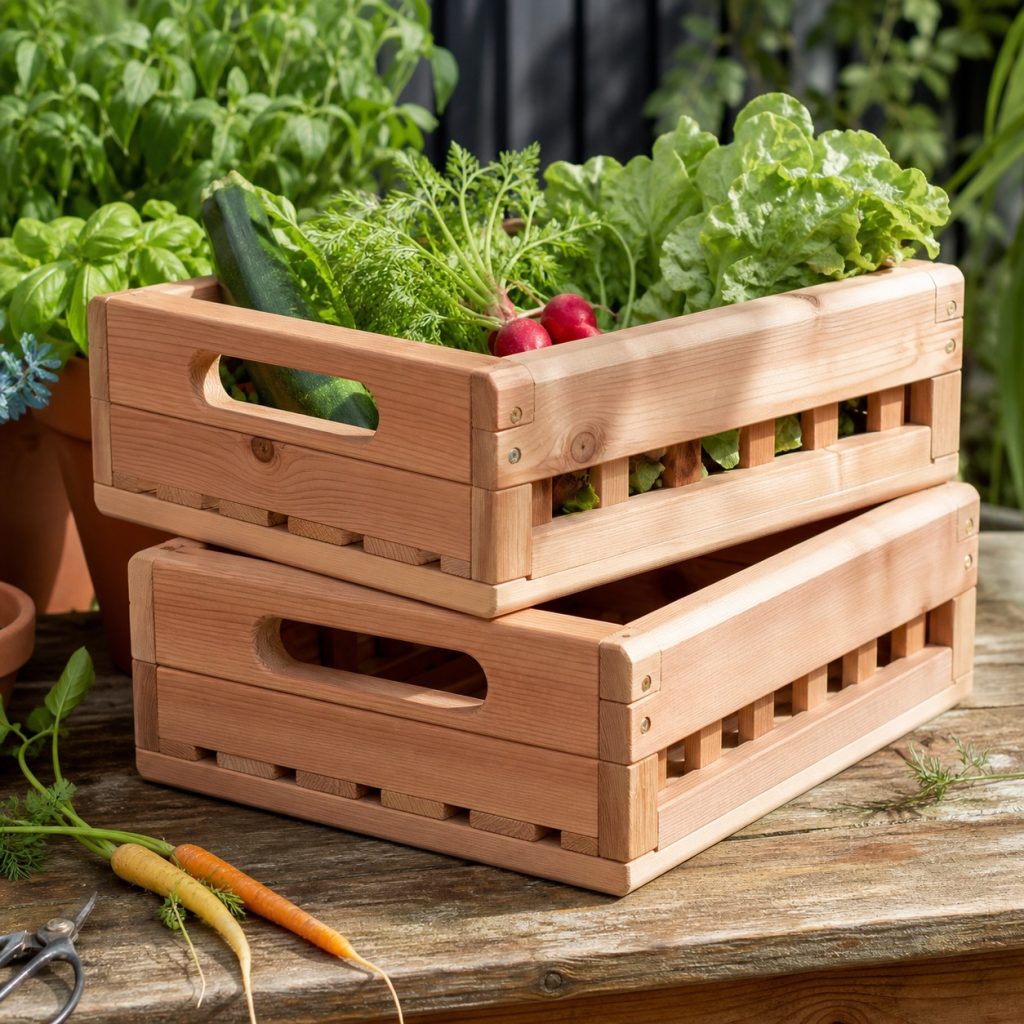
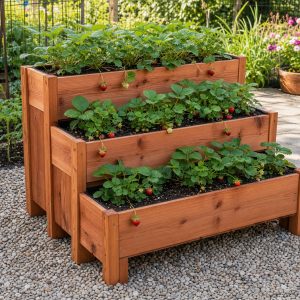
Stacking saves storage space only when corner blocks carry the upper basket without crushing handles or trapping fingers. Test empty stacking in every orientation, provide separation stops, and store the baskets completely dry with airflow between them.
Assemble Ends, Rails, and Slats
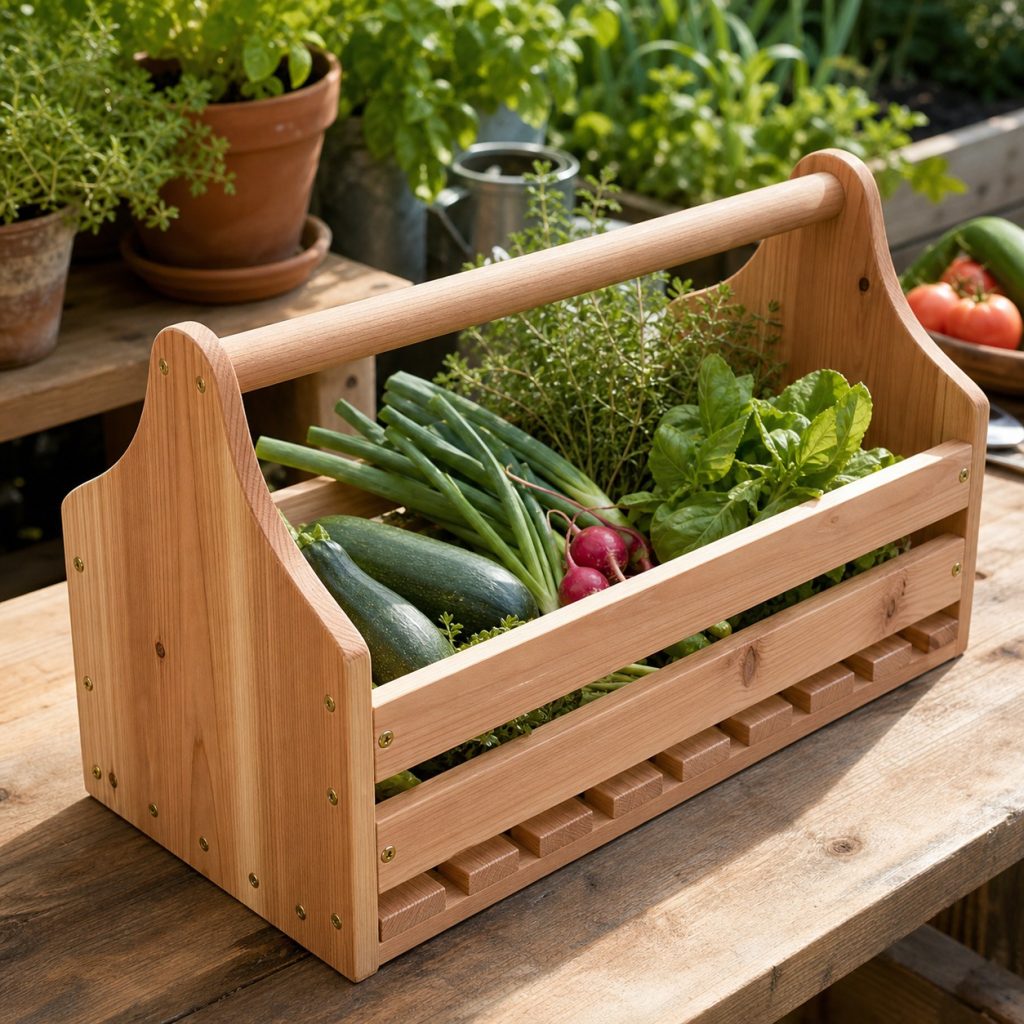
Cut matched end panels together, drill aligned handle seats, and dry-fit side rails and bottom slats with spacers. Predrill all small parts, recess fasteners, and sand the interior before assembly. Glue use and finish must match the intended exposure.
Wash Produce Separately and Dry the Basket
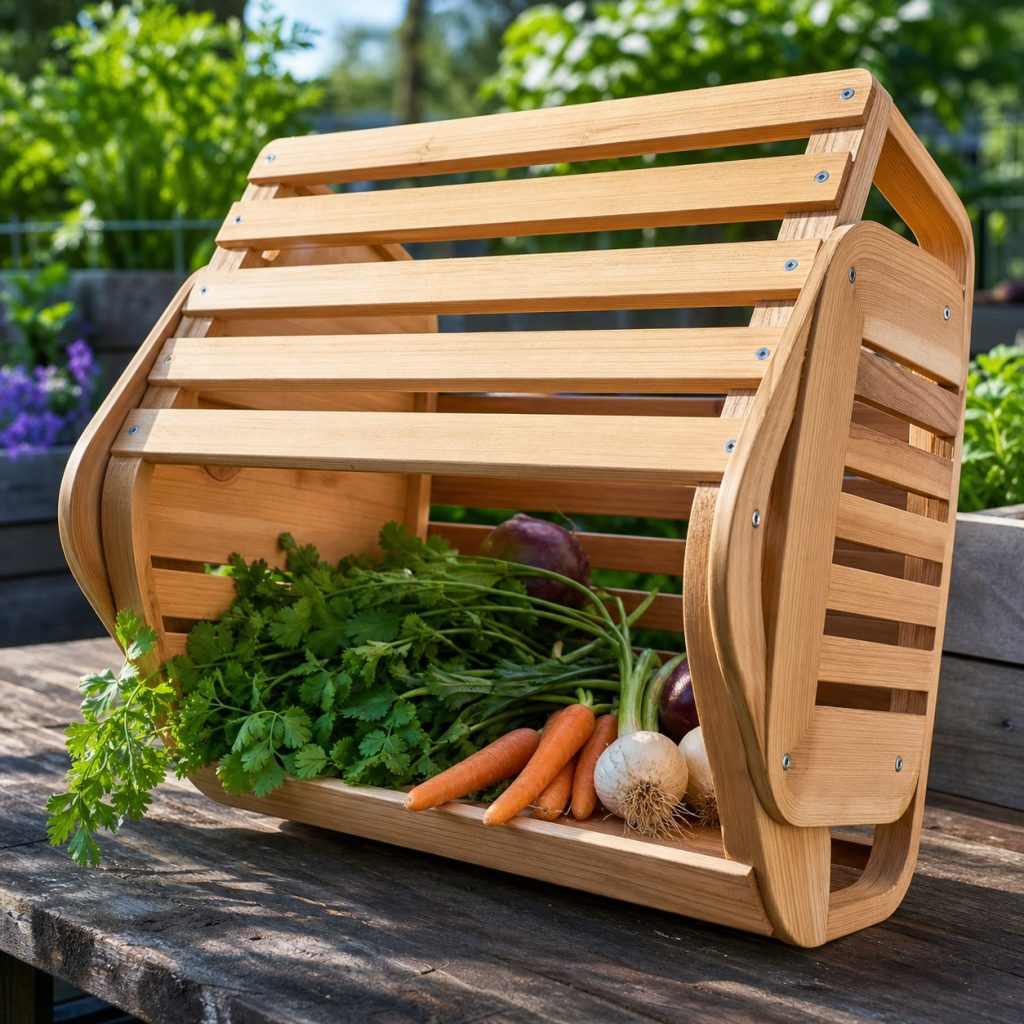
Brush off soil and wash produce in an appropriate clean area rather than treating the wood basket as a sink. Wipe the basket according to its finish, dry it promptly upside down, and inspect for splinters, cracked handles, mold, or flaking coating.
Planning checklist
- Choose crops, basket depth, and comfortable carried weight.
- Center and secure a smooth fixed handle over the expected load.
- Round all produce-contact edges and recess fasteners.
- Use ventilated sides and a bottom that releases soil and moisture.
- Clean appropriately, dry promptly, and remove splintered baskets from use.
These concepts are general planning guidance, not engineering drawings or tested load-rated plans. Verify dimensions, ergonomics, lumber grade and treatment, structural loads, fasteners, coatings, food-contact use, wildlife and compost guidance, accessibility, utility locations, property rules, permits, and local building requirements for the actual project. Use qualified professionals where structural, electrical, plumbing, refrigeration, fall, or entrapment hazards apply.
Frequently asked questions
What is the difference between a trug and a basket?
A traditional trug is a rigid shallow carrier with shaped ends, rails, and a fixed handle. Basket is the broader term.
Should a harvest basket be finished?
Use only a coating whose current label suits the intended use, or leave suitable smooth wood unfinished and dry it promptly.
Can vegetables be washed in a wooden trug?
Wash produce in a suitable clean container or sink. A slatted wooden trug is intended for carrying and airflow, not holding wash water.