Project planning guide
Before you build
Use the reference image and planning notes as a starting point. Confirm dimensions, loads, materials, local codes, and site conditions before purchasing or cutting.
- Garden Projects
- 8 reference images
- Print-friendly guide
A trash-can enclosure should screen containers without blocking collection, trapping odors, attracting animals, or creating a wide gate that wind can fling. Begin with the actual carts, pickup route, lid motion, slope, drainage, utility access, local sanitation rules, and wildlife conditions.
Two-Can Slatted Enclosure
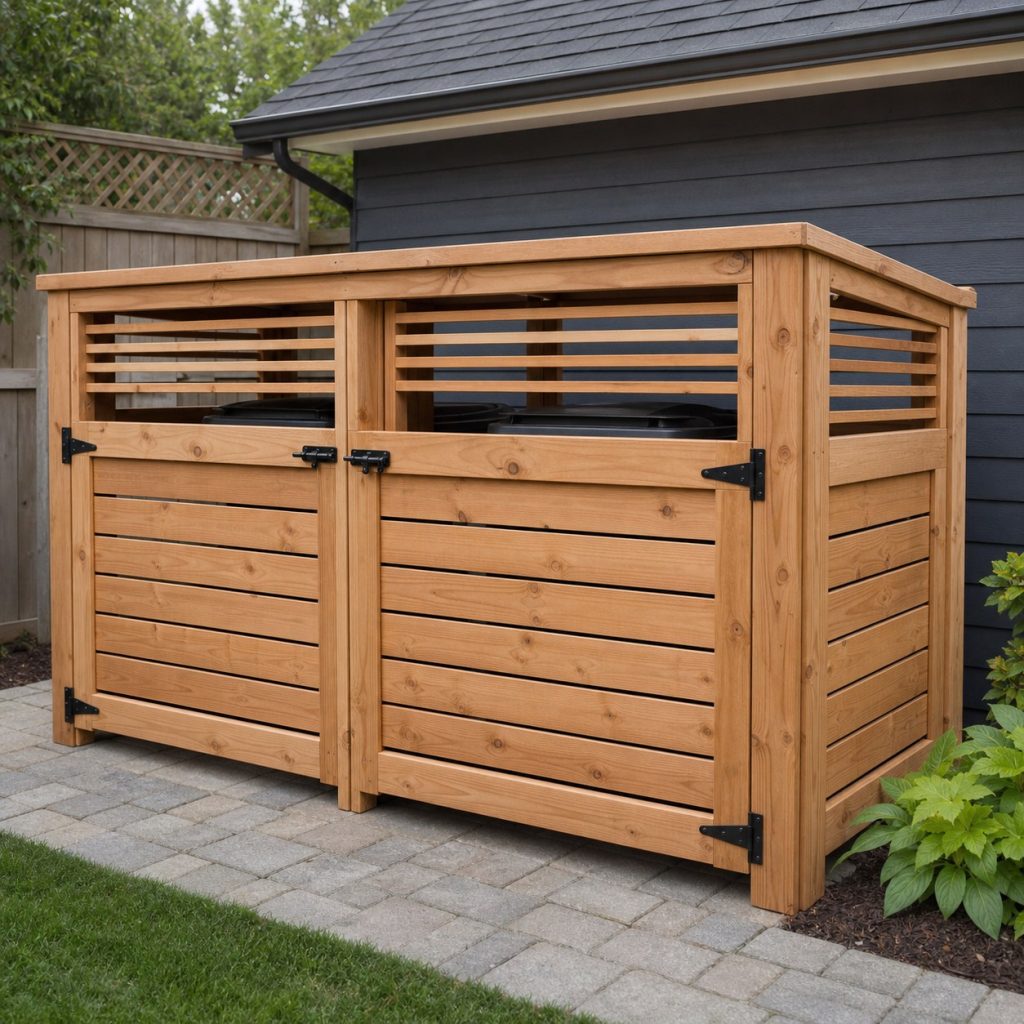
Two bays keep carts separated and leave room for handles. Use slats with protected sight lines and airflow, reinforce each gate frame, and maintain enough internal width that carts do not scrape latches or jambs when rolled out.
Three-Can Recycling Station
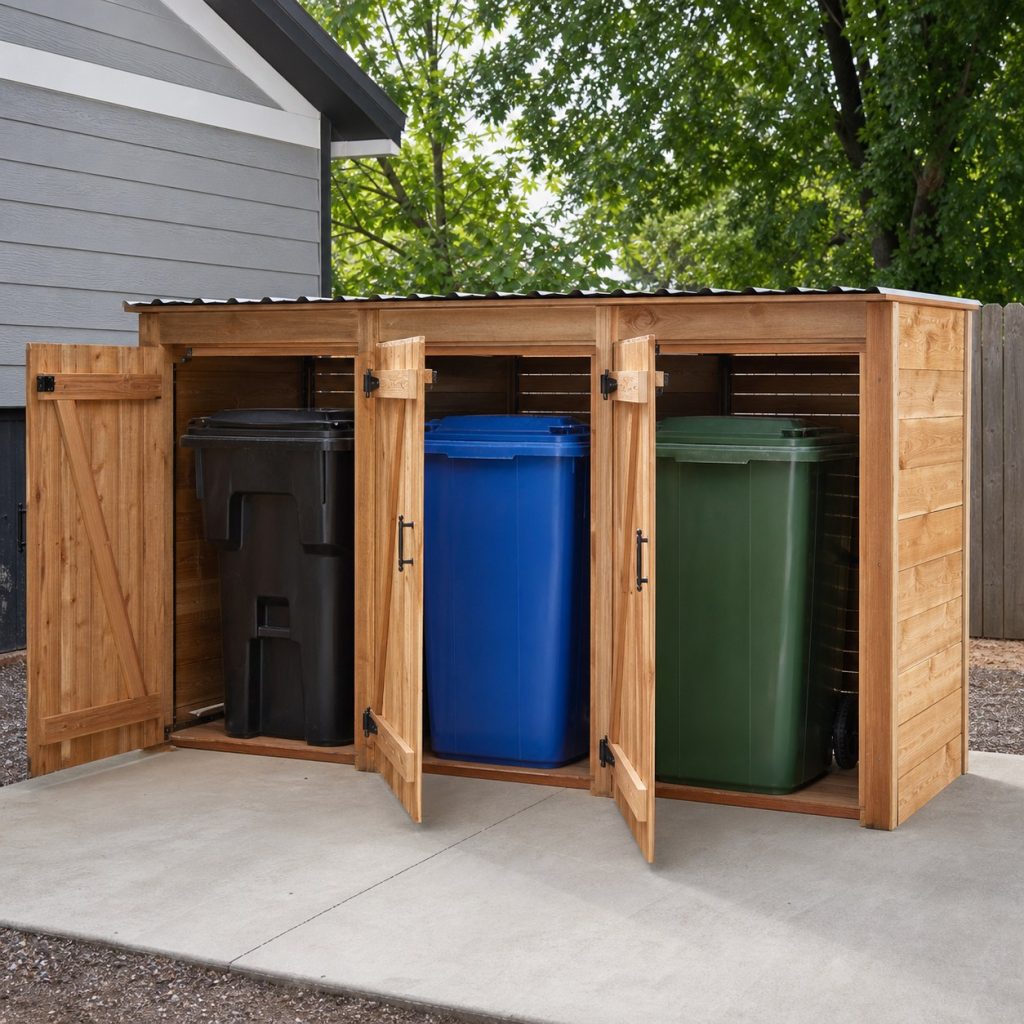
A three-bay enclosure becomes wide and catches more wind. Divide the front into separate restrained gates, brace the rear frame, anchor it appropriately, and keep the collection sequence simple without relying on decorative labels.
Open-Top Privacy Screen
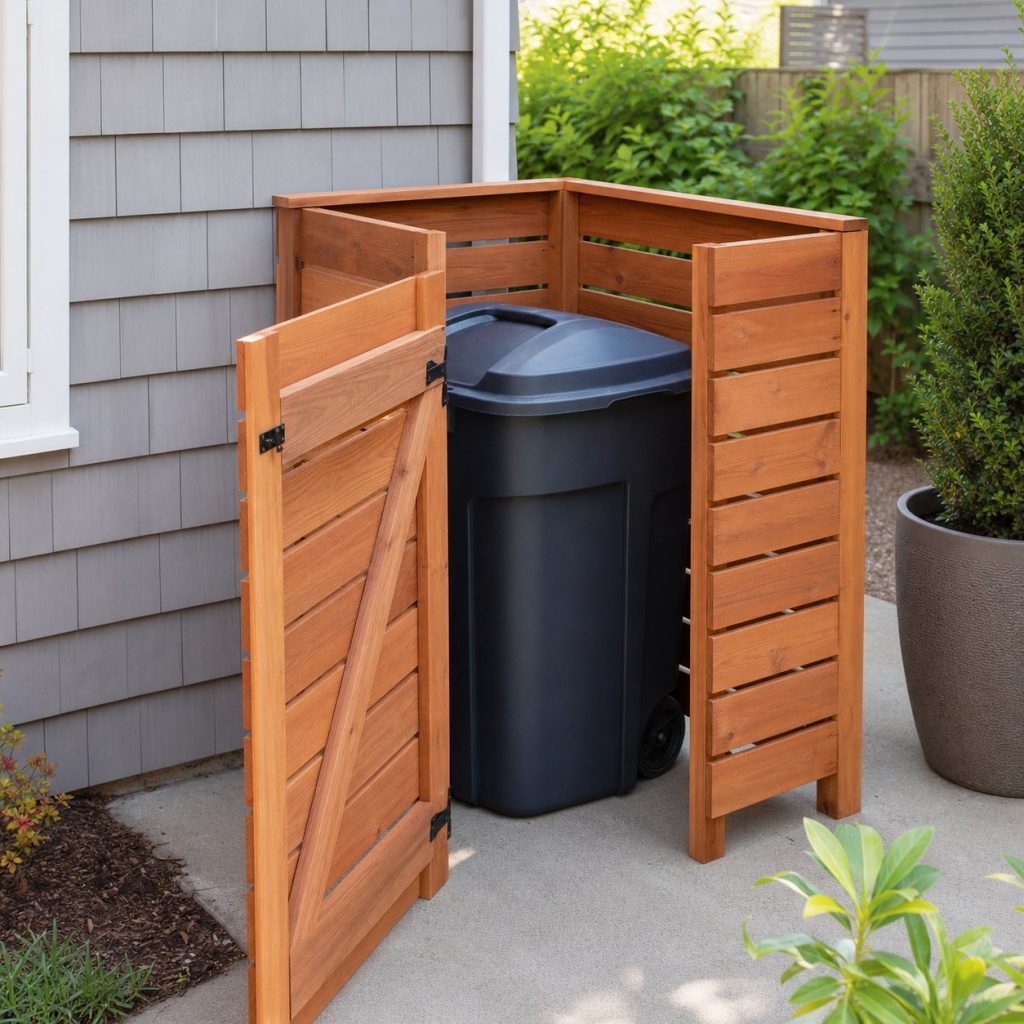
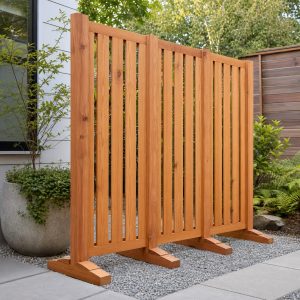
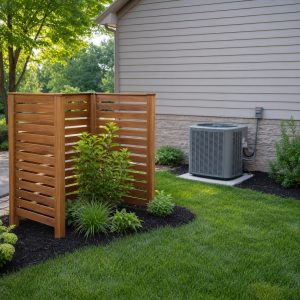
An open top avoids lift hardware and lets cart lids operate normally. Set screen height and spacing for concealment without blocking lid travel, provide a gate stop, and keep clearance from service panels, meters, and property access.
Covered Enclosure With Independent Roof
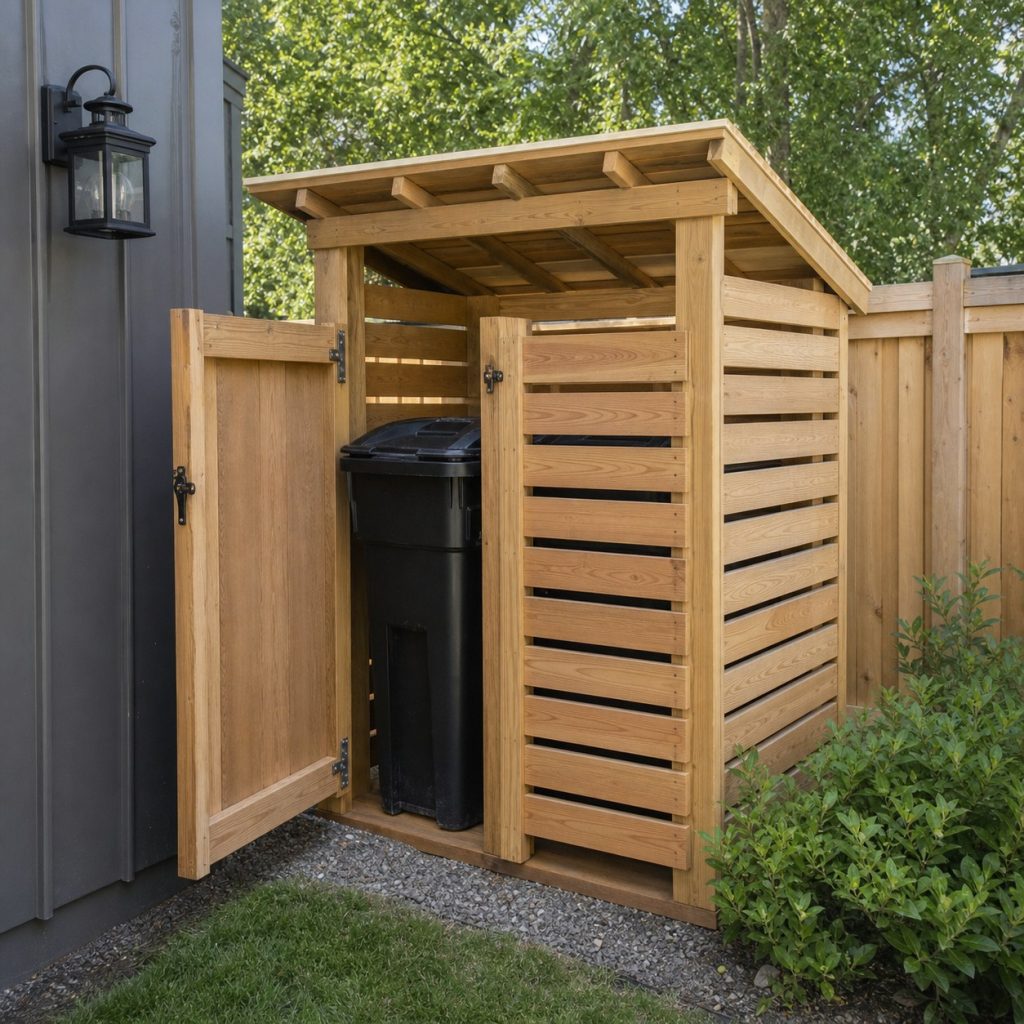
A fixed roof can keep direct rain off containers but requires headroom, drainage, structural framing, and wind design. Do not let the roof interfere with cart lids or collection, and avoid low edges that create head-strike hazards.
Wildlife-Resistant Latch Layout
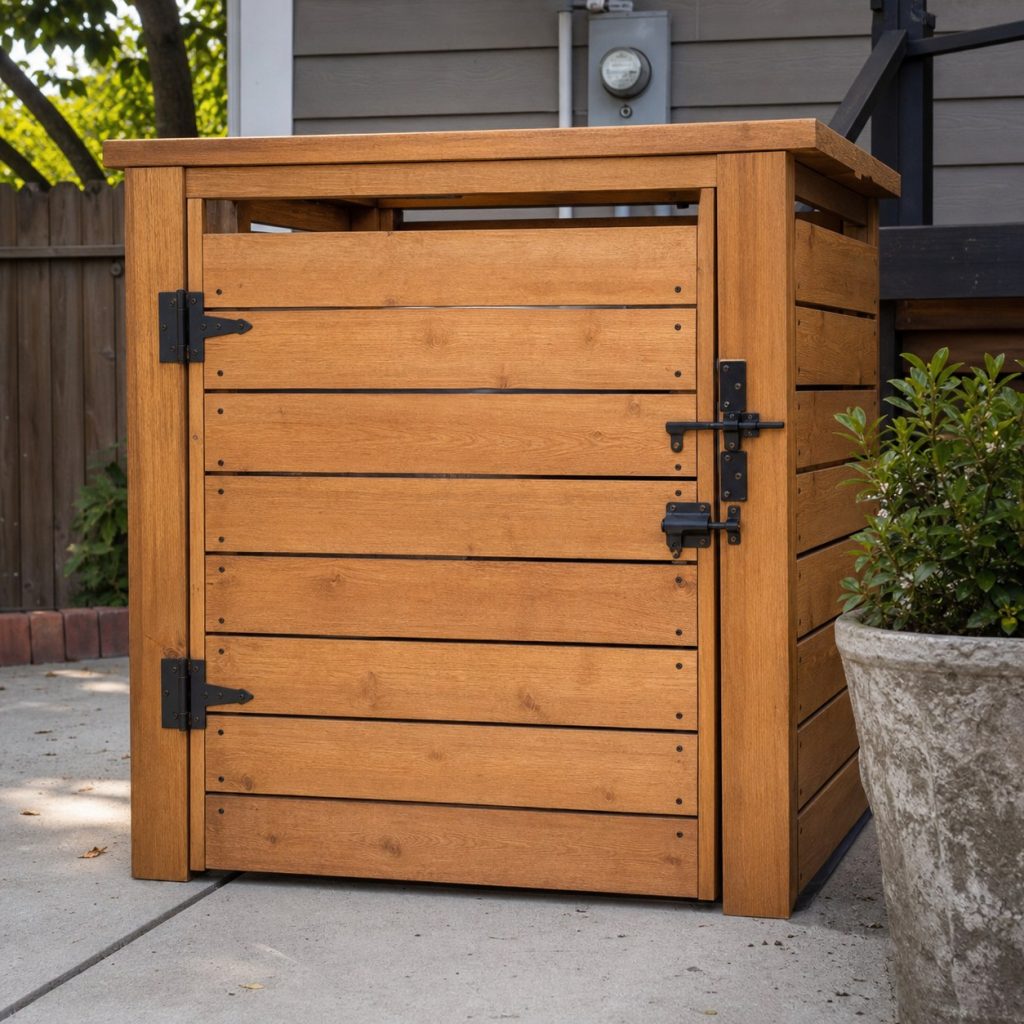
Local animals differ in strength and dexterity, so follow wildlife-agency guidance for approved containers and latches. The enclosure can supplement, but not replace, compliant cans. Keep latch operation accessible to intended users and collection staff.
Build Square Gate Frames
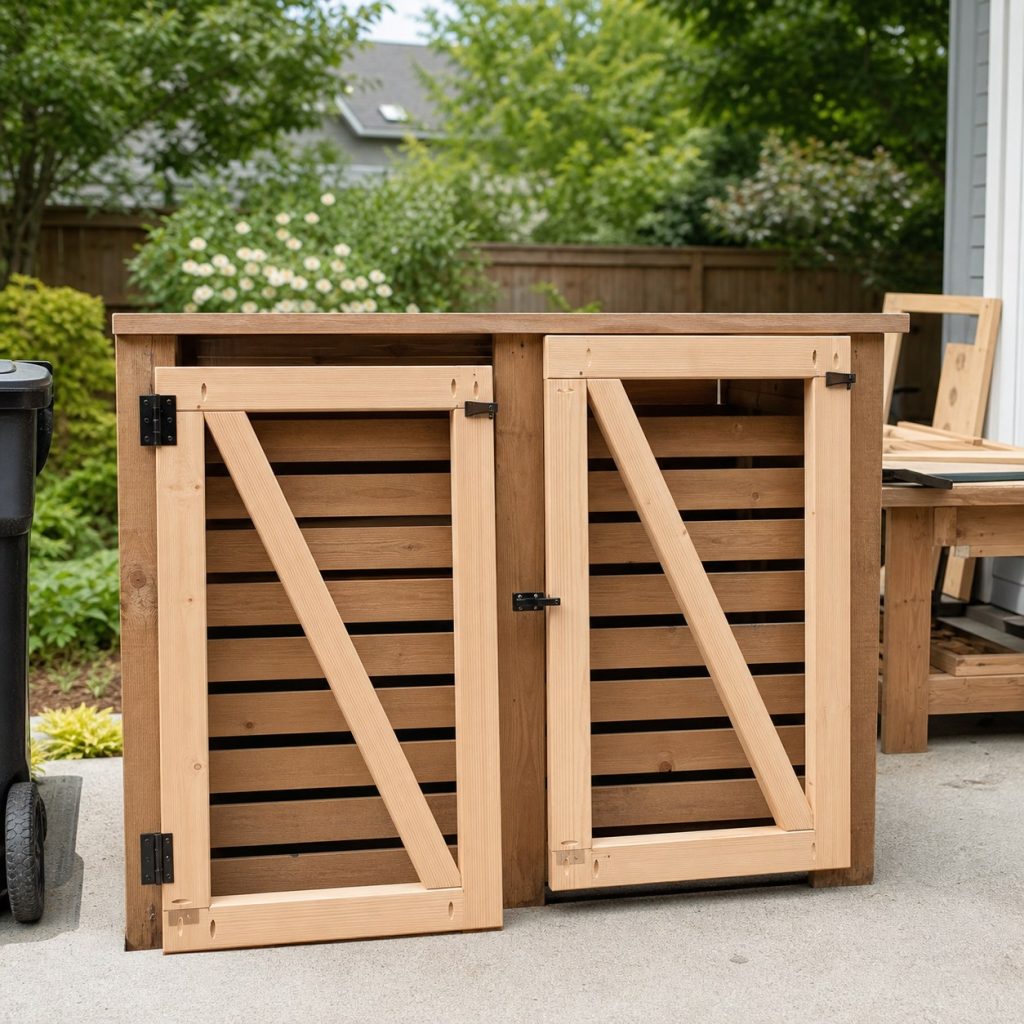
Assemble each gate on a flat surface, compare diagonals, and orient bracing to resist sag. Reinforce hinge and latch rails, use exterior-compatible hardware, and dry-fit the full swing so gates cannot strike people, vehicles, or siding.
Anchor Posts and Preserve Drainage
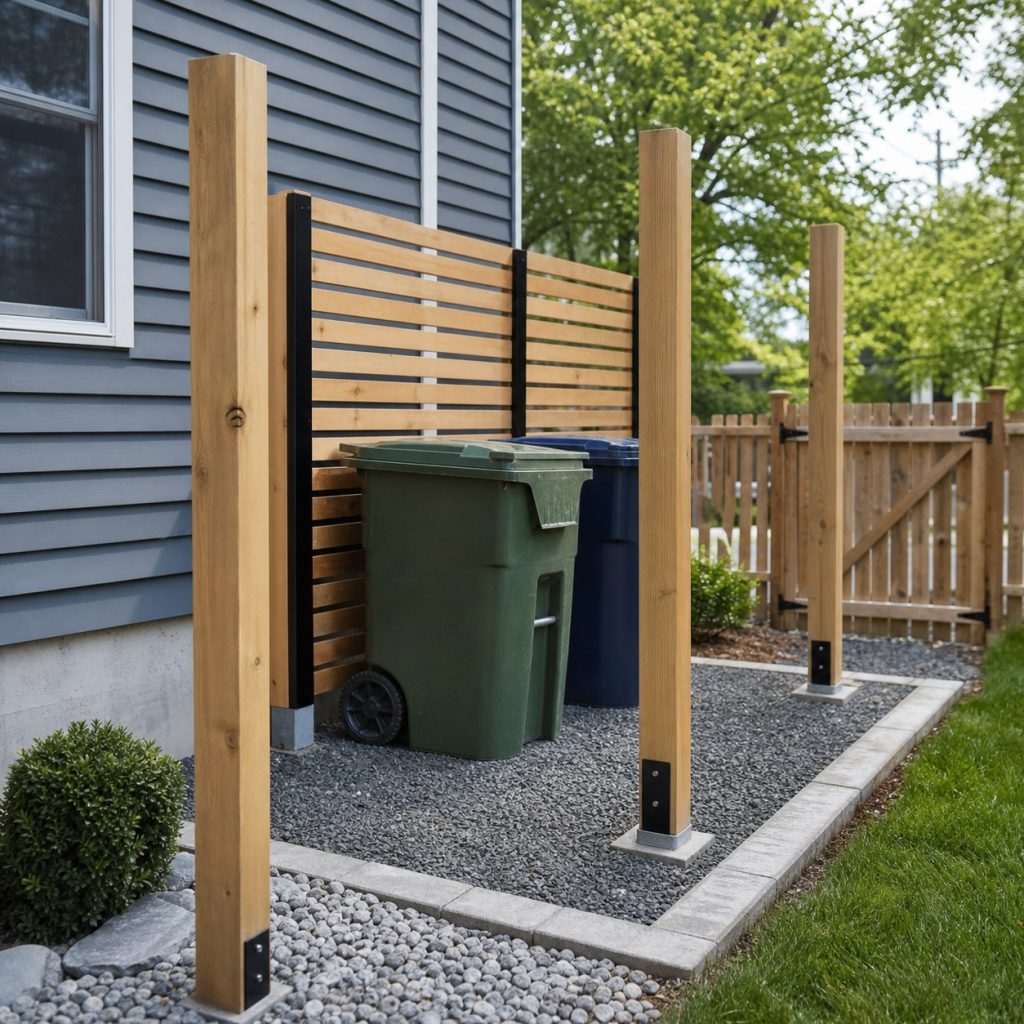
Containers roll best on a firm, level, washable surface. Locate utilities before posts or anchors, keep wood clear of standing water, and slope or drain the pad without sending contaminated wash water where local rules prohibit it.
Wash, Vent, and Inspect
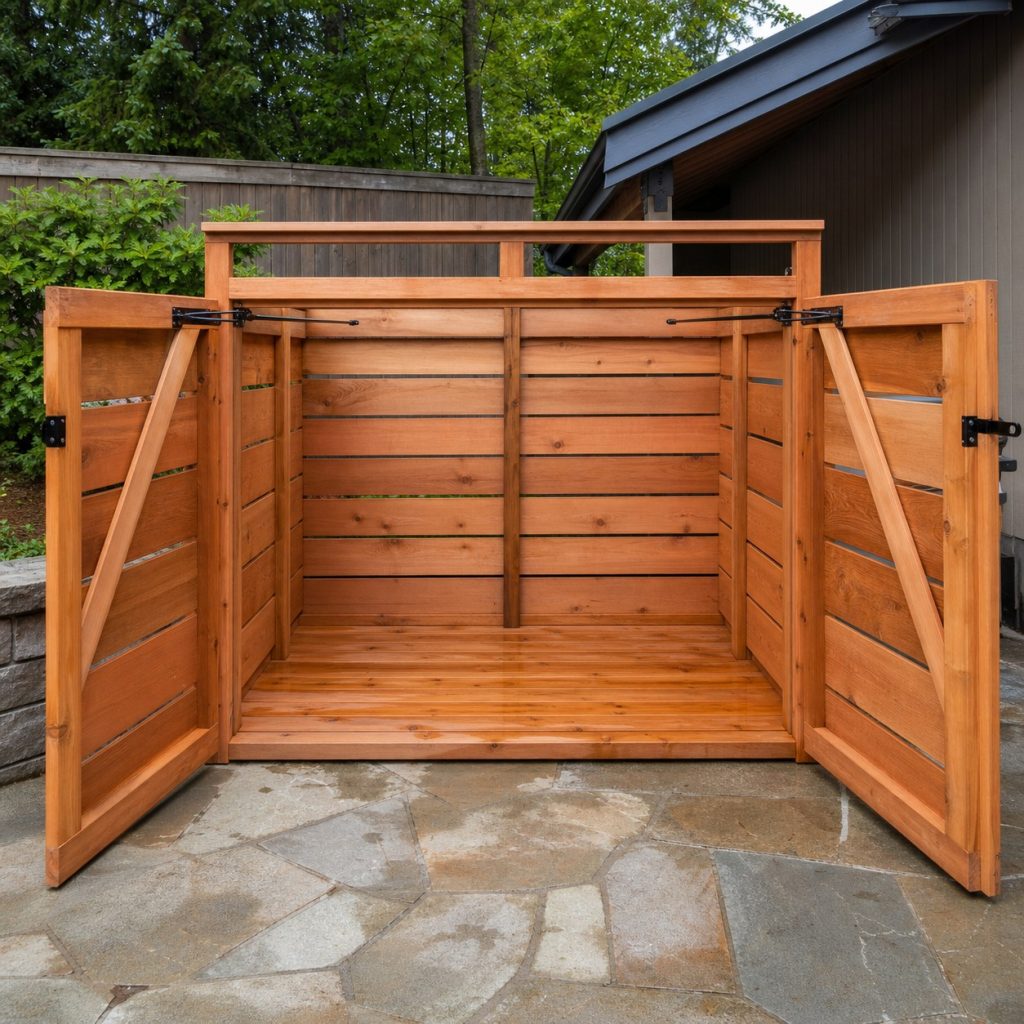
Remove containers for cleaning, secure gates against wind, and let the enclosure dry. Inspect odors, spills, pests, fasteners, sag, corrosion, anchors, splinters, and trapped debris. Repair movement before a gate becomes difficult or unsafe.
Planning checklist
- Measure carts, open lids, handles, and collection route.
- Check sanitation, wildlife, utility, and property rules.
- Use separate braced gates with positive latches and stops.
- Provide ventilation, drainage, anchoring, and wash access.
- Inspect pests, spills, sagging, and wind damage.
These concepts and generated images are general planning inspiration, not measured drawings, structural attachment details, pond or electrical designs, engineered plans, or tested load-rated designs. Verify dimensions, lumber grade and treatment, structural and dynamic loads, fasteners, coatings, accessibility, utility locations, water and wildlife guidance, property rules, permits, and local building requirements for the actual project. Use qualified professionals where structural, electrical, plumbing, drowning, fall, or entrapment hazards apply.
Frequently asked questions
How much clearance should carts have?
Measure the actual carts at their widest points with lids and handles moving, then add comfortable rolling and cleaning clearance.
Should the enclosure have a roof?
A roof is optional and adds structure, wind load, drainage, and headroom concerns. Open-top screening is simpler.
Will a wood enclosure keep bears out?
Do not assume so. Use local wildlife-agency guidance and approved bear-resistant containers or systems where required.