Project planning guide
Before you build
Use the reference image and planning notes as a starting point. Confirm dimensions, loads, materials, local codes, and site conditions before purchasing or cutting.
- Tiny House Plans
- 1 reference image
- Print-friendly guide
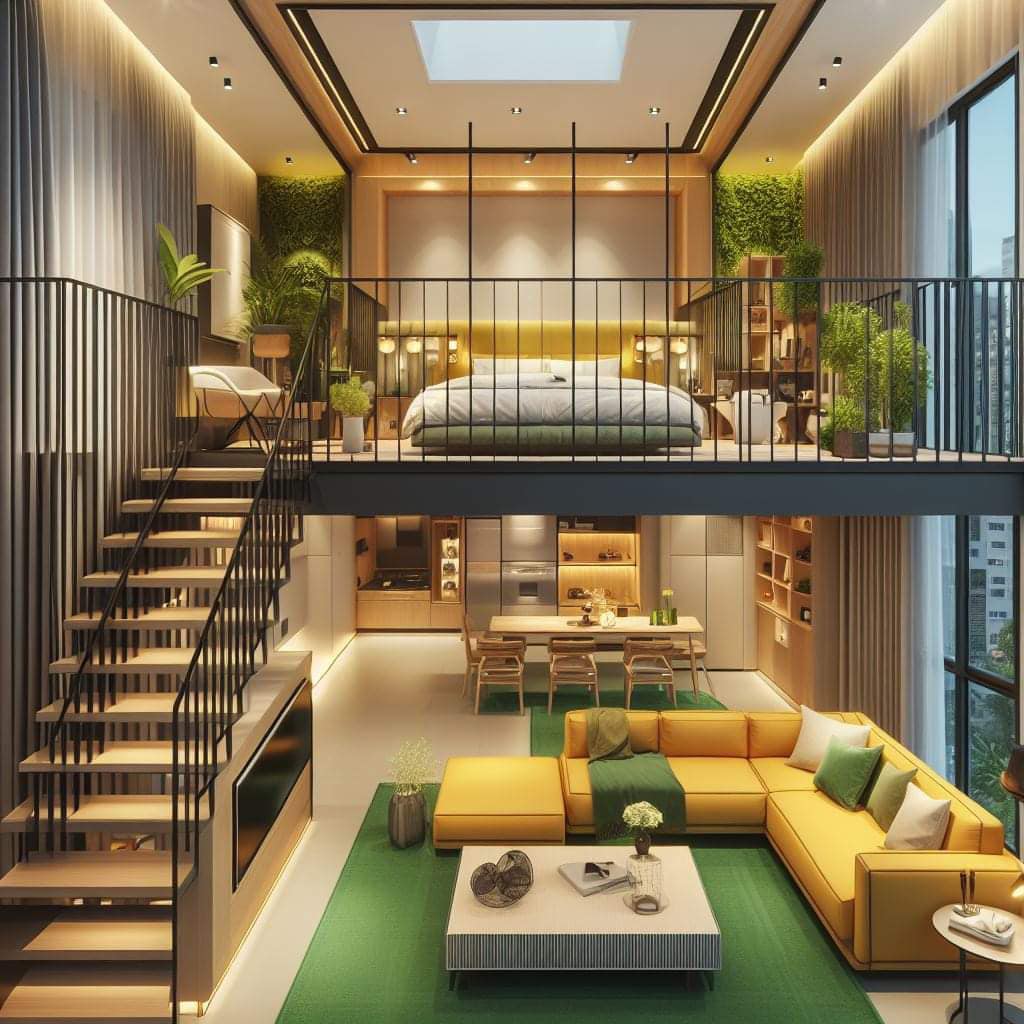
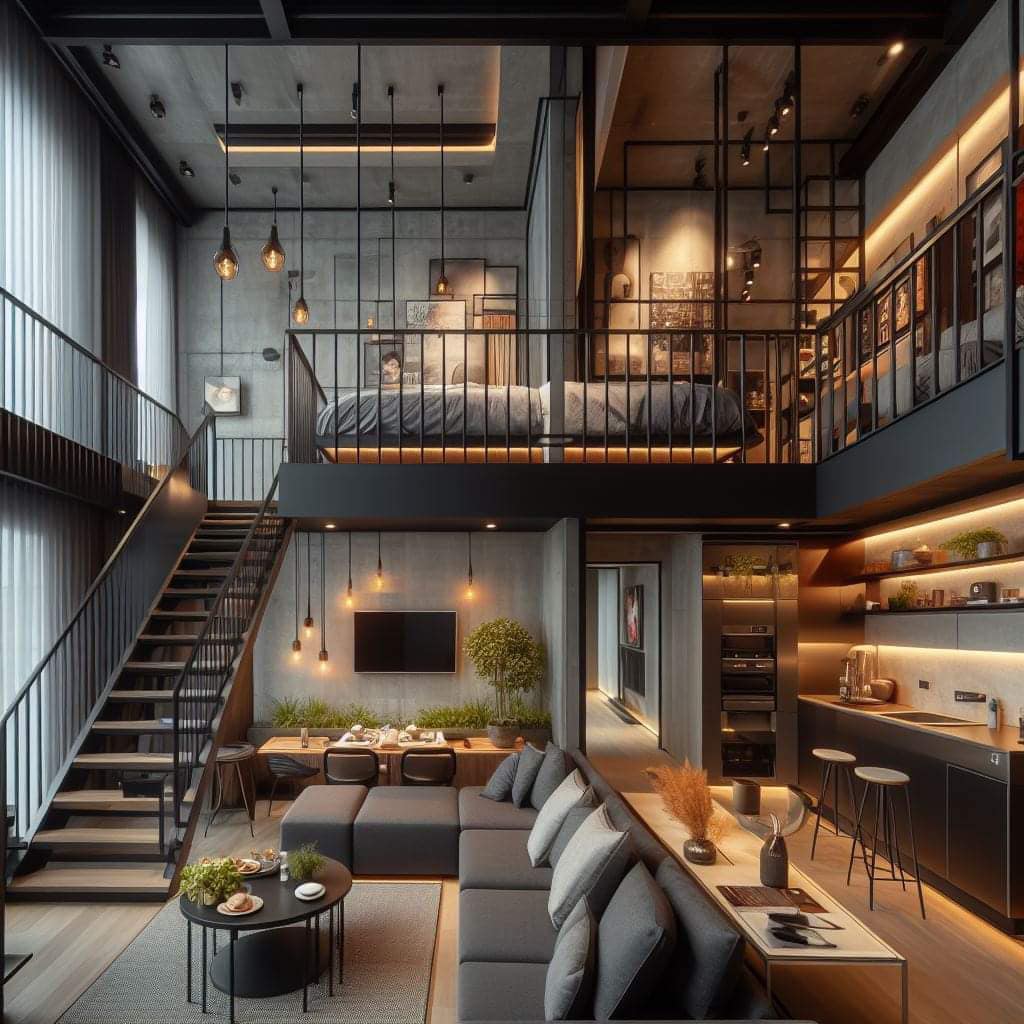
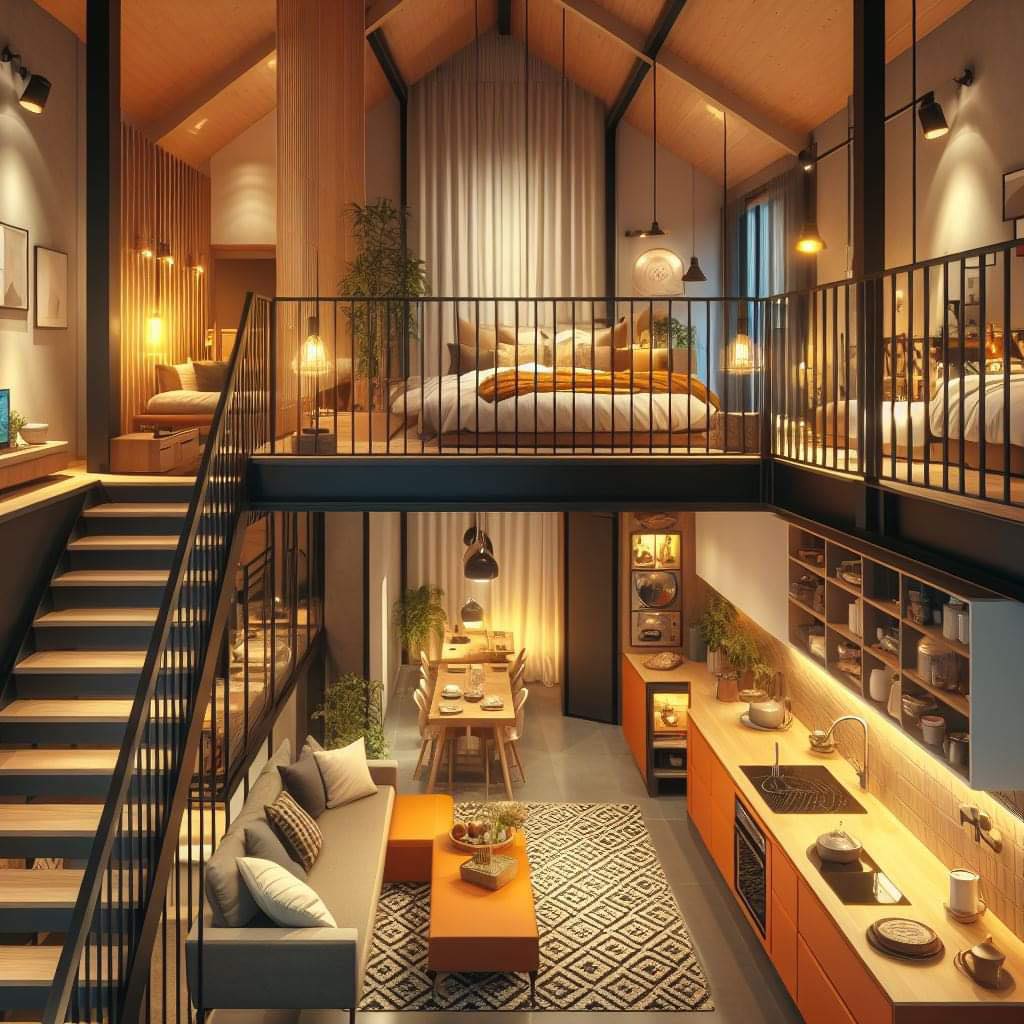
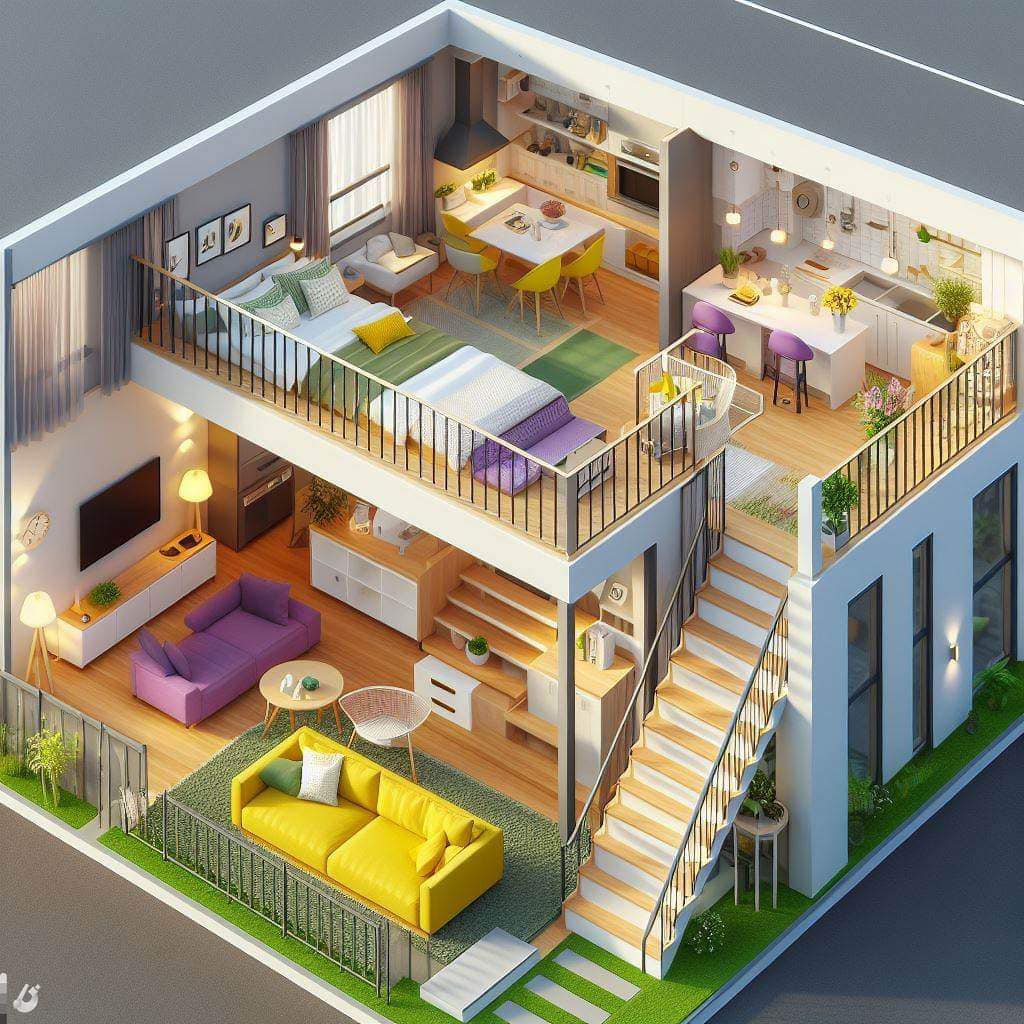
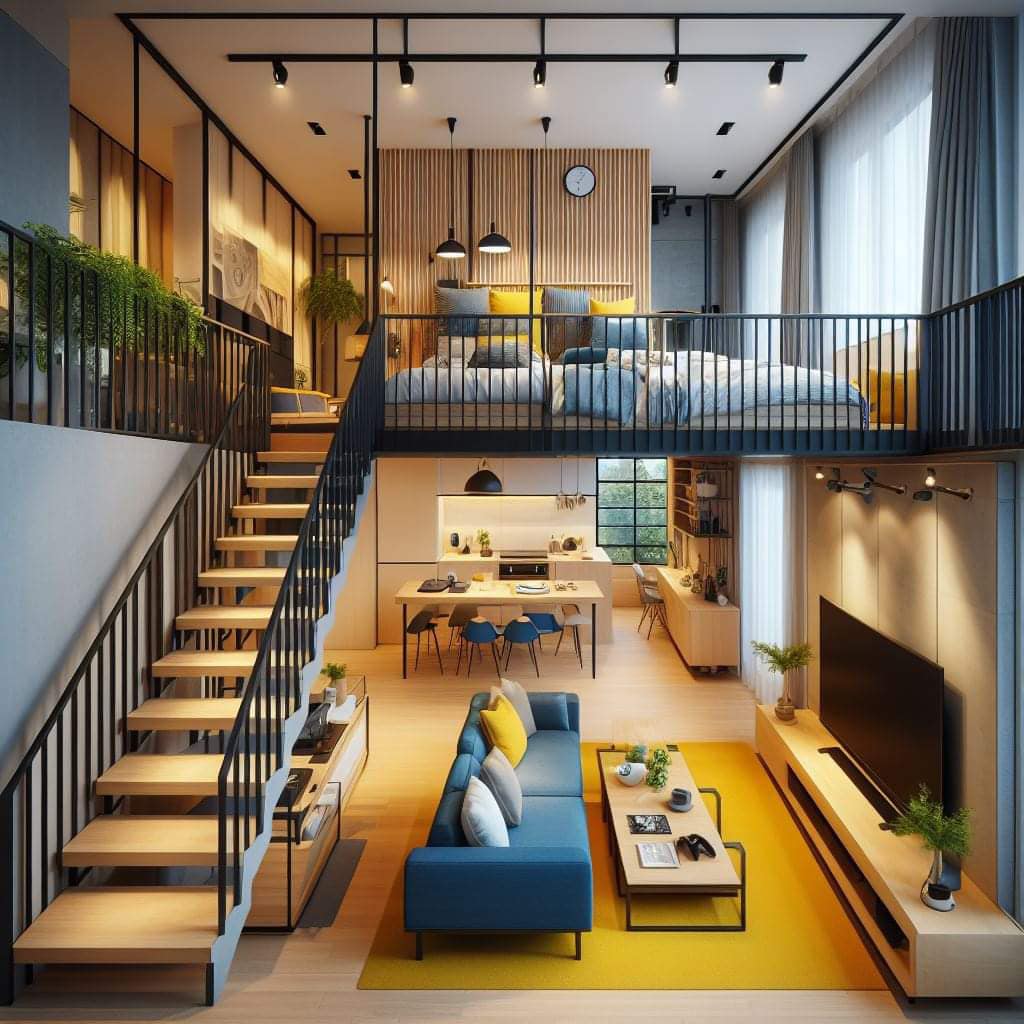
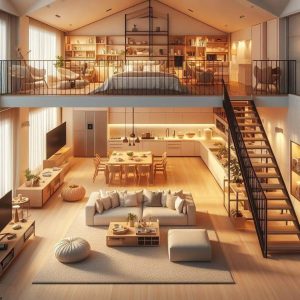
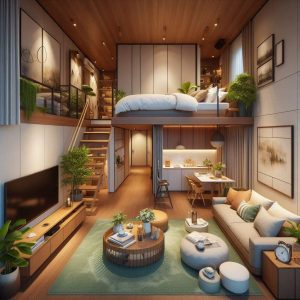
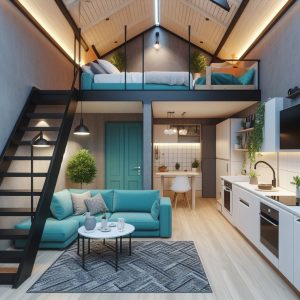
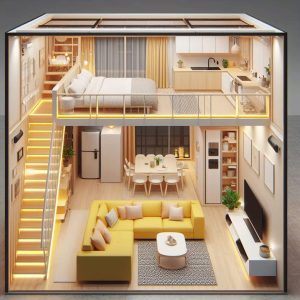
An open sleeping loft can make a tiny house feel connected and spacious, but the layout succeeds only when the loft edge, stair route, windows, furniture, and daily privacy needs are planned together. These images are useful for comparing spatial ideas; they are not measured construction drawings.
Begin with a building section, not a furniture plan
A floor plan cannot show whether a person can stand at the stair landing, sit comfortably beneath the loft, or reach the mattress without crawling across the entire platform. Draw a full-height section through the stair, loft beam, mattress, roof insulation, windows, and main seating area. Mark finished surfaces rather than framing dimensions so flooring, ceiling layers, and the mattress do not quietly consume planned clearance.
Decide where openness is genuinely useful
The best open edge usually faces the brightest and most social part of the house. A partial wall near the pillow can block direct sightlines while an open guard near the foot preserves daylight. Avoid placing the most open portion directly above the kitchen range, bathroom door, or television if smoke, odor, noise, or glare will make the sleeping area uncomfortable.
Protect circulation on both levels
Keep the ground-floor route from the entry to the kitchen and bathroom outside chair pullback zones and stair landings. Upstairs, reserve a clear path from the stair opening to the sleeping position. Storage doors, curtains, and movable screens should not swing across either route. Confirm locally required guards, openings, handrails, emergency escape, smoke alarms, and stair geometry before committing to the loft.
Plan comfort that continues overnight
Warm air rises, so a loft that feels pleasant during a daytime tour can become hot and stale while sleeping. Coordinate an operable window or mechanical air path, quiet air movement, blackout control, bedside switching, charging, and a safe low-level night light. Materials at the loft edge should be easy to clean because dust is more visible against borrowed light.
Compare the main approaches
| Approach | Useful when | Verify before choosing |
|---|---|---|
| Fully open guard | Maximum shared light and long sightlines | Guard strength, opening limits, climbability, and privacy |
| Partial-height solid wall | Screening the bed while keeping upper volume open | Ventilation path, usable headroom, and wall attachment |
| Curtain behind a compliant guard | Flexible visual privacy at low cost | Keep fabric away from heaters, lights, and the stair opening |
Test the idea at full scale
Tape the stair footprint, sofa, table, and loft projection on the floor. Hang a sheet at the proposed loft edge and view it from the entry, seating position, and kitchen. This simple mockup reveals whether the room still feels connected and whether the loft needs targeted screening rather than a full wall.
Planning checklist
- Draw a dimensioned section through the stair and mattress.
- Keep ground-floor circulation outside furniture and door swings.
- Provide a compliant guard before adding curtains or screens.
- Plan ventilation, alarms, outlets, and switching for both levels.
- Test nighttime light, sound, heat, and privacy rather than appearance alone.
Frequently asked questions
Does an open loft always make a tiny house feel larger?
It often extends sightlines, but a bulky stair, dark ceiling, or low beam can have the opposite effect. Proportion and daylight matter more than openness by itself.
Can shelving replace the loft guard?
Only if a qualified design demonstrates that the assembly meets every applicable guard requirement and remains safe when shelves are empty, loaded, or climbed.
Where should the bed face?
Favor a position that gives the sleeper a clear route to the stair, controllable daylight, and distance from cooking heat and direct mechanical airflow.
This article provides planning context and conceptual imagery, not measured drawings, engineering, code approval, or a project-specific construction plan. Verify dimensions, structure, products, utilities, permits, and local requirements with qualified professionals before building.