Project planning guide
Before you build
Use the reference image and planning notes as a starting point. Confirm dimensions, loads, materials, local codes, and site conditions before purchasing or cutting.
- Garden Projects
- 1 reference image
- Print-friendly guide
Quick answer: A three-bin composter lets one bay receive fresh material, a second hold active compost, and a third finish or store mature compost. Build three approximately equal ventilated bays on a level, well-drained site, with rot-resistant framing, galvanized mesh, and removable front slats for turning and unloading.
Decide whether three bins fit your garden
This system works best for households that generate regular leaves, plant trimmings, and kitchen scraps and are willing to turn material. A compact yard with little organic waste may be better served by one covered bin. Measure the cart or wheelbarrow route and confirm the finished unit will not obstruct a property line, utility, or required access.
Select a safe, useful location
Choose level ground with drainage, partial convenience to the kitchen, and room to work across the entire front. Avoid pressing the unit against wood siding or a combustible fence, and follow local rules for setbacks, rodents, odors, and food-waste composting. Keep runoff from the pile out of wells, storm drains, and neighboring property.
Plan three equal working bays
Bays near 3 feet in each direction are a common project starting point because a meaningful pile volume can retain moisture and heat while remaining reachable. Adapt the width to available materials and the amount of waste. The removable front needs grooves or channels strong enough to retain the pile while allowing boards to lift out one at a time.
| Bay | Primary job |
|---|---|
| 1 | Collect balanced fresh greens and browns |
| 2 | Active pile after turning and mixing |
| 3 | Curing or finished compost |
Build the frame and ventilation surfaces
- Prepare a level, compacted base that still allows soil contact where appropriate.
- Build four end/divider panels from exterior-rated lumber, checking each for square.
- Cover panel openings with galvanized wire mesh, folding and fastening sharp edges safely.
- Stand the panels at equal spacing and connect them with continuous rear rails.
- Add front posts and paired guides for removable slats.
- Install slats with enough clearance to move after seasonal swelling.
- Add a roof only if local rainfall or animals require it; preserve airflow.
Compost with a repeatable workflow
Mix carbon-rich browns such as dry leaves and shredded uncoated cardboard with nitrogen-rich greens such as fresh plant material and appropriate kitchen scraps. Aim for the moisture feel of a wrung-out sponge, not a dripping pile. Turn material into the next bay to mix oxygen throughout. Finished compost should be dark, crumbly, earthy-smelling, and no longer identifiable as the original ingredients.
Do not add meat, dairy, fats, pet waste, diseased plants, invasive seed heads, or treated wood ash unless trusted local guidance explicitly allows the material and method. Municipal compost rules vary across the United States.
Use finished compost in the cluster
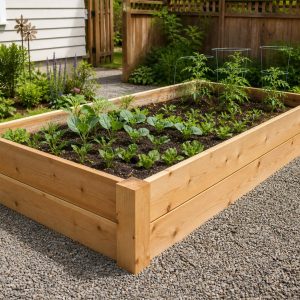
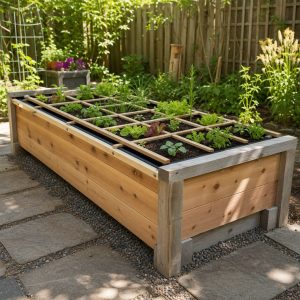
Top-dress the DIY raised garden bed with mature compost rather than burying active material around roots. Keep tools used for turning on the nearby garden tool rack.
Common questions
Does a compost bin need a bottom?
Many backyard systems sit over well-drained soil for contact with decomposer organisms. Hardware cloth can deter burrowing pests, but the local rodent risk and municipal requirements should guide the detail.
Why does compost smell bad?
Strong odor often indicates excessive moisture, too many nitrogen-rich materials, or too little oxygen. Add dry browns, break up compacted layers, and turn the pile.