Project planning guide
Before you build
Use the reference image and planning notes as a starting point. Confirm dimensions, loads, materials, local codes, and site conditions before purchasing or cutting.
- Garden Projects
- 1 reference image
- Print-friendly guide
Quick answer: A self-watering planter stores water below the root zone and uses a soil-filled wick or column to draw moisture upward. The essential parts are a watertight food-growing-appropriate reservoir, supported separator, aeration space, fill tube, side overflow at the maximum water level, and lightweight container mix.
Understand what “self-watering” means
The planter does not decide when crops need water and it is not maintenance-free. Capillary action moves water from the reservoir into the mix. The gardener still checks the fill level, flushes salts, top-waters new transplants until roots establish, and adjusts for rain and crop demand.
Choose safe container materials
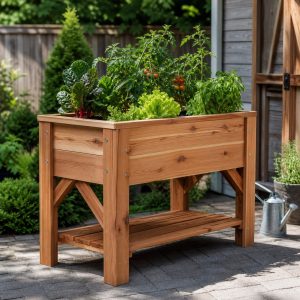
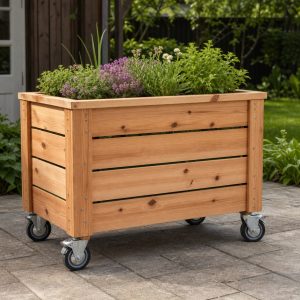
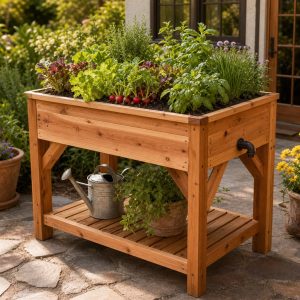
Use a new or known container suitable for the intended plants. Avoid barrels, liners, or tubs that previously held chemicals. If building a cedar outer box, treat it as a decorative and structural shell around a removable reservoir insert rather than expecting ordinary boards to remain watertight.
Lay out the reservoir components
| Part | Job |
|---|---|
| Reservoir | Stores irrigation water below soil |
| Separator | Supports mix above air and water space |
| Wicking column | Connects moist mix to reservoir |
| Fill tube | Adds water without eroding soil |
| Overflow | Prevents complete waterlogging |
Assemble and leak-test
- Build the level outer frame or prepare the container.
- Install the reservoir and supported perforated separator.
- Fit the fill tube to near the reservoir bottom.
- Drill or install the overflow at the planned maximum level.
- Pack damp mix firmly into the wicking column.
- Fill the remaining planter with premoistened container mix.
- Test fill and overflow before adding plants.
Keep the overflow visible and routed away from foundations, neighbors, and slippery walkways. Screen openings where mosquitoes could reach stored water.
Plant and operate the system
Select compact crops with compatible moisture and root-depth needs. Top-water at planting to settle mix and establish roots. Afterward, fill the reservoir until water reaches the overflow, then allow the level to decline before refilling. Periodically top-water heavily enough for water to leave the overflow and help manage soluble salts, following crop and local extension guidance.
Prepare for cold weather
Water expansion can split reservoirs and fittings. Drain and clean the planter before freezing where required. Removable inserts simplify maintenance and let the wood shell dry.
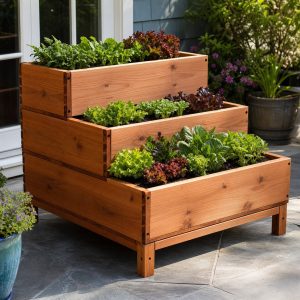
Compare this reservoir design with the open-draining vertical garden planter. The rain barrel is a separate storage system and may not provide pressure to distant irrigation.
Establish a visible fill-and-overflow routine
The reservoir needs a defined maximum water level and an overflow route below the root zone. Without overflow, prolonged rain or enthusiastic filling can saturate the potting mix and deprive roots of air. Place the fill point where it can be reached without moving foliage, and include a simple way to observe water level rather than guessing every time.
- Use materials intended for prolonged contact with water and the chosen plants.
- Keep soil from washing directly into the reservoir.
- Provide an air gap or backflow protection where required when filling from a hose.
- Flush and inspect the reservoir between growing seasons.
During the first weeks, compare surface moisture, root-zone moisture, plant response, and reservoir use. Adjust the mix or wicking area if the top stays excessively wet or plants cannot access water. A self-watering planter reduces routine watering but does not remove the need to observe drainage and plant health.
Common questions
Do self-watering planters need drainage holes?
They need a side overflow that limits reservoir depth and protects the root-zone air space. Random bottom holes would defeat the reservoir.
Can I use garden soil?
Dense garden soil may compact and wick poorly in a container. Use a lightweight mix intended for sub-irrigated planters and the selected crops.