Project planning guide
Before you build
Use the reference image and planning notes as a starting point. Confirm dimensions, loads, materials, local codes, and site conditions before purchasing or cutting.
- Kitchen Design
- 8 reference images
- Print-friendly guide
Good kitchen lighting ideas use layers: ambient light for orientation, task light on work surfaces, and accent light for depth. A decorative pendant cannot compensate for a dark counter, and rows of recessed lights do not automatically create even illumination. Start with the tasks and surfaces, then select fixtures.
Layer ambient, task, and decorative light
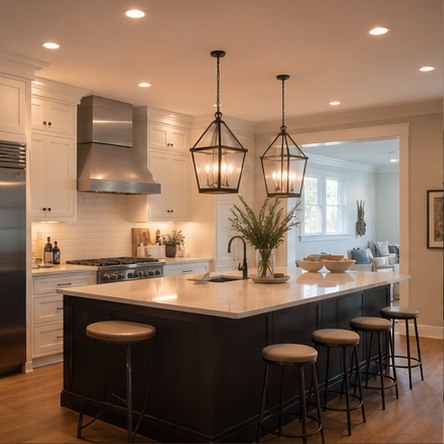
A layered plan lets the kitchen change from food preparation to dining and evening conversation. Recessed or surface fixtures provide ambient coverage, under-cabinet strips light the worktop, and pendants establish the island. Put layers on separate controls so a single bright circuit is not the only choice.
Use flush mounts on a low ceiling
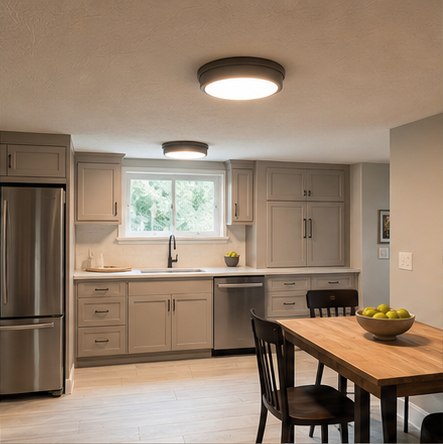
Flush and semi-flush fixtures can spread light without hanging into the room. Choose a shallow, glare-controlled design and position fixtures to illuminate cabinet faces and counters, not only the floor. Low ceilings often benefit from a light-colored surface and fewer well-placed fixtures instead of a dense grid of tiny points.
Size island pendants to the island
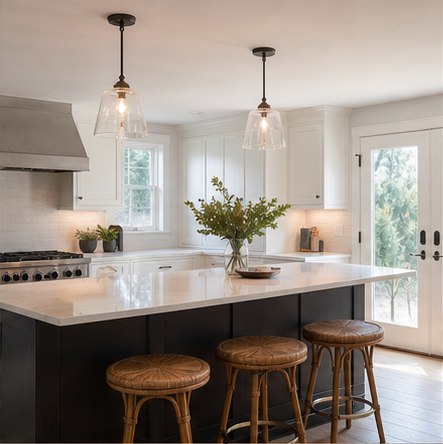
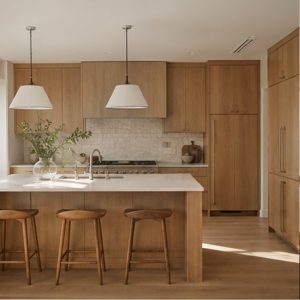
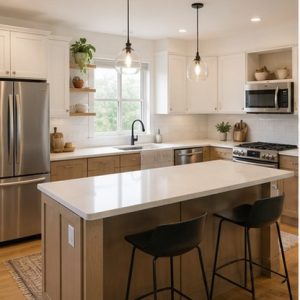
Pendant quantity should follow the fixture scale and usable island length. Center the group over the working surface, keep views across the room open, and verify the hanging height with the tallest household member. Decorative bulbs need enough shielding or diffusion to avoid glare at seated eye level.
Put continuous light beneath cabinets
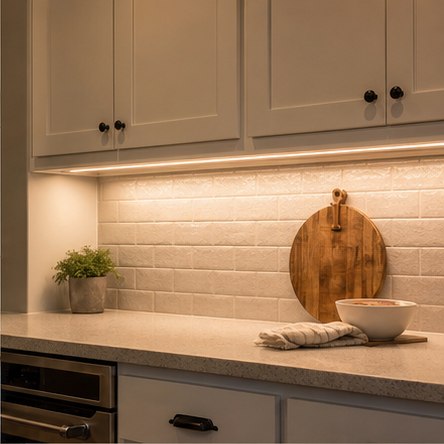
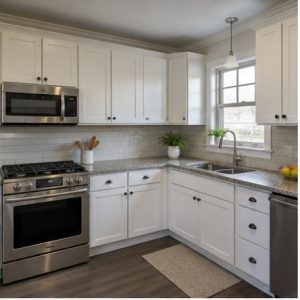
A continuous LED channel near the front of the upper cabinet throws light onto the work surface more evenly than isolated pucks at the back. Use a diffuser to reduce visible dots in reflective counters, coordinate the driver location for service, and test dimming compatibility before the cabinets and backsplash are complete.
Light glass-front and interior cabinets
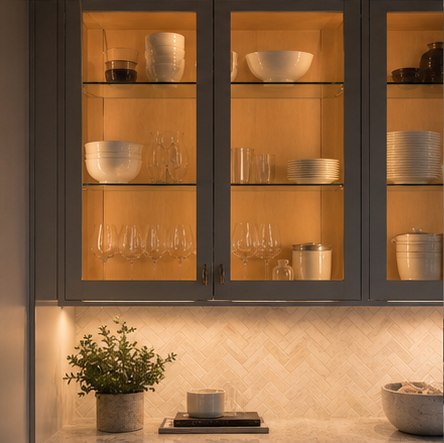
Interior cabinet lighting makes glass storage glow and helps users find items in deep or dark cabinetry. Conceal channels along the front edge, route wiring before installation, and use door switches when practical. Keep displayed pieces edited; lighting every shelf also highlights clutter, dust, and uneven glassware.
Add a focused sink light
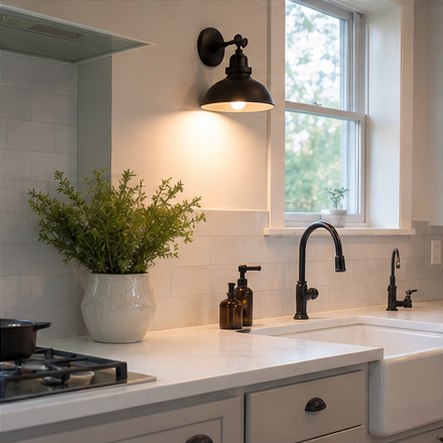
A sink at a window can still be dim after sunset. A compact sconce or ceiling fixture adds useful task light and creates an evening focal point. Check the swing of the window, faucet height, shade depth, moisture conditions, and sightline from adjoining rooms before setting the electrical box.
Let one statement fixture lead
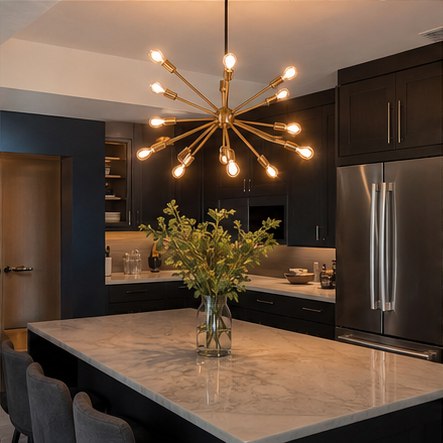
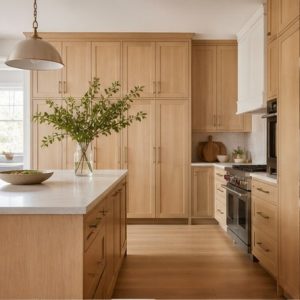
A statement fixture works when the surrounding lighting remains quiet. Confirm its diameter, drop, bulb visibility, cleaning access, and relationship to the range hood and cabinet hardware. Keep reliable task lighting on another layer so the sculptural fixture can be dimmed for atmosphere without making the island unusable.
Use daylight as the first layer
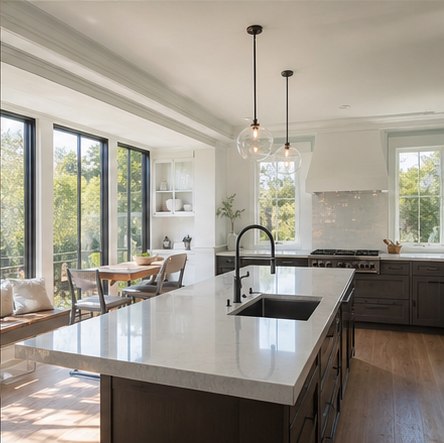
Daylight improves color rendering and comfort, but it changes through the day and cannot replace electric task lighting. Avoid blocking windows with oversized fixtures or tall cabinets, use finishes that control rather than amplify glare, and plan shades where heat or direct sun affects dining and prep areas.
Planning checklist
- Map every prep, cooking, cleanup, pantry, and dining task.
- Place light between the user and the work surface.
- Specify separate dimmable circuits for useful layers.
- Coordinate color temperature and color rendering across fixtures.
- Confirm driver access, dimmer compatibility, fixture clearances, and local electrical rules.
Planning dimensions and product guidance are general. Verify the selected appliance and material instructions, site conditions, accessibility needs, and applicable local codes with qualified professionals.
Frequently asked questions
What lighting is best for a kitchen?
A layered combination of ambient, counter task, and decorative lighting is more effective than one fixture type. Natural light and individual controls improve flexibility.
How many pendants should go over an island?
Use the island’s usable length and the fixture’s actual diameter and light spread. Two large pendants may work better than three small ones, or the reverse.
What kitchen lighting works with low ceilings?
Low-profile surface fixtures, carefully placed recessed lights where appropriate, and continuous under-cabinet lighting provide coverage without visual clutter or low-hanging shades.