Project planning guide
Before you build
Use the reference image and planning notes as a starting point. Confirm dimensions, loads, materials, local codes, and site conditions before purchasing or cutting.
- Type of Wood Joints
- 10 reference images
- Print-friendly guide
Mortise-and-tenon joinery connects a projecting tenon to a matching cavity. The tenon, mortise, shoulders, pegs, wedges, and haunches can be changed for different loads and construction sequences.
Quick answer: This guide shows ten separate, labeled examples related to mortise and tenon joint types. Study the mating faces, shoulders, grooves, fasteners, and direction of assembly before choosing a joint for a real project.
10 examples in this guide
- Blind Mortise-and-Tenon
- Through Mortise-and-Tenon
- Wedged Through Tenon
- Pegged Mortise-and-Tenon
- Barefaced Mortise-and-Tenon
- Stub Tenon
- Double Mortise-and-Tenon
- Loose Mortise-and-Tenon
- Tusk Tenon
- Mitered Mortise-and-Tenon
1. Blind Mortise-and-Tenon
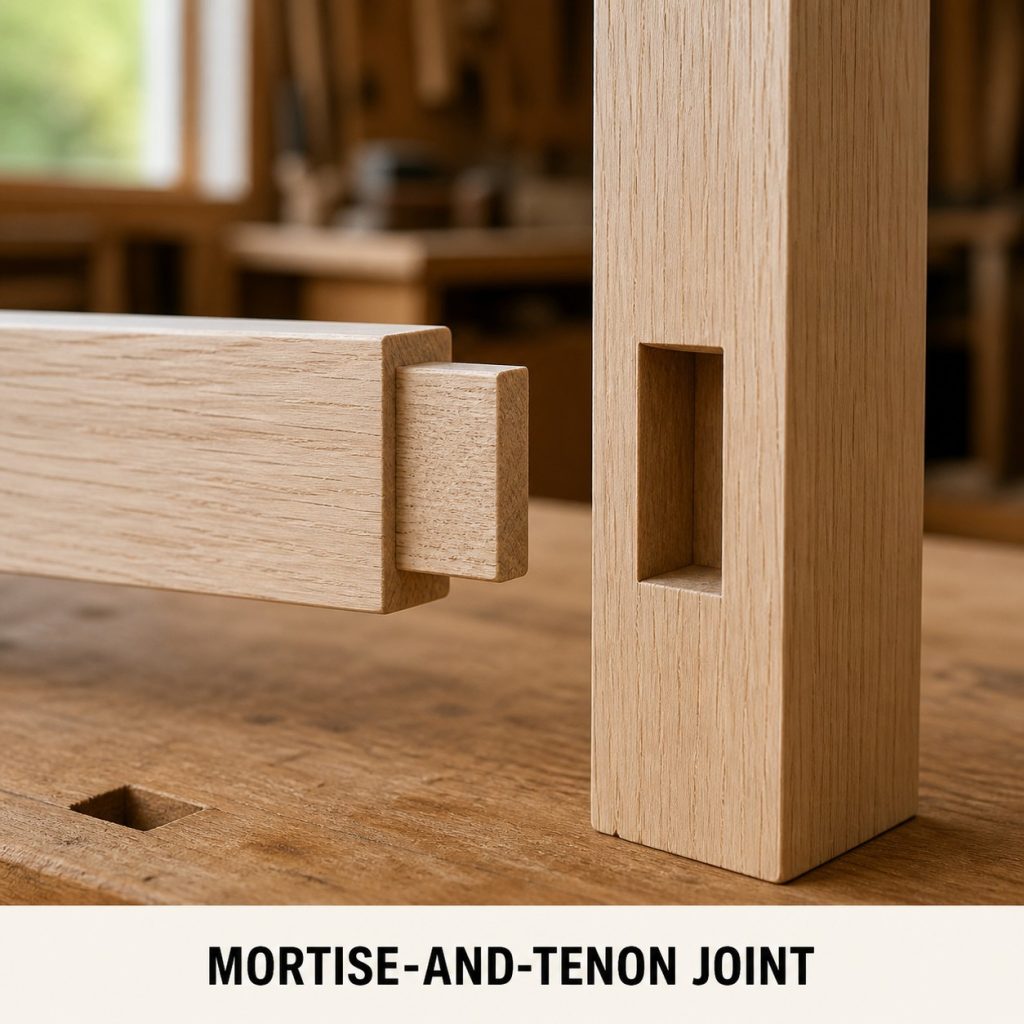
What to notice: A blind mortise conceals the tenon end on the far face.
Typical uses: tables, chairs, doors.
Dry-fit check: Confirm that mating parts are complementary, shoulders close evenly, and the parts assemble in the intended direction without forcing.
2. Through Mortise-and-Tenon
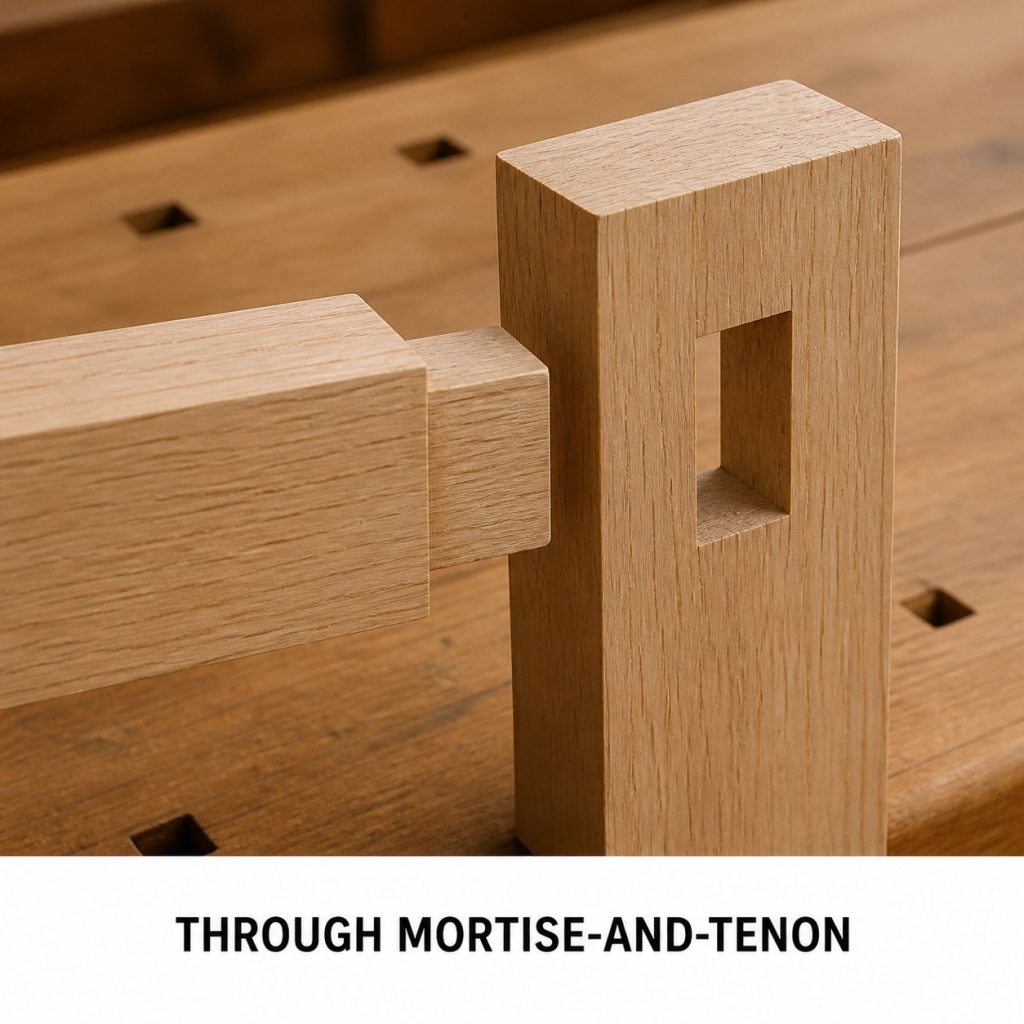
What to notice: A through tenon exposes its end and permits direct inspection of fit.
Typical uses: benches, frames, timber work.
Dry-fit check: Confirm that mating parts are complementary, shoulders close evenly, and the parts assemble in the intended direction without forcing.
3. Wedged Through Tenon
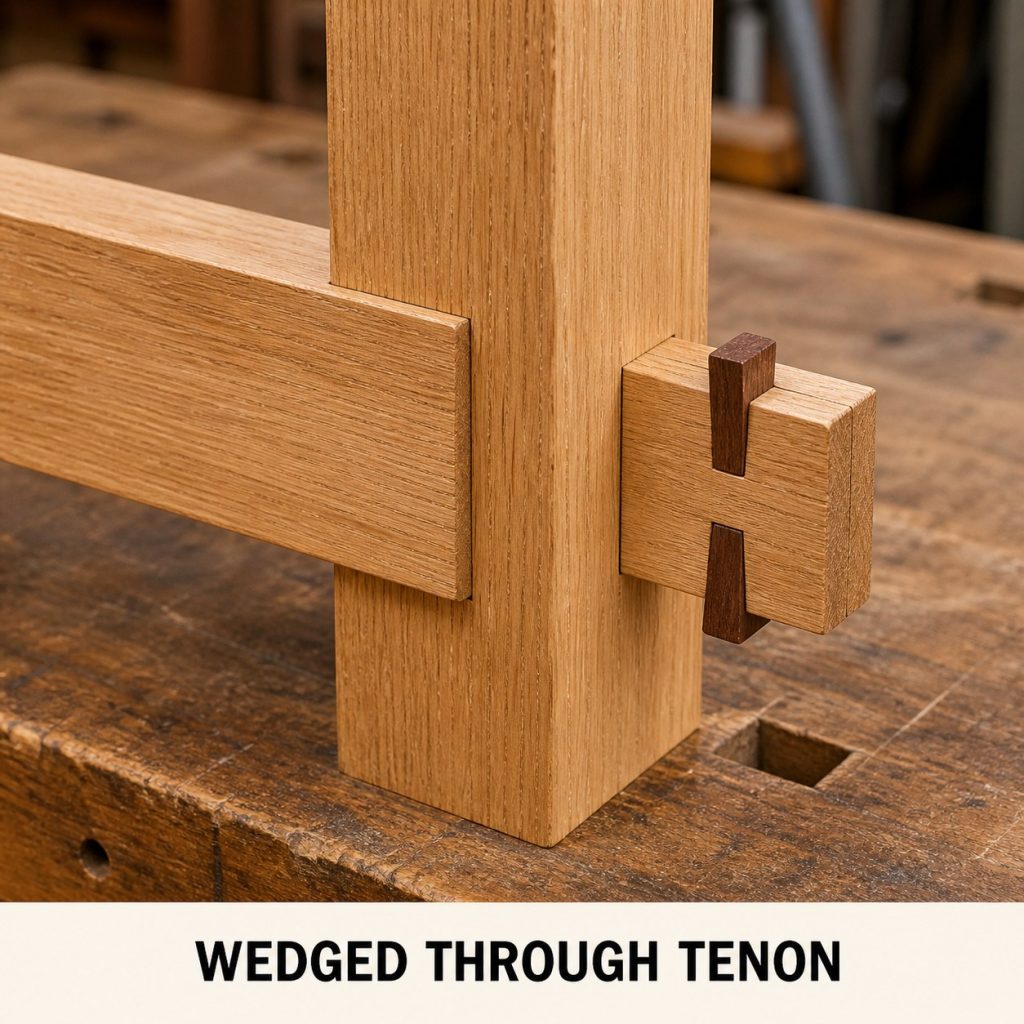
What to notice: Wedges spread the projecting tenon and lock it mechanically.
Typical uses: benches, doors, traditional furniture.
Dry-fit check: Confirm that mating parts are complementary, shoulders close evenly, and the parts assemble in the intended direction without forcing.
4. Pegged Mortise-and-Tenon
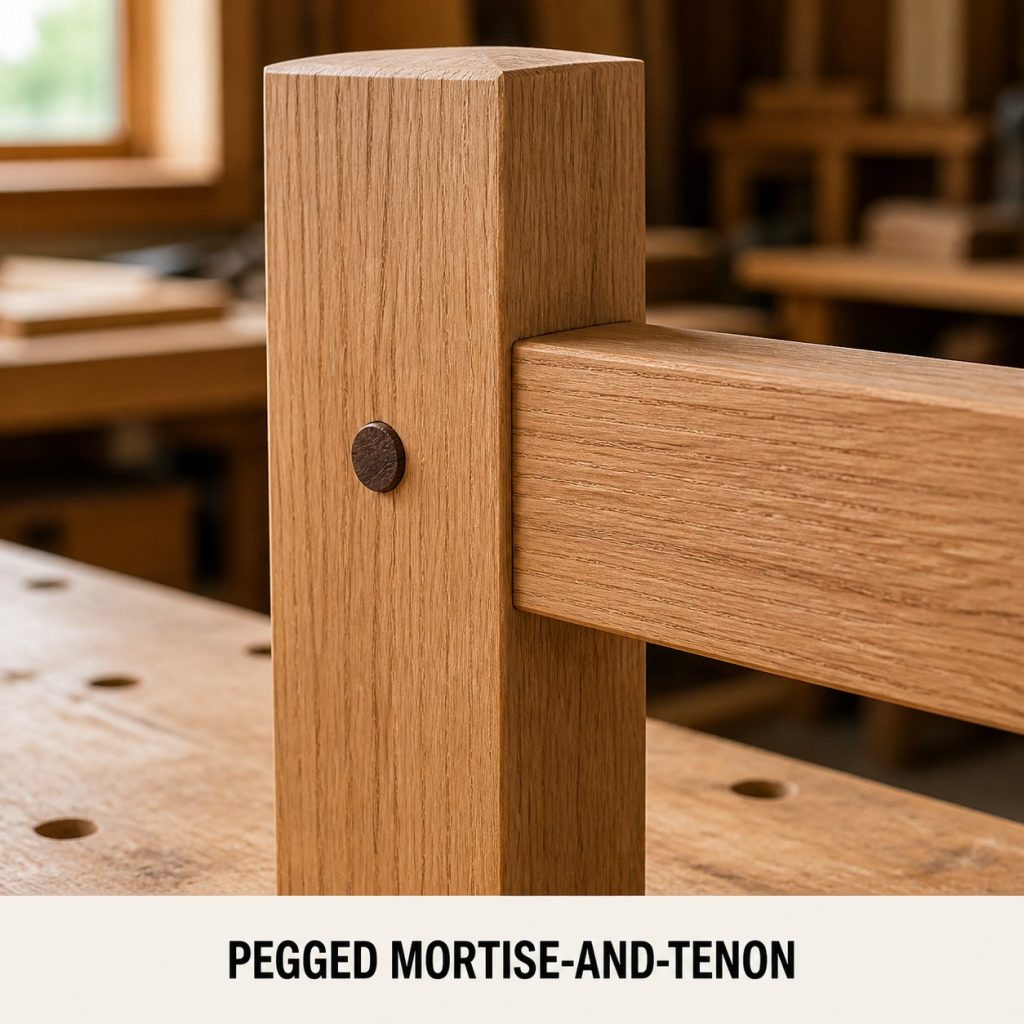
What to notice: A transverse peg prevents the tenon from withdrawing.
Typical uses: gates, tables, timber frames.
Dry-fit check: Confirm that mating parts are complementary, shoulders close evenly, and the parts assemble in the intended direction without forcing.
5. Barefaced Mortise-and-Tenon
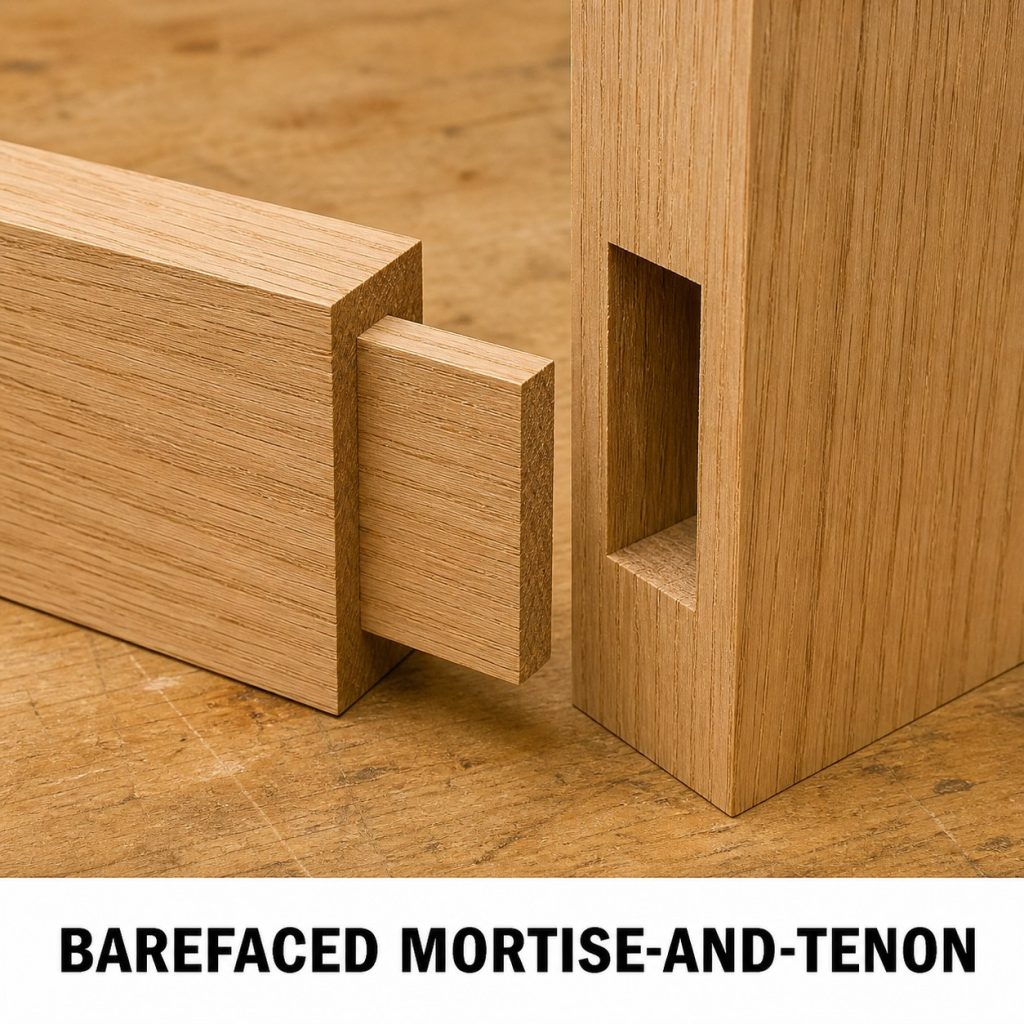
What to notice: A barefaced tenon keeps one face flush where stock thickness or design leaves room for shoulders on only three sides.
Typical uses: table aprons, cabinet frames, and offset rails.
Dry-fit check: Confirm that mating parts are complementary, shoulders close evenly, and the parts assemble in the intended direction without forcing.
6. Stub Tenon
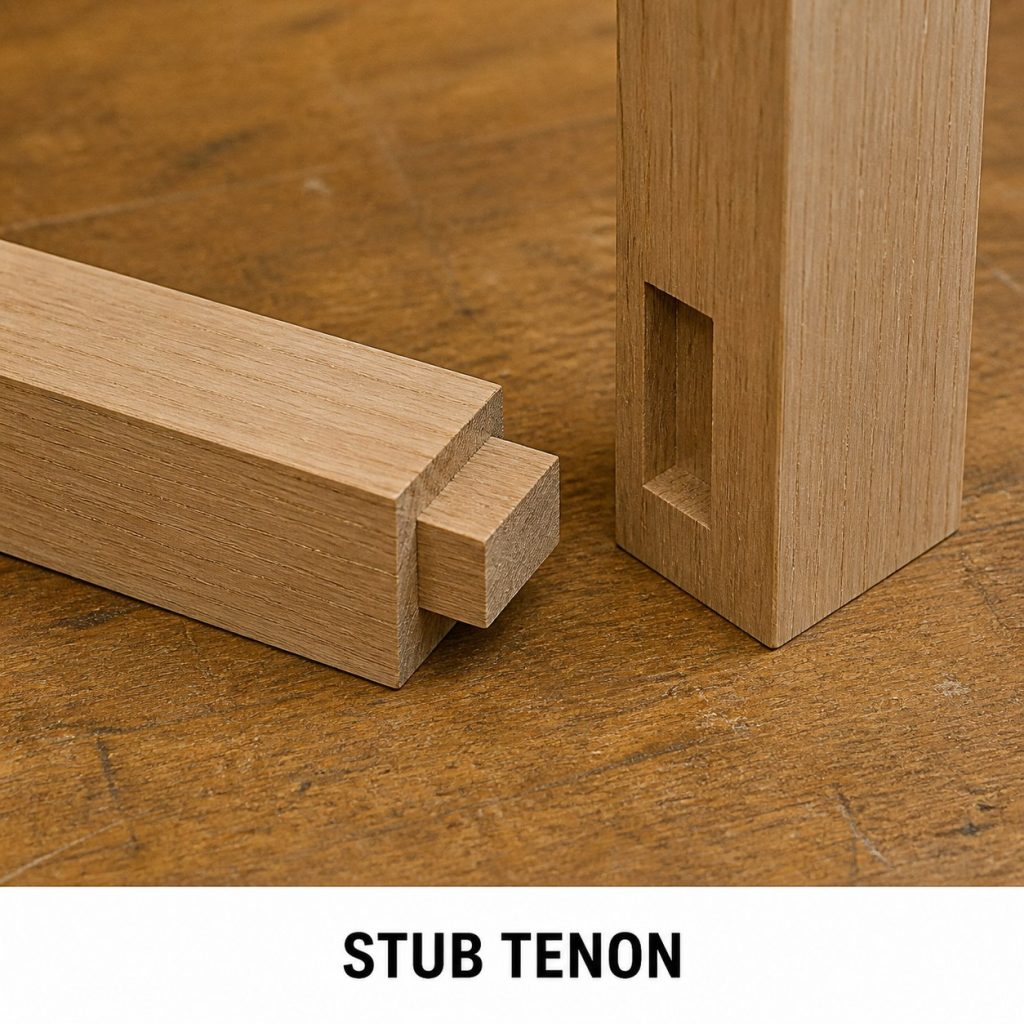
What to notice: A stub tenon provides registration where deep penetration is unnecessary or impossible.
Typical uses: light frames and cabinet doors.
Dry-fit check: Confirm that mating parts are complementary, shoulders close evenly, and the parts assemble in the intended direction without forcing.
7. Double Mortise-and-Tenon
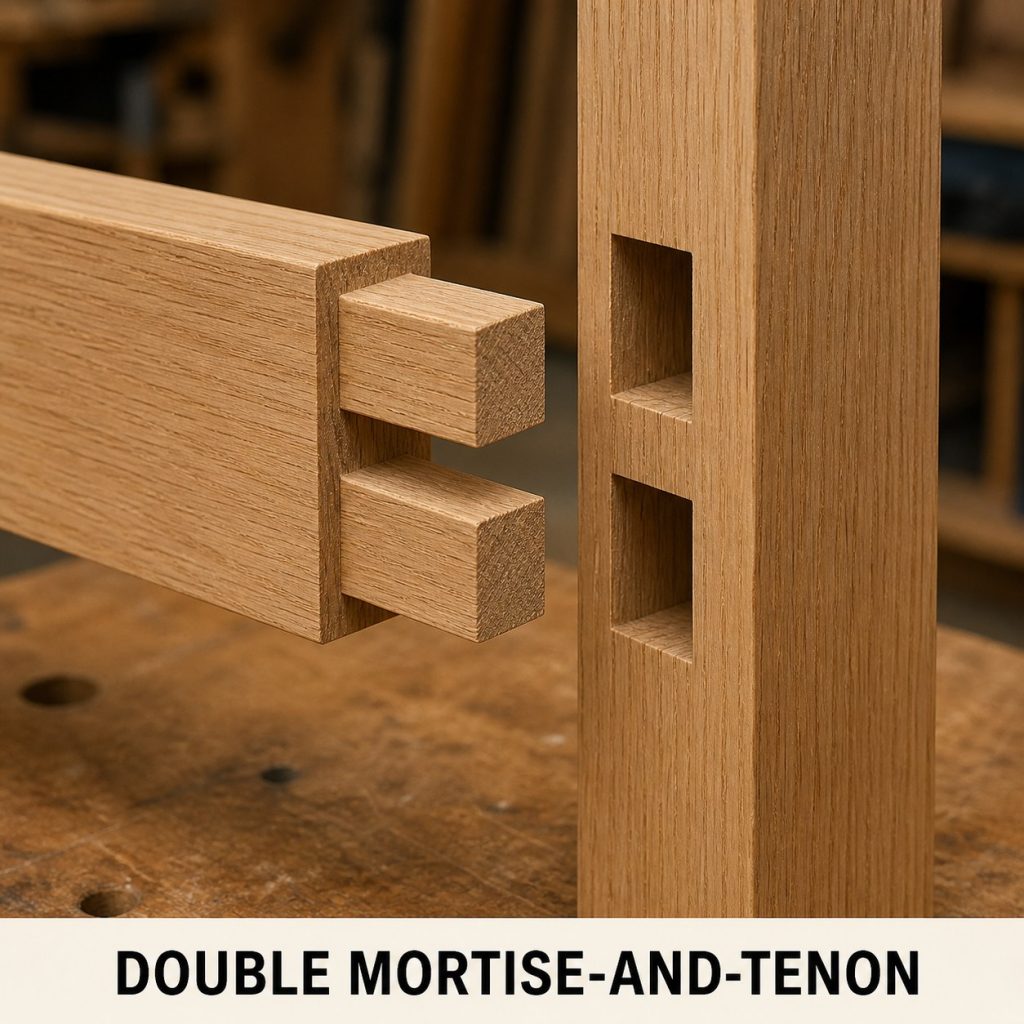
What to notice: Dividing a wide tenon preserves material between two mortises.
Typical uses: wide rails, doors, beds.
Dry-fit check: Confirm that mating parts are complementary, shoulders close evenly, and the parts assemble in the intended direction without forcing.
8. Loose Mortise-and-Tenon
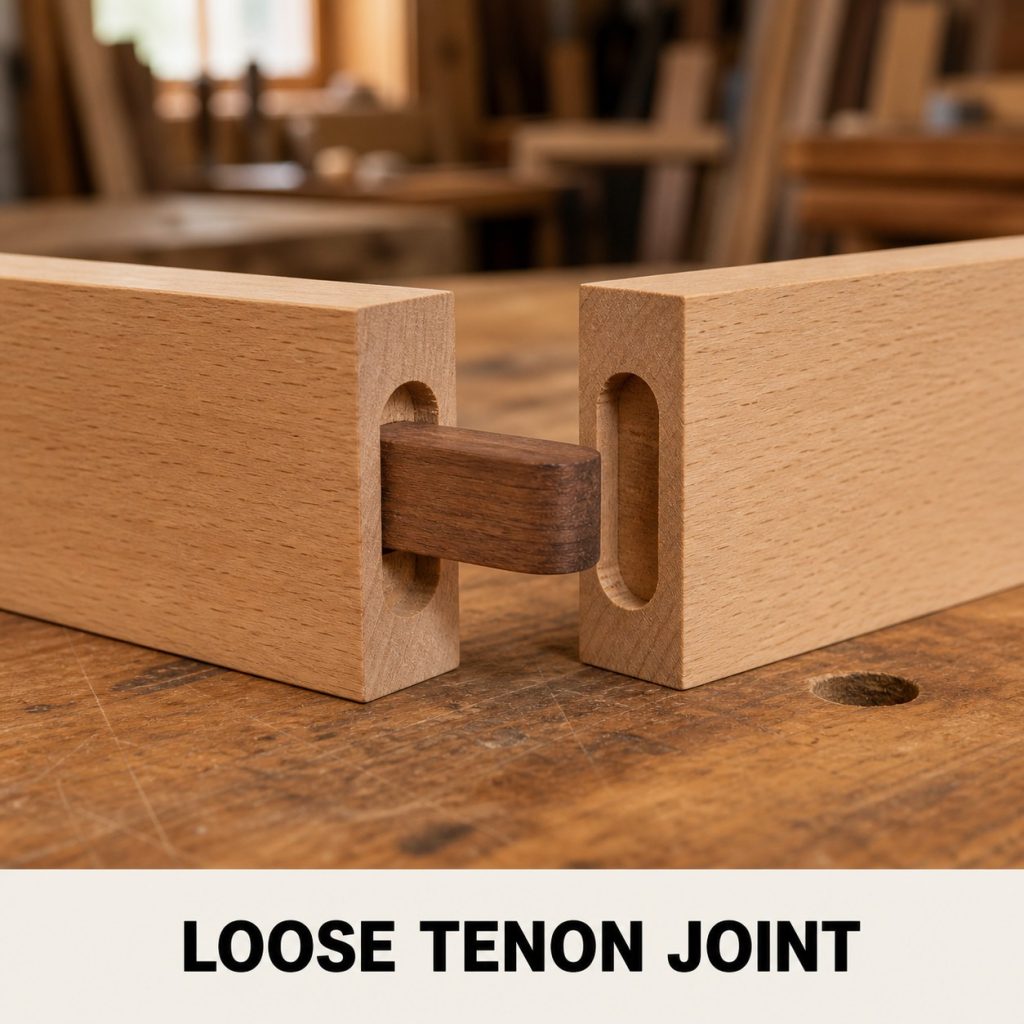
What to notice: A floating tenon bridges two matching mortises instead of being cut from either member.
Typical uses: chairs, tables, frames.
Dry-fit check: Confirm that mating parts are complementary, shoulders close evenly, and the parts assemble in the intended direction without forcing.
9. Tusk Tenon
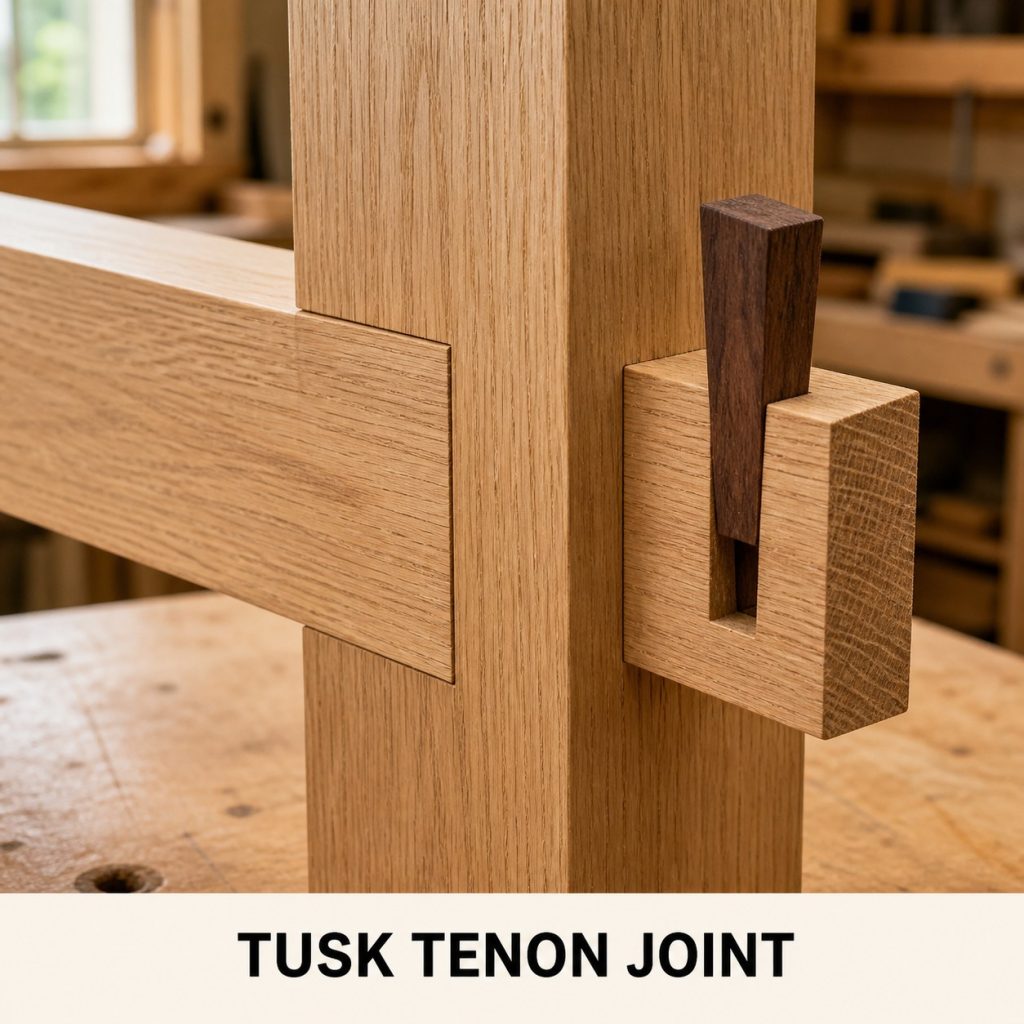
What to notice: A removable tusk wedge tightens a knock-down through tenon.
Typical uses: trestle tables and workbenches.
Dry-fit check: Confirm that mating parts are complementary, shoulders close evenly, and the parts assemble in the intended direction without forcing.
10. Mitered Mortise-and-Tenon
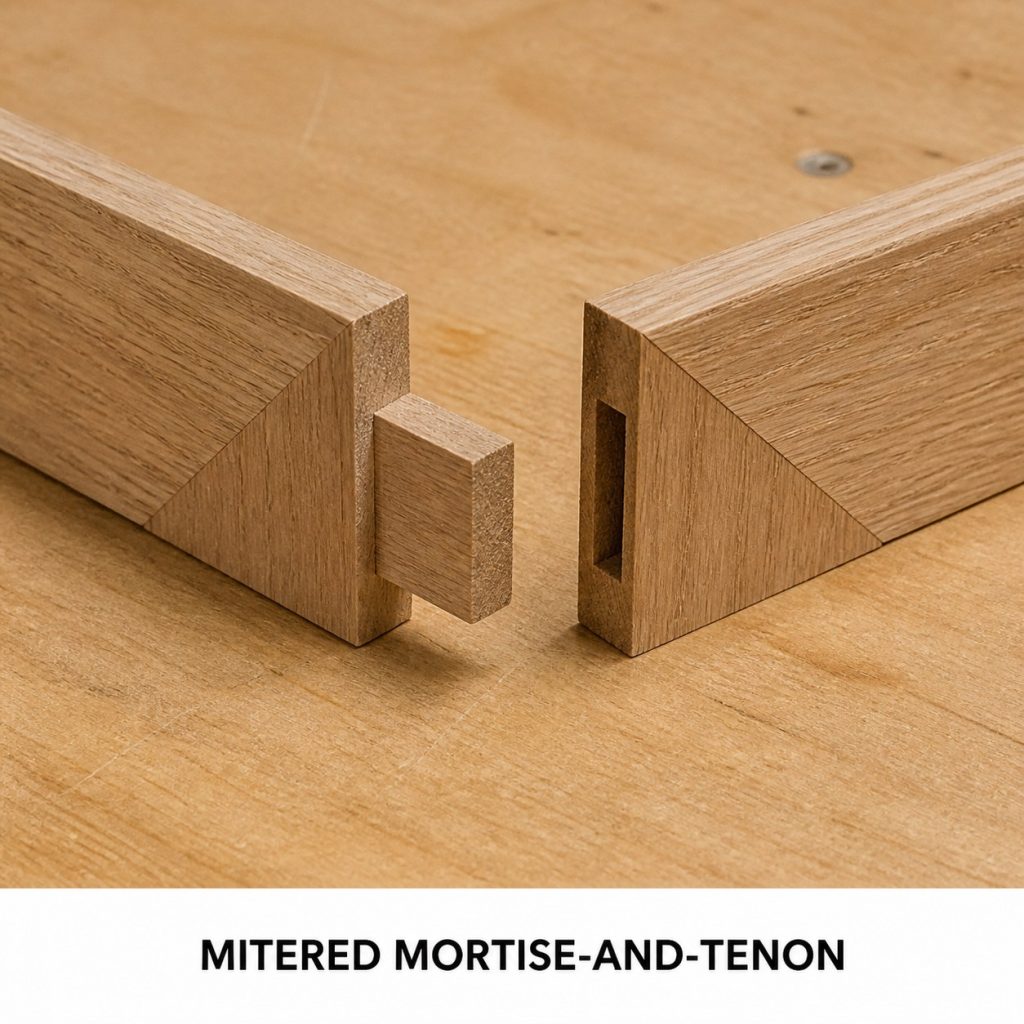
What to notice: A mitered shoulder conceals end grain while internal tenon geometry reinforces the corner.
Typical uses: fine frames, door and furniture corners.
Dry-fit check: Confirm that mating parts are complementary, shoulders close evenly, and the parts assemble in the intended direction without forcing.
Before you cut the joint
- Mark a reference face and edge on every workpiece.
- Make a full-size sample from scrap of the same species and thickness.
- Dry-fit before glue and inspect cheeks, shoulders, end grain, and movement clearance.
- Use guards, hold-downs, eye protection, dust control, and the tool manufacturer’s instructions.
- Use engineered drawings for load-bearing timber, roof, stair, deck, or structural connections.
Frequently asked questions
Can I copy dimensions from these photos?
No. The images explain orientation and connection type only. Size the joint from the real stock, load, species, and verified plan.
Why make a test joint?
A scrap test reveals cutter width, setup error, grain behavior, and fit before the final component is damaged.
Should a dry joint need heavy force?
No. It should close with controlled hand pressure or light tapping appropriate to the design. Excessive force can split cheeks, pins, tails, or shoulders.
More wood-joint guides
Browse the Type of Wood Joints hub, or continue with 10 Tongue-and-Groove Profiles and Project Uses, 10 Box Joint Variations and Project Uses, 10 Ways to Reinforce a Butt Joint.