Project planning guide
Before you build
Use the reference image and planning notes as a starting point. Confirm dimensions, loads, materials, local codes, and site conditions before purchasing or cutting.
- Garage Projects
- 1 reference image
- Print-friendly guide
Quick answer: A French cleat tool wall uses matching 45-degree bevels so holders hook securely onto horizontal rails. For a general garage workshop, 6 to 8 inches between rail reference lines gives small holders flexibility; larger planes, drills, and clamps may need more. Build one test section before covering a wall.
Start with a flat, anchored backer
A plywood backer creates a predictable surface, protects drywall, and makes rail alignment easier. Locate the wall framing before installation and keep required access to electrical panels, receptacles, and controls clear. Paint or seal the backer before the rails go on if you want easier cleaning.
Make consistent cleats
Rip straight plywood strips with the saw set to 45 degrees, keeping the bevel orientation consistent. Ease the sharp exposed corner without rounding the bearing faces. Predrill rails to reduce splitting, level the first rail carefully, then use a spacer to repeat the layout. A slightly imperfect first rail multiplied across ten rows becomes a visibly crooked wall.
Choose spacing by holder, not habit
| Holder type | Planning approach |
|---|---|
| Small bins and squares | One rail; compact vertical spacing |
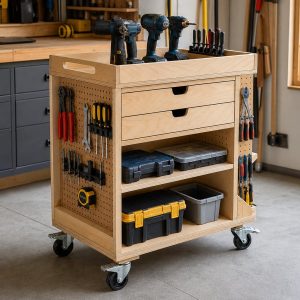
| Drill shelf | One rail plus a lower anti-tilt pad |
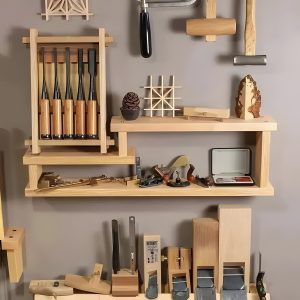
| Hand planes | Deep cradle with positive front stop |
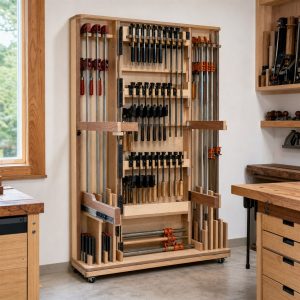
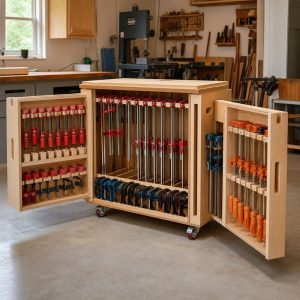
| Long clamps | Multiple attachment points or dedicated rack |
Heavy or projecting holders should bear against the backer below the cleat so they cannot rotate. Add a mechanical retainer where accidental upward movement could release a sharp or valuable tool.
Organize by reach and workflow
Put measuring and marking tools near the center of the bench. Group drilling accessories near chargers, and keep dusty sanding items closer to extraction. Leave 15 to 20 percent of the wall open. That empty space is what allows the system to change instead of becoming another fixed cabinet.
Build holders as small prototypes
- Trace the tool and identify its center of gravity.
- Create a cradle or slot that supports the tool without pressing triggers or guards.
- Add the mating cleat and a lower standoff.
- Test the empty holder, then load it close to the floor.
- Round exposed edges and label the holder location if helpful.
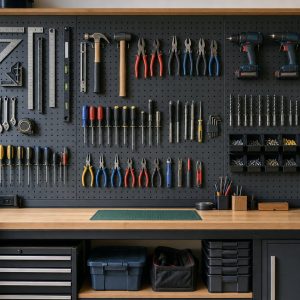
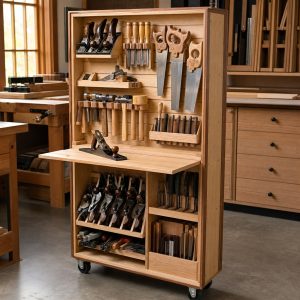
For a simpler fixed alternative, see our existing wall-mounted hand-tool organizer. For peg hooks and smaller tools, compare the garage pegboard organization guide.
Match every holder to load and failure direction
A cleat supports downward load well only when the holder seats fully and cannot be bumped upward or sideways. Deep cabinets, grinders, and long-handled tools create leverage that a small hand-tool rack does not. Prototype the heaviest holder, load it gradually near floor level, and observe both the holder back and wall cleat before repeating the design.
- Add a lower spacer so each holder hangs plumb.
- Use stops or screws where accidental lifting would be dangerous.
- Keep fasteners clear of cleat bevels and thin edges.
- Label particularly heavy holders with their intended contents.
Inspect the backer and wall attachment after rearranging the system. A flexible layout still has a fixed total capacity governed by the wall framing, backer, cleats, and fasteners.
Common questions
Does a French cleat have to be 45 degrees?
Forty-five degrees is common because matching strips are easy to produce from one rip cut. Consistency, clean bearing faces, and sound attachment matter more than chasing a perfect theoretical angle.
Can cleats mount directly over drywall?
They can span sound framing with suitable fasteners, but a plywood backer makes alignment and future changes easier. Do not rely on drywall alone for workshop storage.