Project planning guide
Before you build
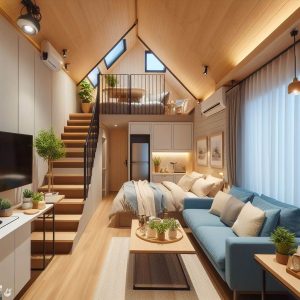
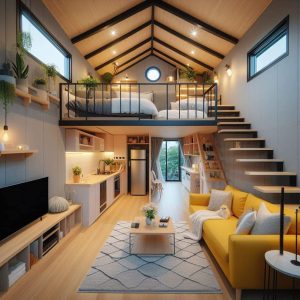
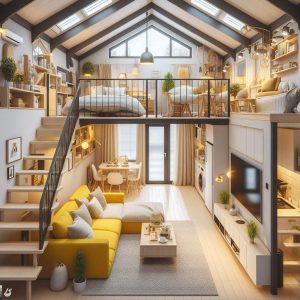
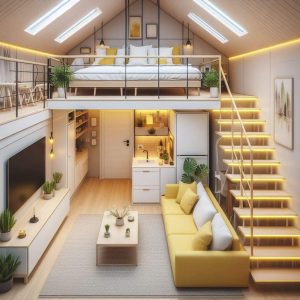
Use the reference image and planning notes as a starting point. Confirm dimensions, loads, materials, local codes, and site conditions before purchasing or cutting.
- Tiny House Plans
- 1 reference image
- Print-friendly guide
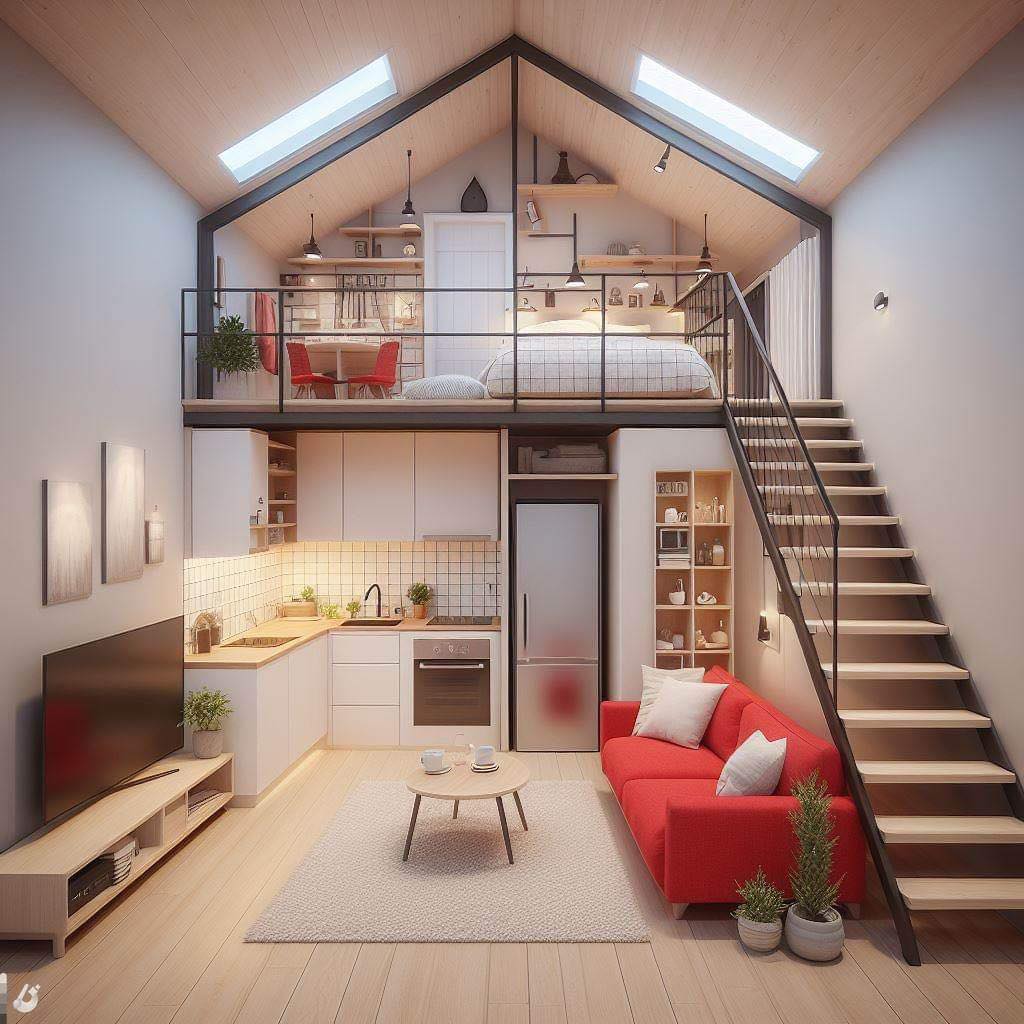
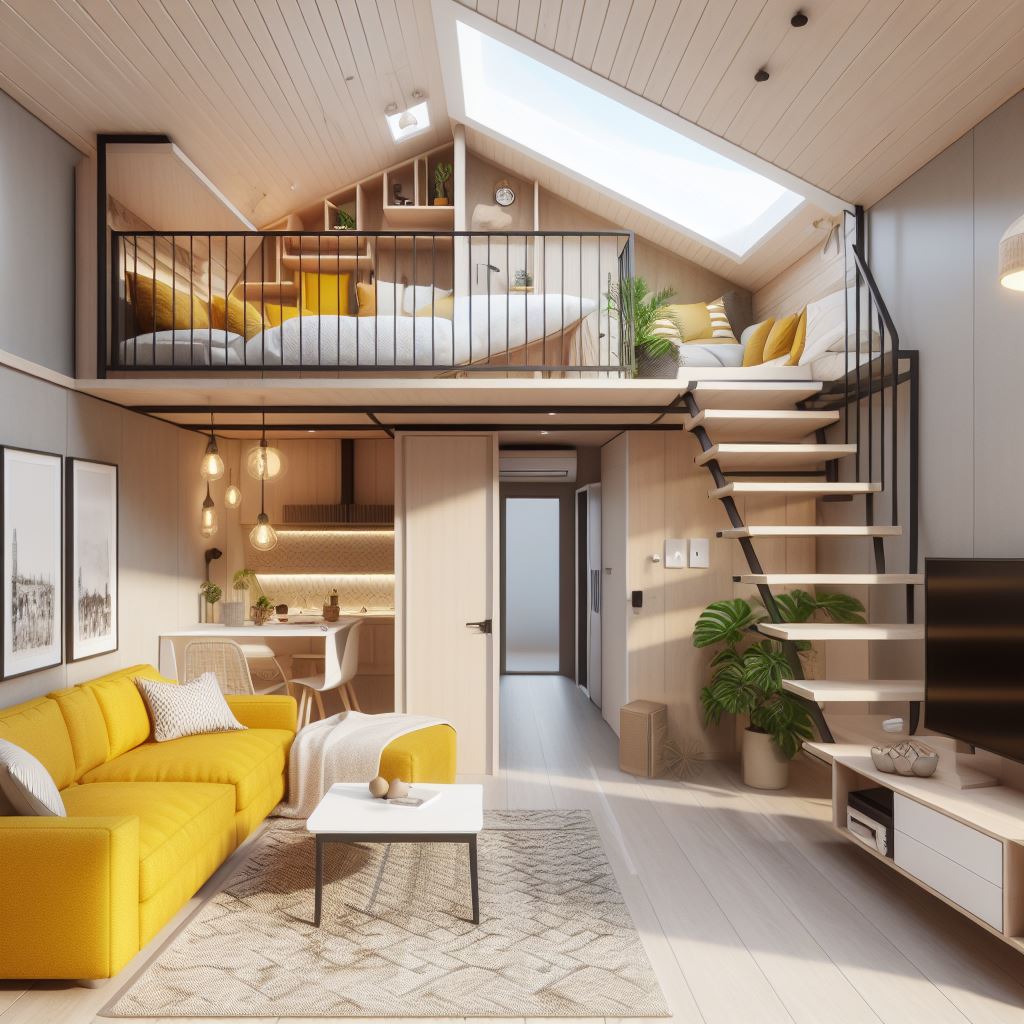
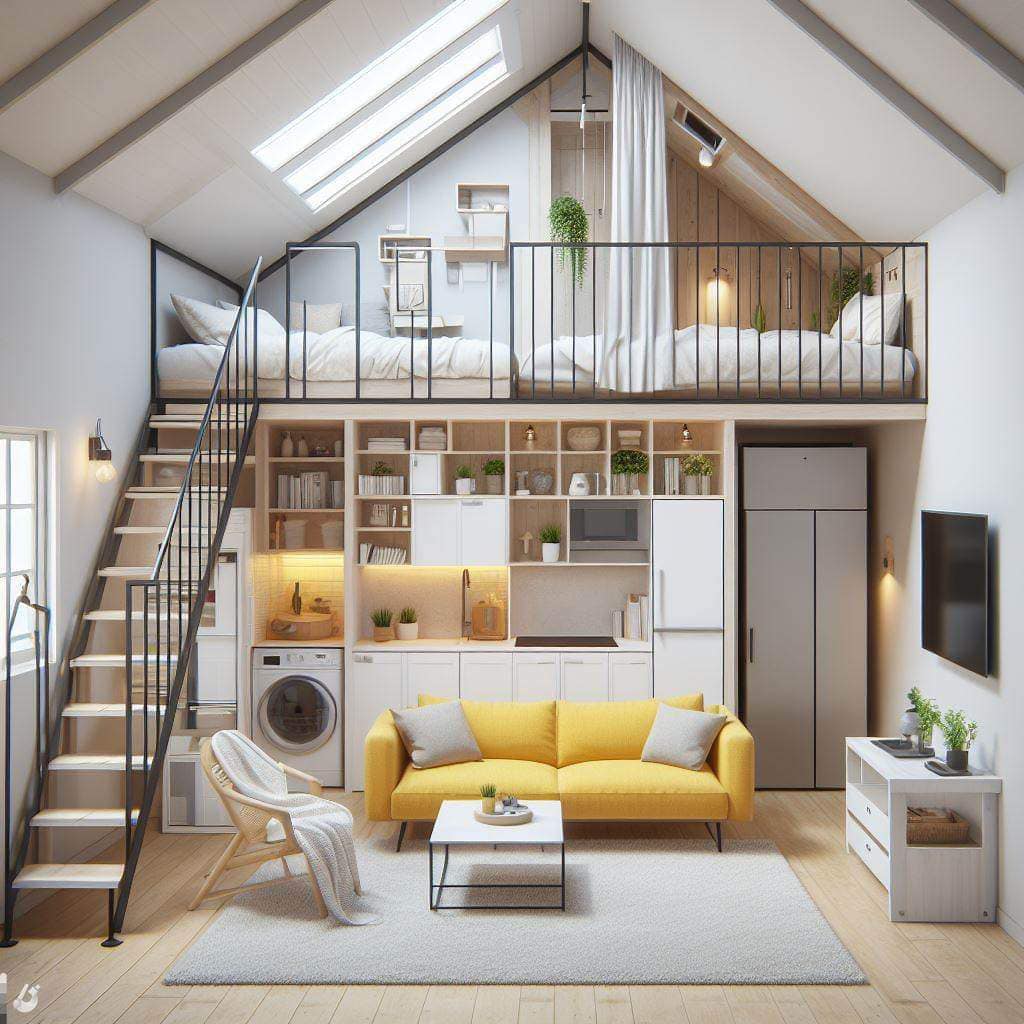
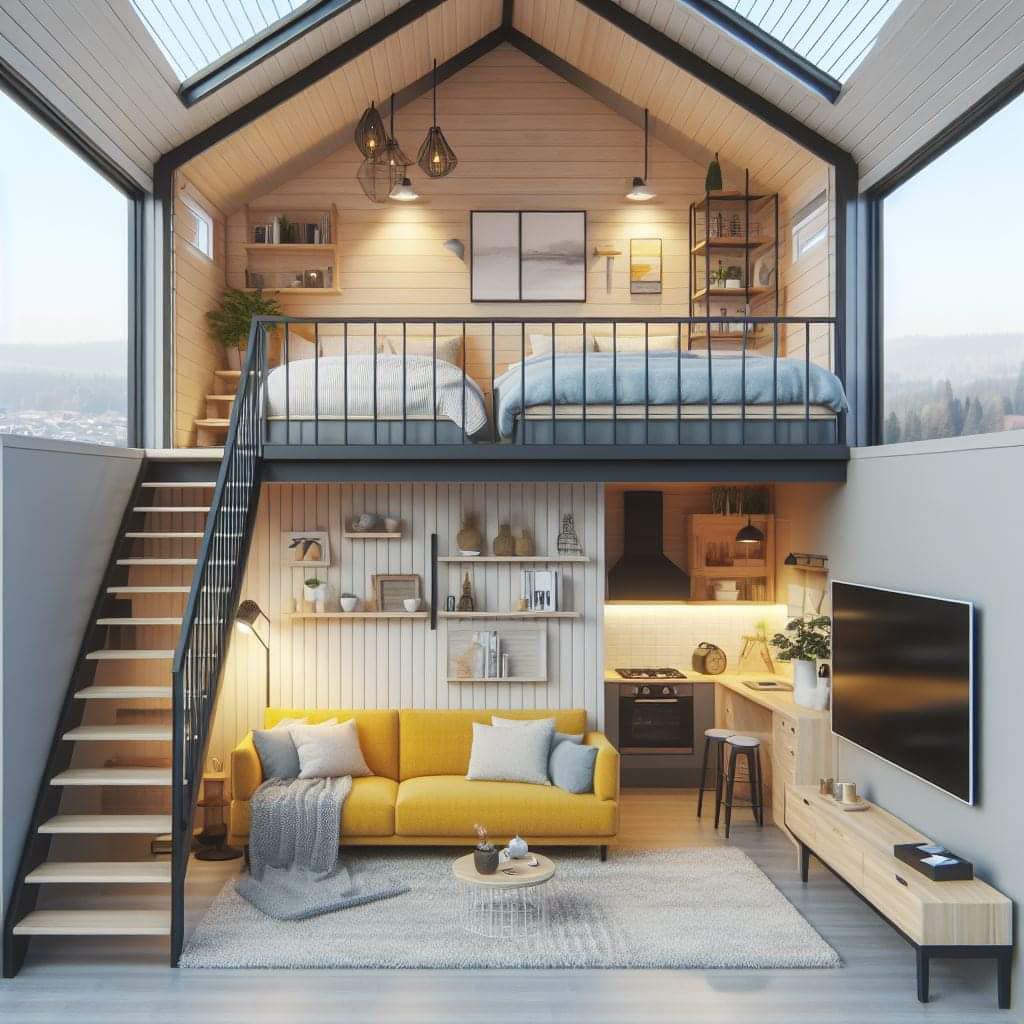
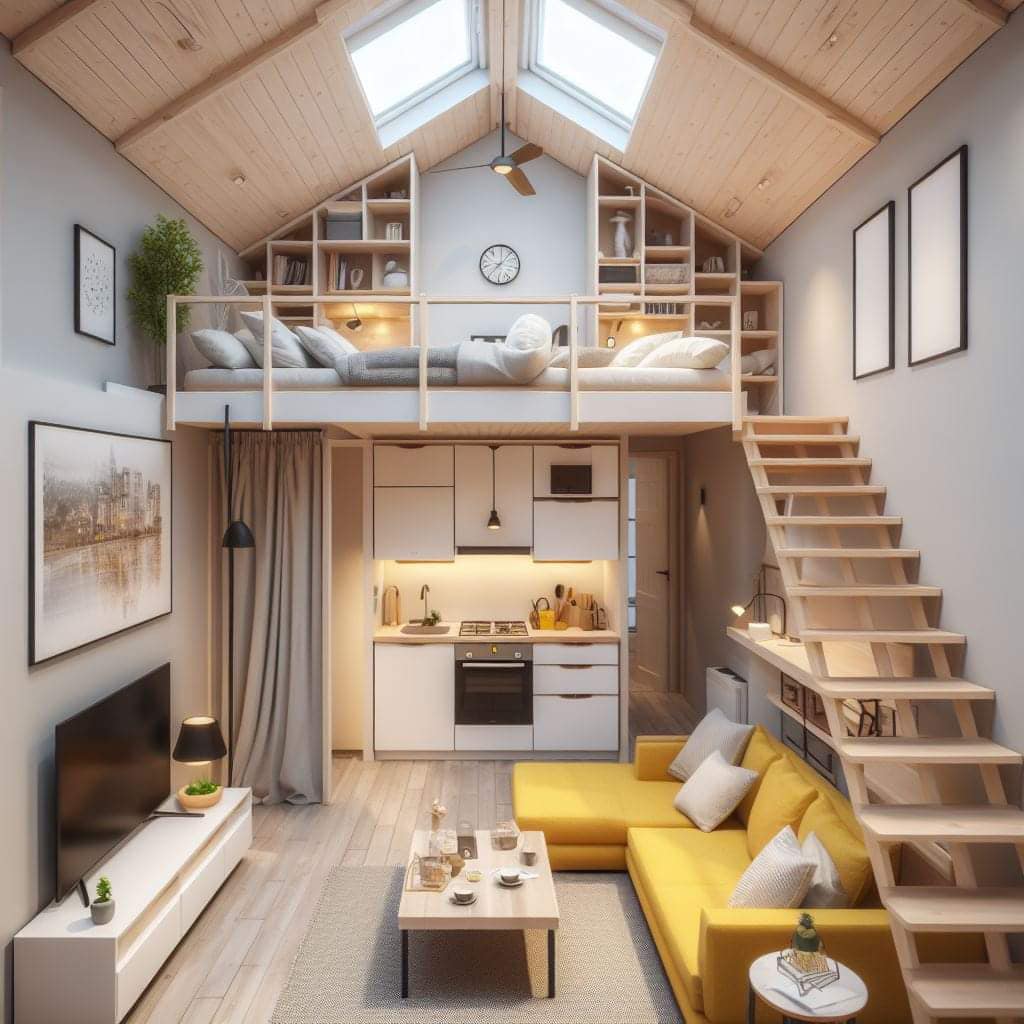
A tiny-house loft layout is a building section problem involving sleep, stairs, structure, headroom, guards, escape, daylight, ventilation, storage, and the room below. Planning those systems together prevents one attractive idea from creating several hidden conflicts.
Write the loft program before drawing it
List who will use the loft, how often, mattress size, sleeping positions, bedding changes, storage, privacy, pets, and future mobility needs. Decide whether the space is a primary bedroom, occasional sleeping area, or non-sleeping platform; rules and practical expectations may differ. Do not let a generic tiny-house image define the program.
Build the section from finished dimensions
Start at finished ground floor and stack the room below, loft structure, finish, mattress, usable body space, roof structure, insulation, and roofing. Add the stair and headroom to the same drawing. Repeat at the low and high points of a sloped roof so isolated maximum height does not misrepresent the usable area.
Coordinate safety and environmental systems
Draw guards, stair protection, alarms, emergency openings, ventilation paths, outlets, lighting, and heating or cooling distribution. Confirm that curtains, storage, and bedding cannot block those systems. Use the locally adopted building, fire, energy, electrical, and mechanical requirements as design inputs rather than final inspection surprises.
Test the effect on the room below
Every loft decision sets the ceiling and structure over the kitchen, bathroom, workspace, or living room. Check standing and seated headroom, lighting, ducts, plumbing, cabinets, and sound transfer below. Moving the loft edge a short distance may improve both levels more than enlarging the platform.
Compare the main approaches
| Approach | Useful when | Verify before choosing |
|---|---|---|
| Full-width sleeping loft | Maximum upper floor area | Lower-level ceiling height, ventilation, and limited visual relief |
| Partial loft | Shared daylight and tall living zone | Reduced storage or sleeping area and more edge detailing |
| Two small loft zones | Separates sleep and storage or guests | Additional stairs, guards, structure, and fragmented usable area |
Test the idea at full scale
Produce three sections at the same scale and score each for stair comfort, usable loft area, lower-room headroom, daylight, storage, privacy, ventilation, and construction simplicity. Then mock up the leading option full size around the mattress and stair landing before final drawings.
Planning checklist
- Define users, activities, mattress, and future needs.
- Draw all layers and clearances from finished surfaces.
- Coordinate stair, guards, escape, alarms, and ventilation.
- Check the complete lower-level room beneath the loft.
- Compare multiple sections and test the preferred option full size.
Frequently asked questions
Should loft size be maximized?
Not automatically. Extra platform area may reduce lower-level comfort, daylight, ventilation, and stair quality. Optimize the complete house instead.
When should windows be selected?
After the section, structure, escape strategy, furniture, and ventilation needs are understood but before framing and exterior elevations are finalized.
Can online tiny-house plans be adapted directly?
Only after verifying ownership, site, climate, loads, transport if relevant, utilities, codes, permits, and all project-specific dimensions with qualified professionals.
This article provides planning context and conceptual imagery, not measured drawings, engineering, code approval, or a project-specific construction plan. Verify dimensions, structure, products, utilities, permits, and local requirements with qualified professionals before building.