Project planning guide
Before you build
Use the reference image and planning notes as a starting point. Confirm dimensions, loads, materials, local codes, and site conditions before purchasing or cutting.
- Garden Projects
- 8 reference images
- Print-friendly guide
A wooden garden caddy keeps hand tools together between the shed, potting bench, and beds. The handle must balance the real load, sides must retain short tools, compartments need to remain cleanable, and the bottom should release soil and water rather than sealing damp steel into a box.
Traditional Open Tool Tote
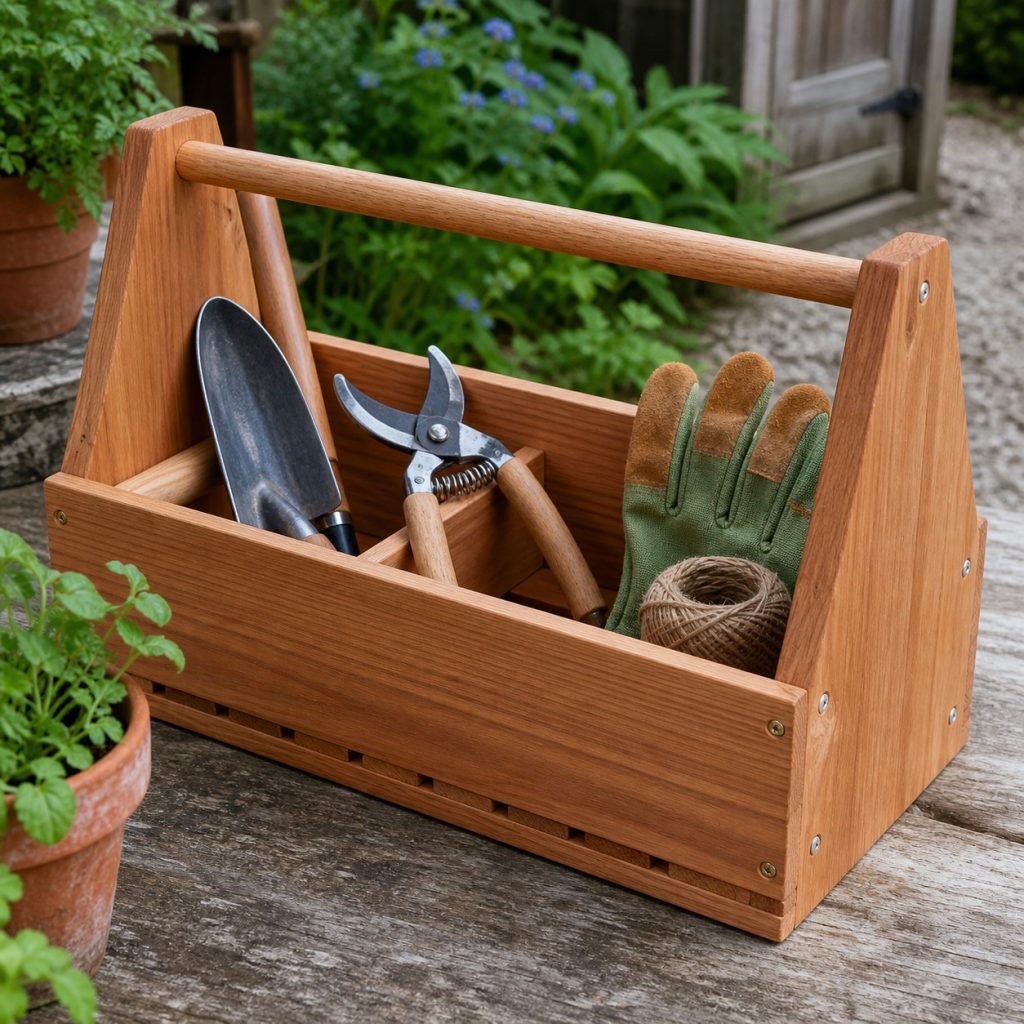
The classic tote uses two tall end panels joined by side boards and a centered handle. Tapering the ends reduces weight while preserving handle support. Keep the sides high enough for hand tools but low enough to see and remove them safely.
Divided Garden Caddy
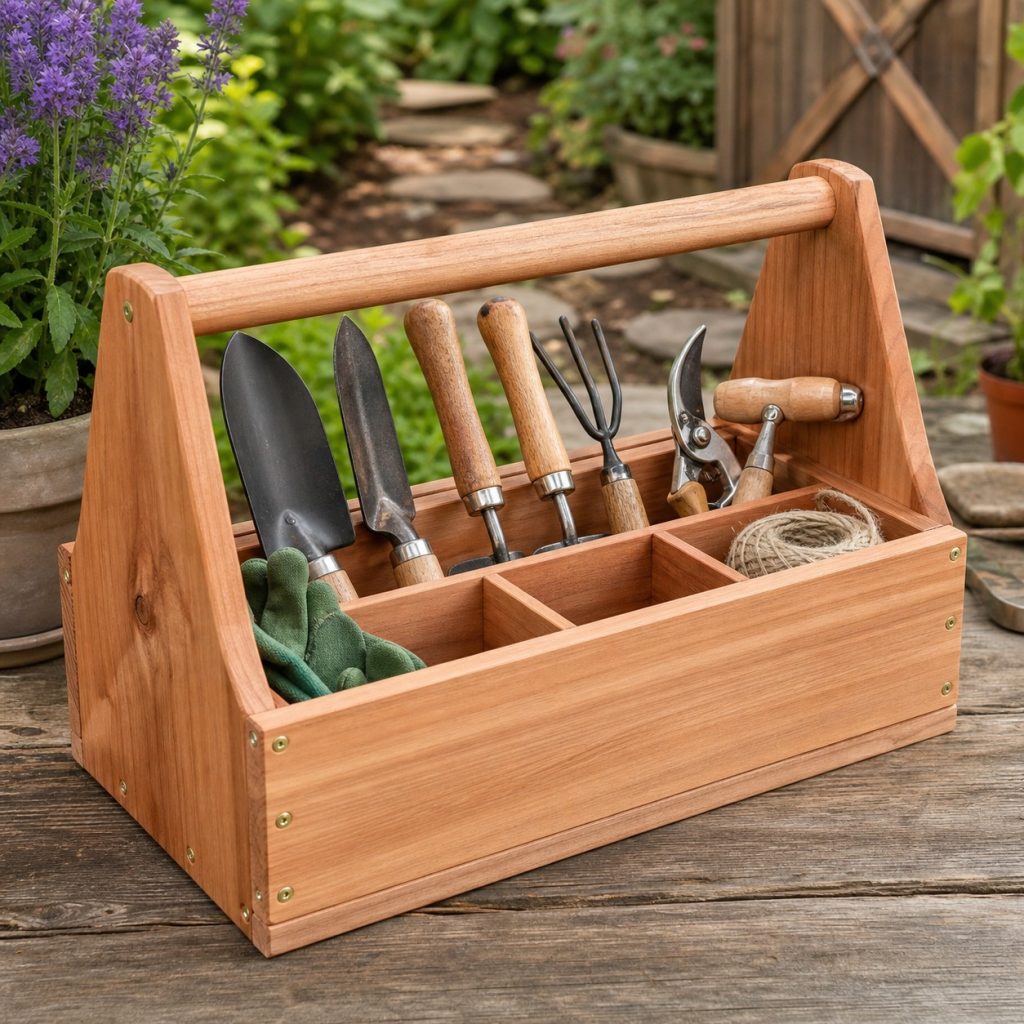
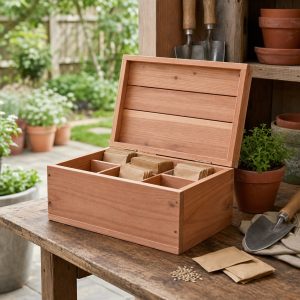
A central divider separates pruning tools from gloves, twine, and seed supplies. Capture the divider in grooves or cleats so it reinforces the box, and avoid tiny compartments that trap dirt. Store sharp blades down or in sheaths.
Long Narrow Tool Box
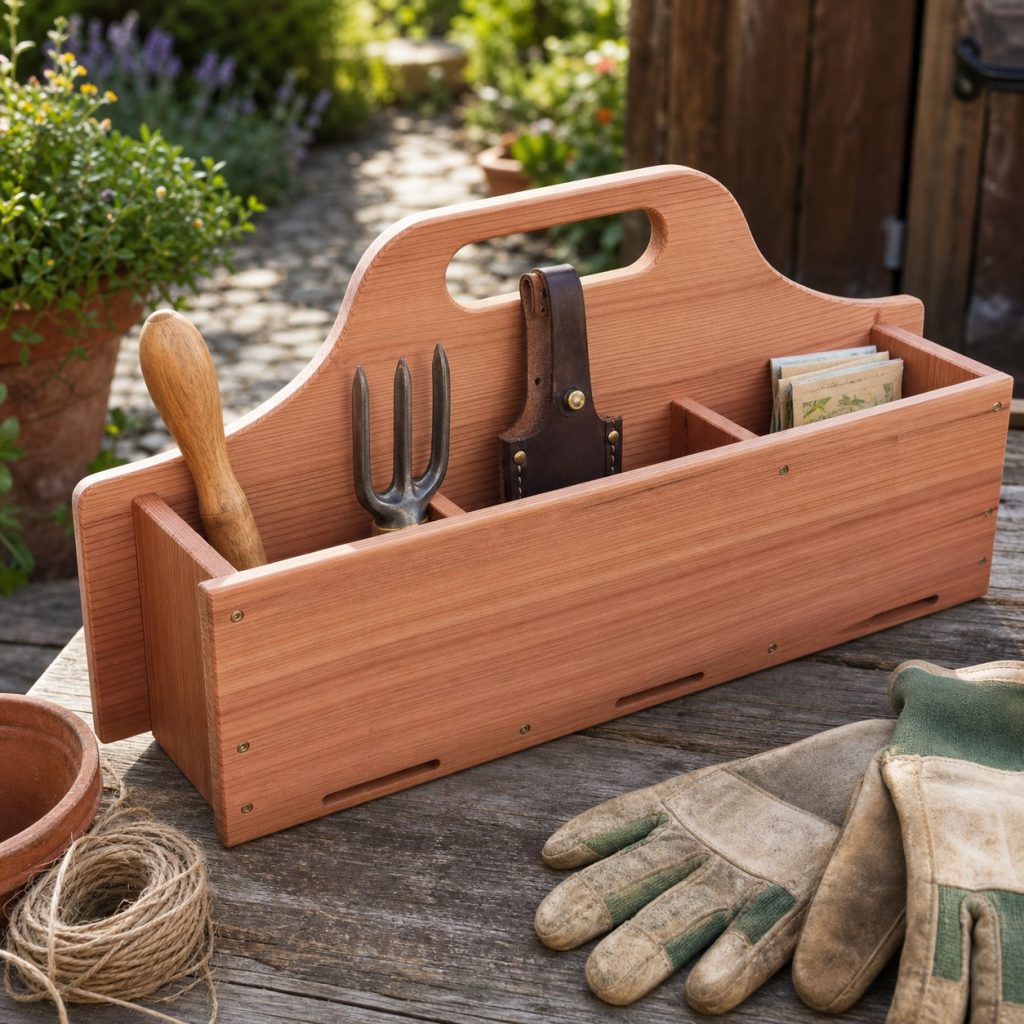
A longer tote fits hori-hori knives, dibbers, and compact pruning saws. Increase side support around the handle ends and check that the loaded box does not swing into the leg. Keep the overall width narrow enough for garden paths.
Tool and Harvest Caddy
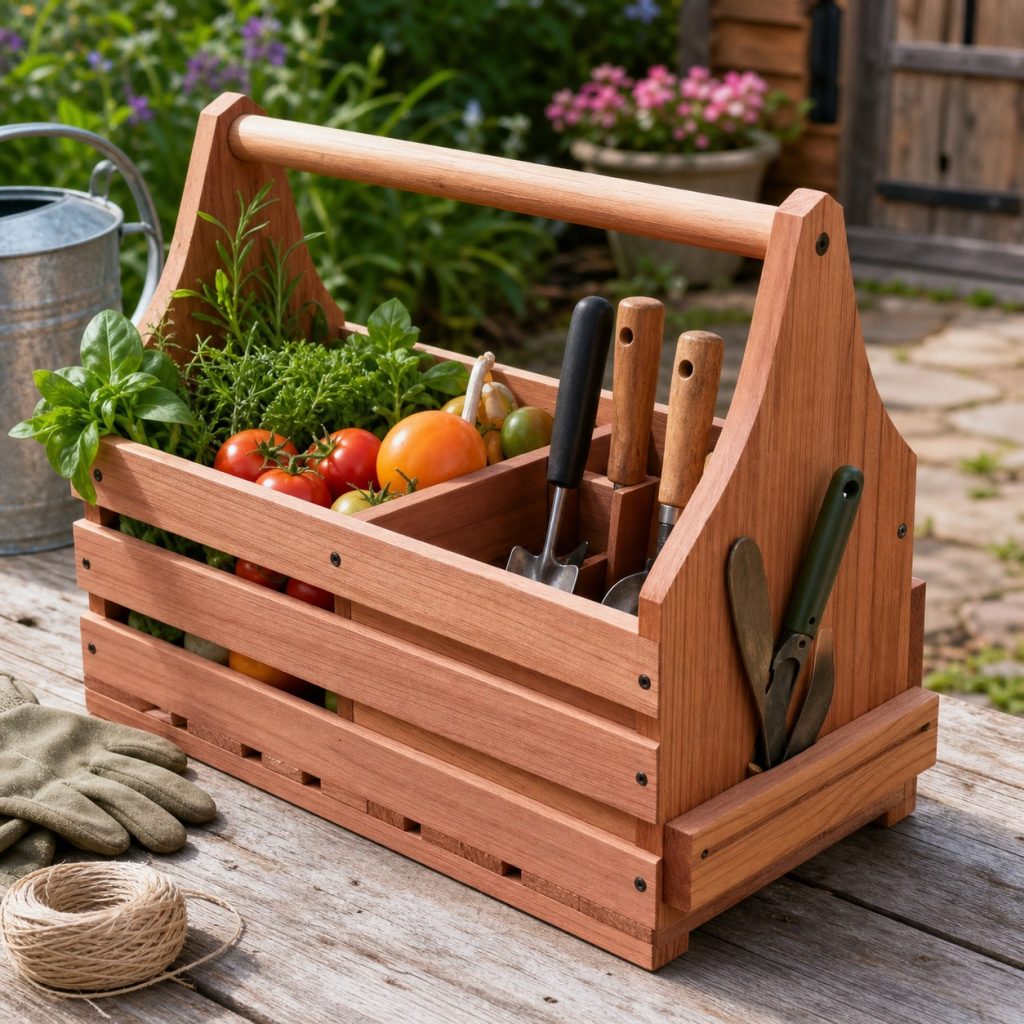
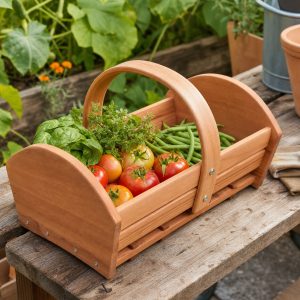
A ventilated harvest compartment can share the trip back from the garden if tools and produce stay separated. Keep soil-covered or sharp equipment in its own section, use smooth food-contact wood surfaces, and wash produce independently under appropriate conditions.
Removable Divider System
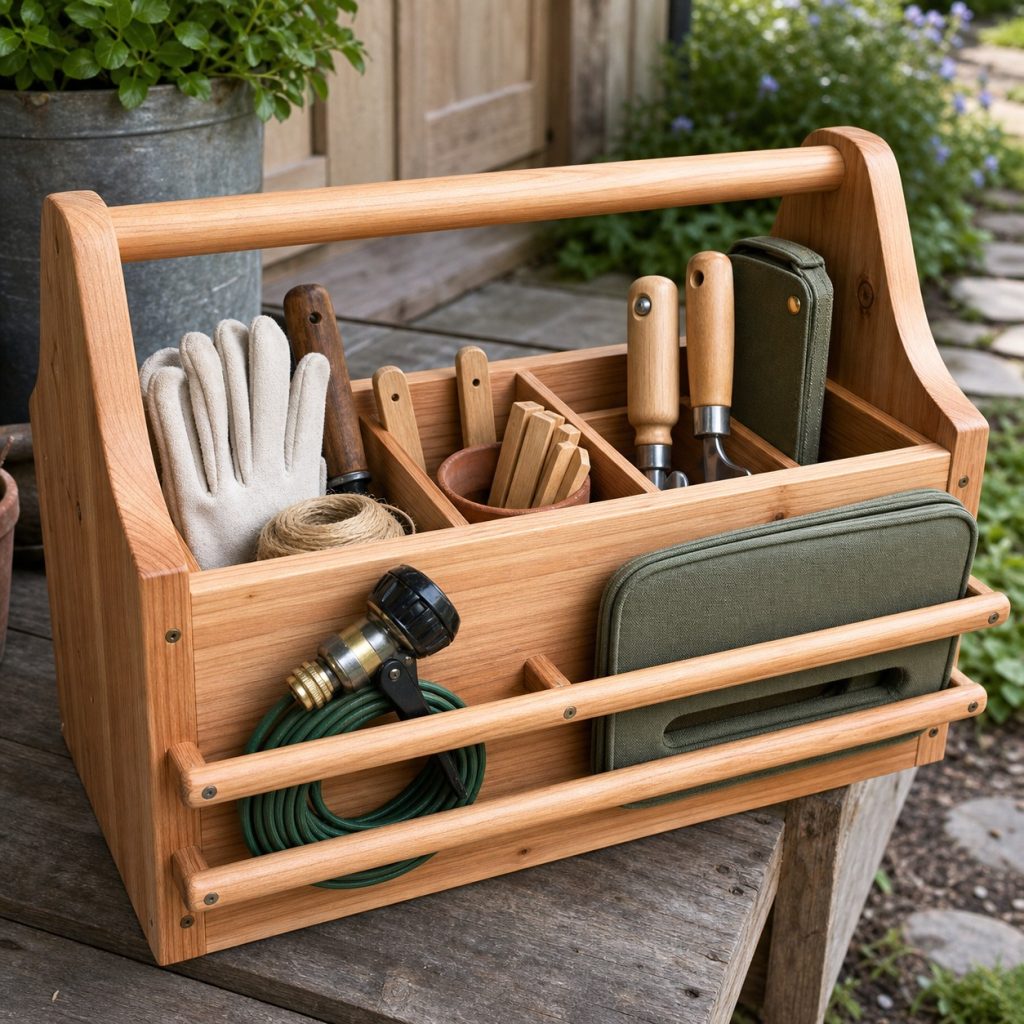
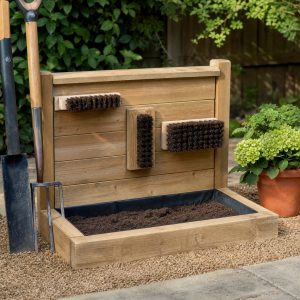
Removable dividers adapt the caddy to bulbs, ties, nozzles, or transplanting tools. Use broad slots that can be brushed clean and ensure loose dividers cannot strike the handle. Exterior rails should retain only light, nonsharp accessories.
Open Wall Dock
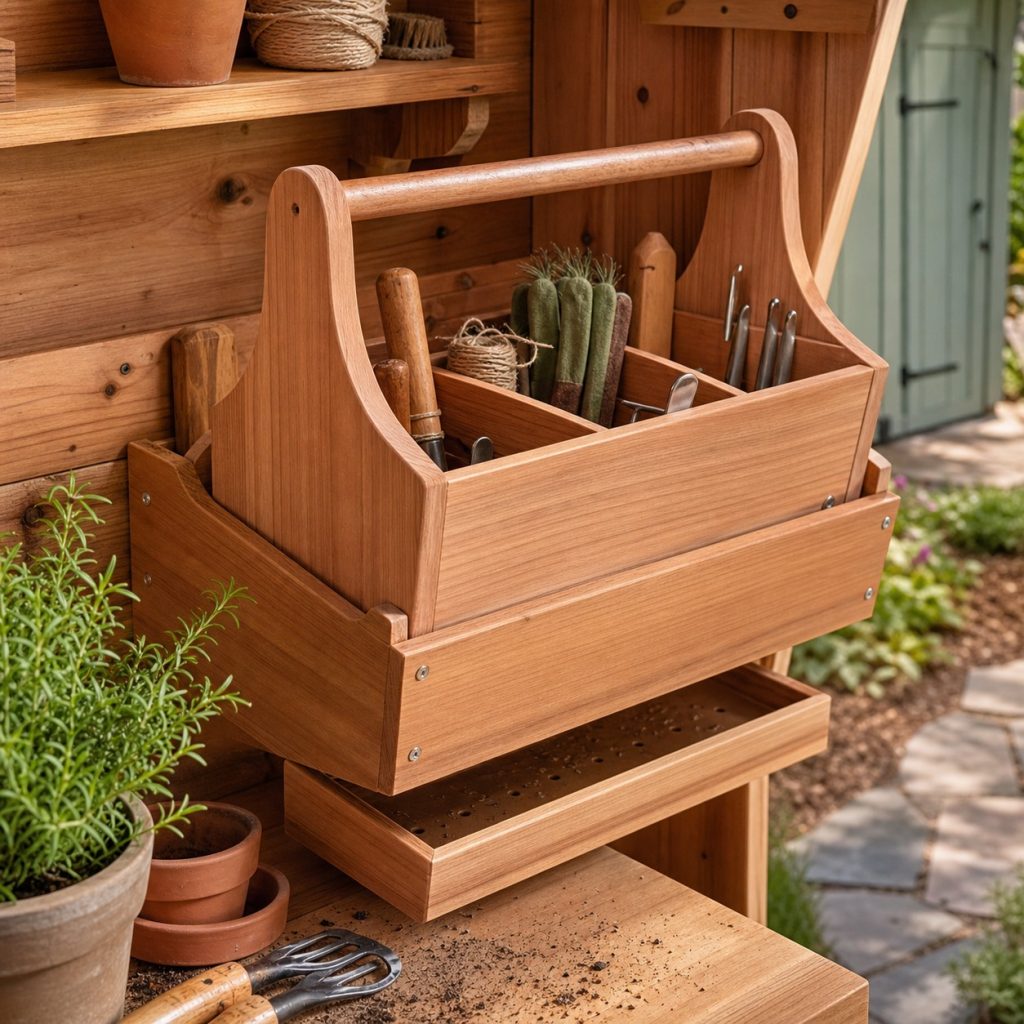
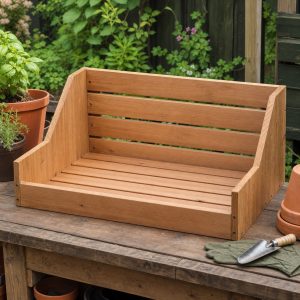
A shallow dock gives the caddy a consistent dry home without hanging its full weight from the handle. Mount the dock to suitable structure, keep a drainable tray beneath it, and leave a clear lift path so the user does not twist around shelves.
Assemble Ends, Floor, and Handle
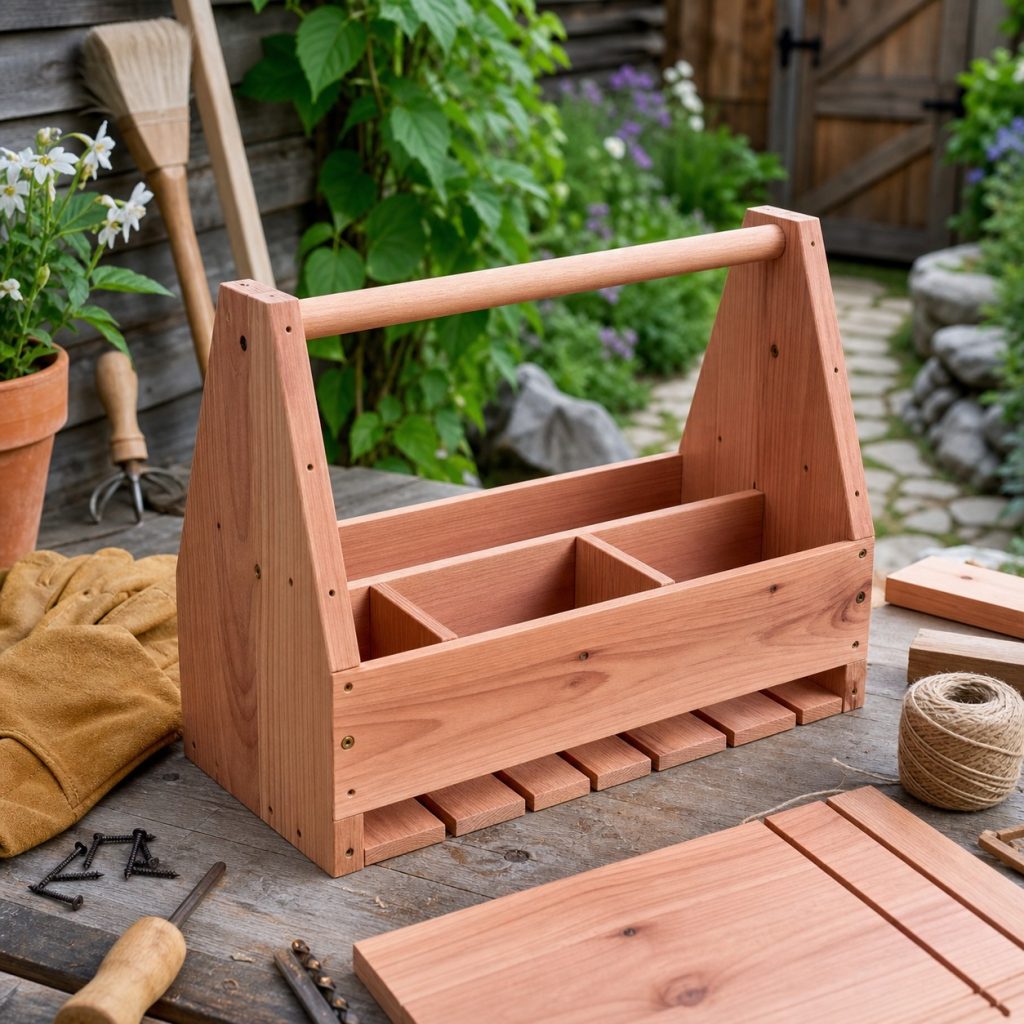
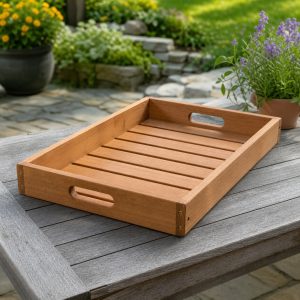
Cut both end panels together, drill aligned handle holes, and dry-fit the side boards and bottom slats. Predrill near ends and pin or otherwise secure the handle so it cannot rotate loose. Spacer blocks make drainage slots consistent.
Clean and Dry the Caddy
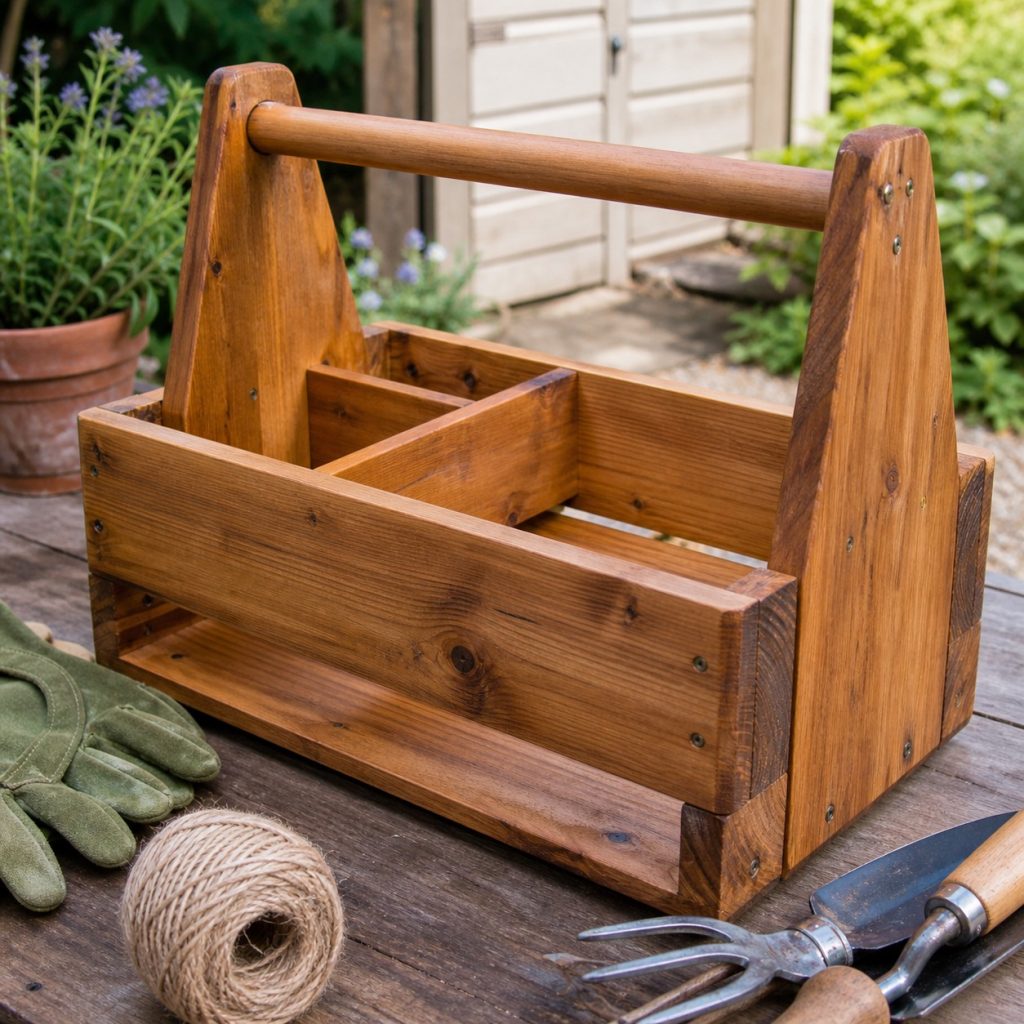
Brush out soil, remove wet gloves, and let the caddy dry after use. Inspect handle joints, splinters, floor slats, and fasteners. Avoid thick flaking finishes on surfaces that contact harvested produce and follow the finish label for the intended use.
Planning checklist
- Lay out real tools and estimate the carried weight.
- Center and secure a smooth handle at the loaded balance point.
- Keep sharp tools sheathed, separated, or blades down.
- Use cleanable compartments and a drainable bottom.
- Keep the tote light and inspect handle joints and splinters.
These concepts are general planning guidance, not engineering drawings or tested load-rated plans. Verify dimensions, ergonomics, lumber grade and treatment, structural loads, fasteners, coatings, food-contact use, wildlife and compost guidance, accessibility, utility locations, property rules, permits, and local building requirements for the actual project. Use qualified professionals where structural, electrical, plumbing, refrigeration, fall, or entrapment hazards apply.
Frequently asked questions
How long should a garden tool caddy be?
Base the length on the longest hand tool and the user’s comfortable carry. Avoid sizing it for long-handled shovels or rakes.
Should a tool caddy have a solid bottom?
A solid bottom can work with drain holes, but spaced slats usually release soil and water more easily.
Can harvested vegetables go in the same caddy?
Only in a clean smooth compartment separated from dirty or sharp tools. Wash produce according to appropriate food-safety guidance.